
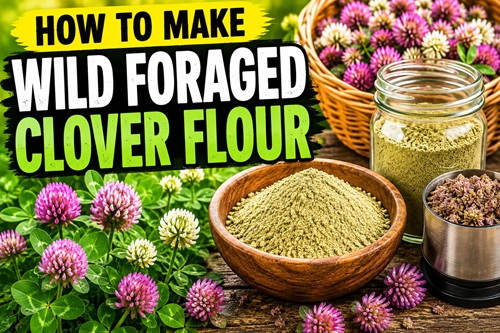
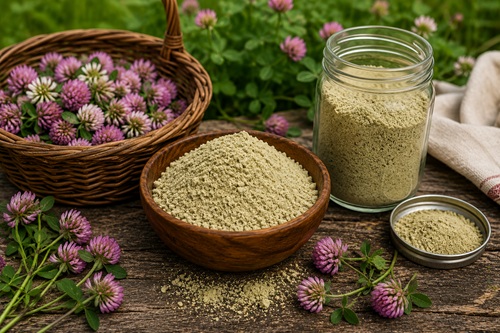
Clover is so common that most people barely notice it. It grows through lawns, fields, pastures, along trails, and around homesteads, yet the blossoms can be harvested, dried, and ground into a useful wild-food ingredient.
Calling it “clover flour” can be a little misleading because it doesn’t behave like wheat flour. Clover doesn’t contain the gluten that gives ordinary bread its structure, so you can’t simply grind up a bowl of blossoms and use the resulting powder cup-for-cup in place of wheat flour. Instead, clover flour works best when a smaller amount is mixed with conventional flour. It adds some of the plant to the food while giving breads, biscuits, pancakes, muffins, and other baked goods a slightly different flavor and character.
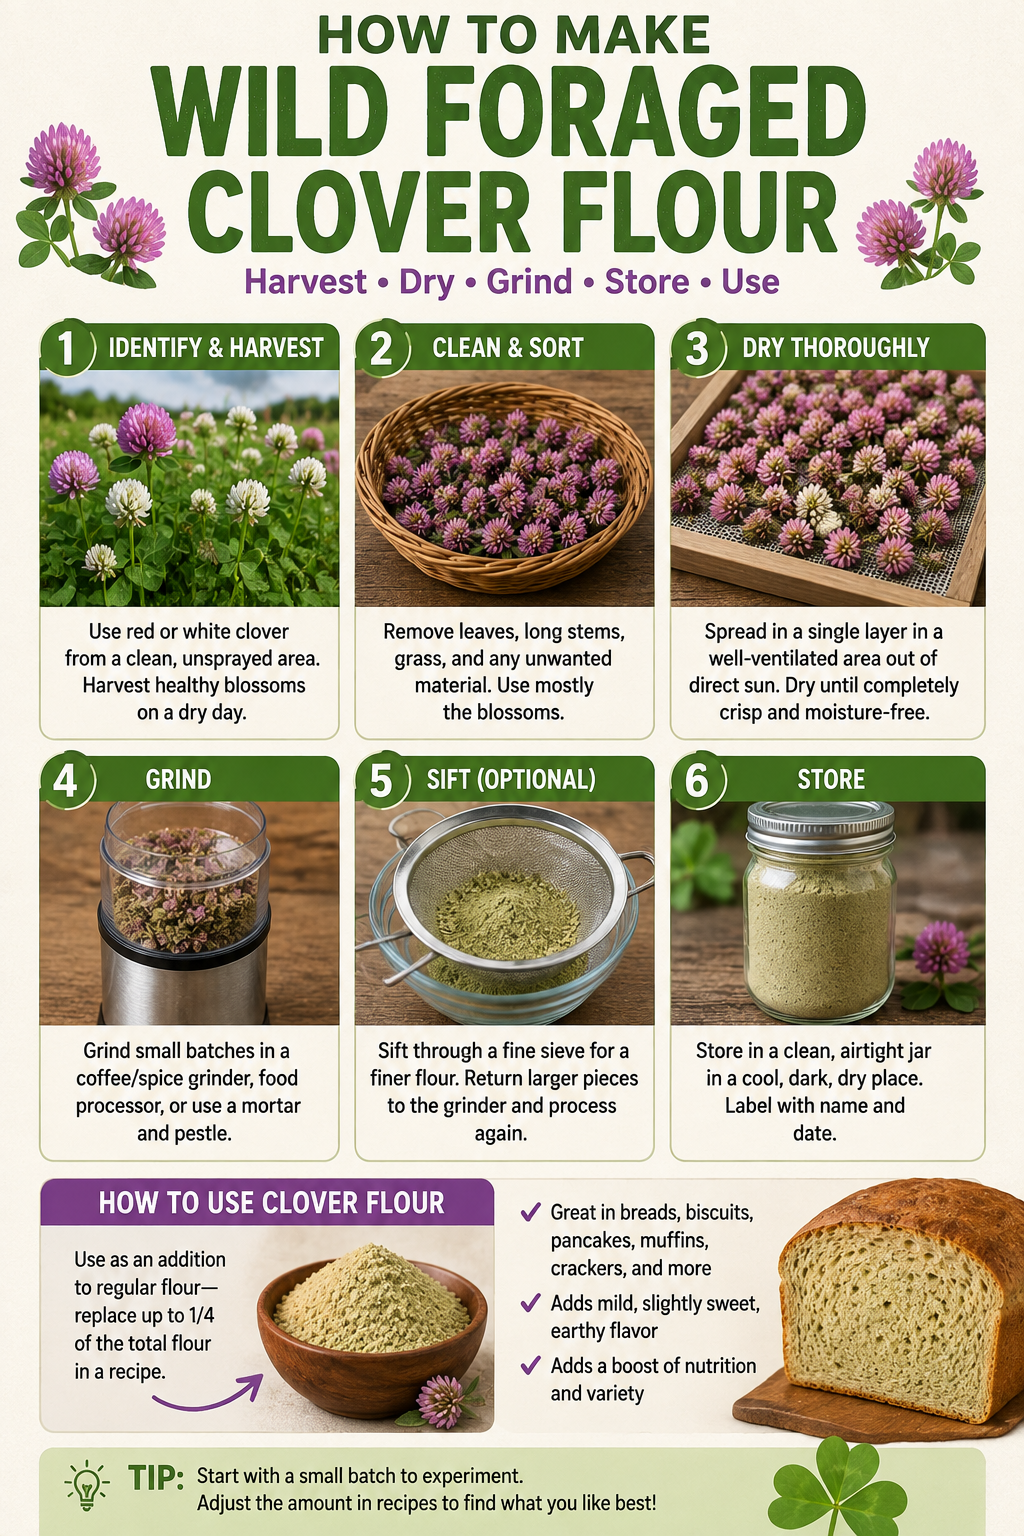
Making it is surprisingly easy. The basic process is simply harvest, dry, grind, and store.
What You’ll Need
For a small batch, gather:
- Fresh red or white clover blossoms
- Basket or breathable collection container
- Drying screen or tray
- Coffee/spice grinder, food processor, or mortar and pestle
- Fine kitchen sieve, optional
- Clean airtight storage jar
Start With Properly Identified Clover
Red clover (Trifolium pratense) and white clover (Trifolium repens) are commonly used for this purpose. Red clover generally has rounded pink to reddish-purple flower heads, while white clover produces smaller white or pale-pink blossoms. Clover typically has the familiar three-part leaf, often with lighter markings across the leaflets.
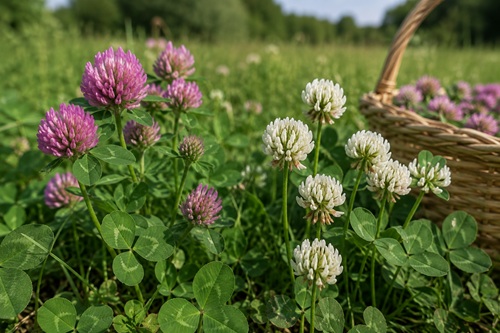
As with any wild food, identification comes first. Don’t rely on flower color or a photograph alone. Confirm several identifying characteristics using a reputable regional plant reference before eating anything you’ve gathered.
It’s equally important to know where the plants have been growing. A beautiful patch of clover beside a busy highway or in a chemically treated lawn isn’t a good food source. Look for healthy plants growing somewhere you know hasn’t been sprayed with herbicides or pesticides, and avoid roadsides, industrial areas, drainage areas, and other potentially contaminated locations.
Harvest the Blossoms
Pick healthy flower heads during dry weather and place them loosely into your basket. You don’t need to be overly particular while gathering them because you can clean everything once you’re home.
After harvesting, sort through the clover and remove insects, grass, damaged flowers, unwanted plants, and most of the stems.
A little leaf material isn’t necessarily a problem, but the finished flour will generally have a milder flavor when made primarily from blossoms. Lots of leaves and stems can give it a stronger grassy taste.
Fresh clover also takes up much more room than the finished flour, so don’t be surprised when a basket of blossoms eventually becomes a relatively small amount of powder.
Dry the Clover
Spread the cleaned blossoms loosely over a drying screen or tray. Don’t pile them deeply because you want air circulating around the flowers.
Leave them somewhere warm and well ventilated, preferably away from strong direct sunlight. You can also use a dehydrator on a low setting appropriate for herbs and flowers.
The blossoms need to become completely dry before you grind them.
Check the centers of some of the larger flower heads. If you detect moisture or they still feel soft, continue drying. Putting partially dried plant material into a sealed jar can encourage mold and spoilage.
Grind It Into Clover Flour
Once everything is thoroughly dry, put a small handful into a coffee or spice grinder and pulse until the blossoms become a fine powder.
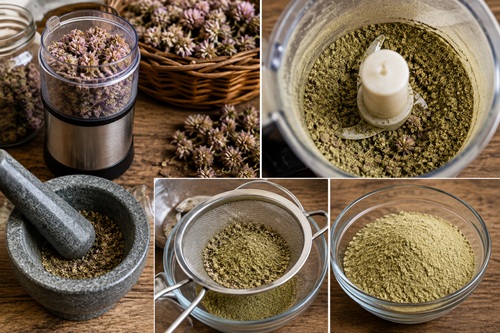
A food processor can handle larger quantities, although it may leave a somewhat coarser texture. A mortar and pestle also works and is a useful option if you’re practicing the skill without electricity.
If you want finer flour, pass the powder through a kitchen sieve. Return the larger pieces to the grinder and process them again.
The finished clover flour may be greenish, tan, or slightly floral in appearance. It won’t necessarily resemble finely milled white flour, and that’s perfectly normal.
Store Your Clover Flour
Put the finished flour into a clean, completely dry jar with a tight-fitting lid. Label it with the contents and processing date and keep it somewhere cool, dark, and dry.
Before using stored clover flour, check it just as you would any other stored food. If you notice moisture, mold, insects, or an unusual smell, discard it.
For your first attempt, making a small batch is better than trying to fill several jars. Make enough to experiment with a few recipes and decide whether you actually like it.
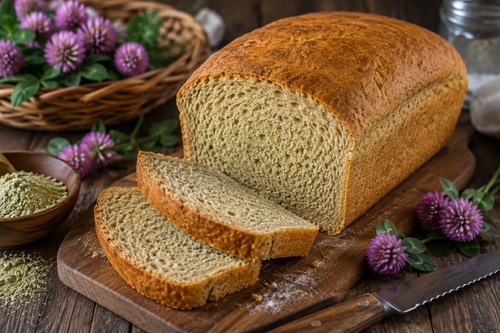
Simple Clover Flour Bread
One of the easiest ways to use your homemade clover flour is to add a modest amount to an ordinary loaf of bread.
The wheat flour still does most of the work, while the clover becomes an additional ingredient rather than trying to replace the flour completely.
Ingredients
- 3 cups all-purpose or bread flour
- 1/4 cup clover flour
- 1 cup warm water, plus a little more if needed
- 2 1/4 teaspoons active dry yeast
- 1 tablespoon honey or sugar
- 1 tablespoon oil or melted butter
- 1 teaspoon salt
Make the Bread
Pour the warm water into a large mixing bowl and stir in the honey or sugar. Add the yeast and allow it to sit for about 5 to 10 minutes, until it becomes noticeably foamy.
Stir in the oil or melted butter.
In another bowl, combine the wheat flour, clover flour, and salt. Gradually work the dry ingredients into the yeast mixture until a soft dough forms.
The exact amount of water can vary because different flours absorb moisture differently. If the dough seems excessively dry, add a little more water, about a tablespoon at a time. If it’s extremely sticky, work in a small amount of regular flour.
Turn the dough onto a lightly floured surface and knead it for roughly 8 to 10 minutes. You’re looking for dough that becomes smooth and elastic rather than remaining rough and sticky.
Place the dough into a lightly greased bowl, cover it, and leave it somewhere warm until approximately doubled in size. Depending on the room temperature and yeast, this will usually take around an hour.
Gently press the air from the risen dough and shape it into a loaf. Place it into a greased loaf pan, cover it again, and let it rise until noticeably expanded, generally another 30 to 45 minutes.
Bake at 375°F (190°C) for approximately 30 to 35 minutes, or until the loaf is nicely browned and sounds hollow when tapped on the bottom. For greater certainty, a typical lean yeast bread is generally finished when the center reaches roughly 190–200°F (88–93°C).
Remove the loaf from the pan and let it cool on a rack before slicing.
Adjust the Next Loaf
The first loaf is really an experiment.
If you barely notice the clover and want more character, add slightly more to your next batch. If the flavor is stronger than you’d like, reduce it.
That’s one advantage of making wild-food ingredients yourself. You don’t have to follow one rigid ratio forever. You can gradually adjust the recipe until you find the balance your household enjoys.
Just remember that adding increasingly large amounts of clover flour will change the bread’s texture because you’re replacing some of the gluten-forming wheat flour with plant material that doesn’t provide the same structure.
Other Ways to Use Clover Flour
Bread is only a starting point. A few tablespoons of clover flour can also be experimented with in pancakes, biscuits, muffins, crackers, quick breads, and similar recipes.
Start by replacing only a small amount of the conventional flour. It’s much easier to add more clover to your next batch than to rescue a recipe where you’ve replaced too much wheat flour.
This also makes clover flour a useful introduction to wild-food experimentation. You aren’t trying to live on clover or turn it into something it isn’t. You’re learning how a common plant can be harvested, processed, stored, and incorporated into foods you already know how to make.
Key Takeaways
Making wild-foraged clover flour doesn’t require complicated equipment or an elaborate process. Correctly identify red or white clover, harvest it from a clean location, remove unwanted material, dry the blossoms completely, grind them into powder, and keep the finished flour dry.
Then use it as an addition to regular flour rather than a complete replacement.
Start with a small batch, bake a loaf of clover bread, and see what you think. If you like it, the next time you walk past a field full of clover, you’ll be looking at it a little differently.
© Prepping Communities. This content is for informational purposes only and not professional advice. Use at your own risk.
Terms | Privacy | Guidelines