
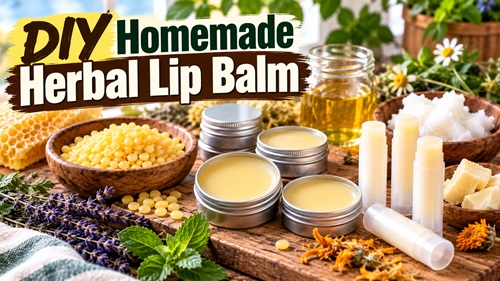
Lip balm is one of those small everyday items that is easy to overlook until you actually need it. Cold weather, dry air, wind, sun, and long periods outdoors can quickly leave lips dry and cracked. For preparedness, learning to make a simple balm is useful because the same basic ingredients and method can also teach the fundamentals of making other wax-and-oil personal-care products.
Homemade lip balm does not need to be complicated. At its simplest, it is a mixture of a liquid oil, a solid fat or butter, and wax. The oil helps soften the balm, the wax gives it structure, and the butter adds richness and improves how it feels on the lips. Once the basic formula is understood, it can be adjusted depending on the ingredients available and the consistency you prefer.
What You Will Need
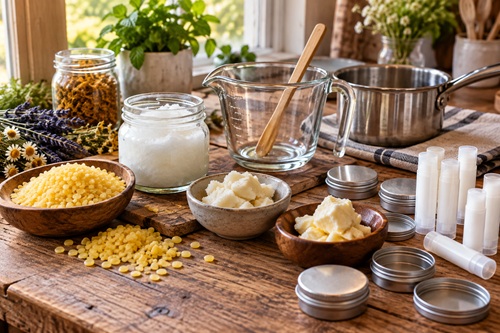
For a small batch, gather:
- 2 tablespoons coconut oil
- 1 tablespoon shea butter or cocoa butter
- 1 tablespoon beeswax pellets or finely grated beeswax
- Small lip balm tubes, tins, or glass jars
- Heat-safe glass measuring cup or small bowl
- Small saucepan
- Spoon or stirring stick
- Clean towel or oven mitt
This produces a basic unscented balm. Keeping the first batch simple is a good way to learn how the ingredients behave before experimenting with herbs, scents, or other additions.
Step 1 – Prepare the Containers
Clean and completely dry the containers before beginning. Moisture should not be introduced into an oil-and-wax balm.
Small metal tins are particularly useful for preparedness because they are durable and reusable. Small glass jars can also work. Lip balm tubes are convenient but are not required.
Set the containers on a level surface close to the work area before melting the ingredients. Once the balm is melted, it can begin solidifying surprisingly quickly.
Step 2 – Create a Simple Double Boiler
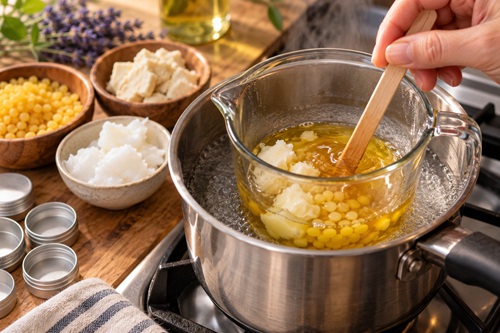
Place a small amount of water in a saucepan and bring it to a gentle simmer.
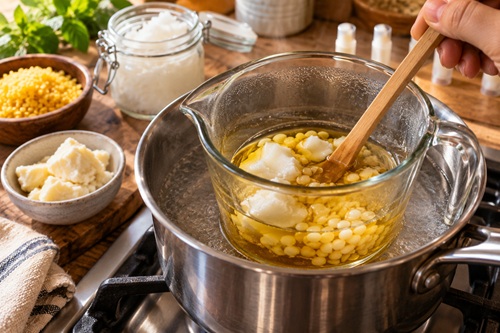
Put the beeswax, coconut oil, and shea or cocoa butter into a heat-safe glass measuring cup or bowl. Place the container into or over the simmering water so the ingredients are warmed indirectly.
Do not allow water to splash into the mixture.
Using indirect heat gives much better control than placing wax and oils directly over a burner.
Step 3 – Melt the Beeswax and Oils
Allow the ingredients to warm slowly while stirring occasionally.
The beeswax will generally take the longest to melt. Continue heating until everything has become completely liquid and the mixture appears uniform.
There is no reason to boil the ingredients. The goal is simply to use enough gentle heat to melt and combine them.
Once everything has melted, remove the mixture from the heat.
Step 4 – Test the Consistency
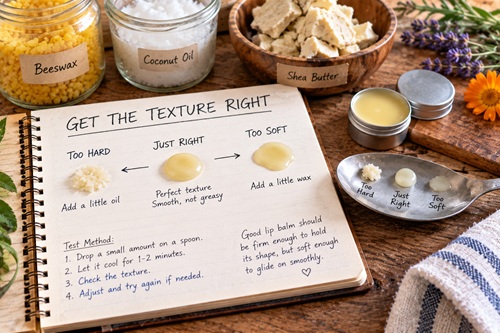
Before filling all the containers, place a few drops of the melted balm onto a cool spoon or plate.
Wait a minute for it to harden.
Rub the cooled balm between your fingers.
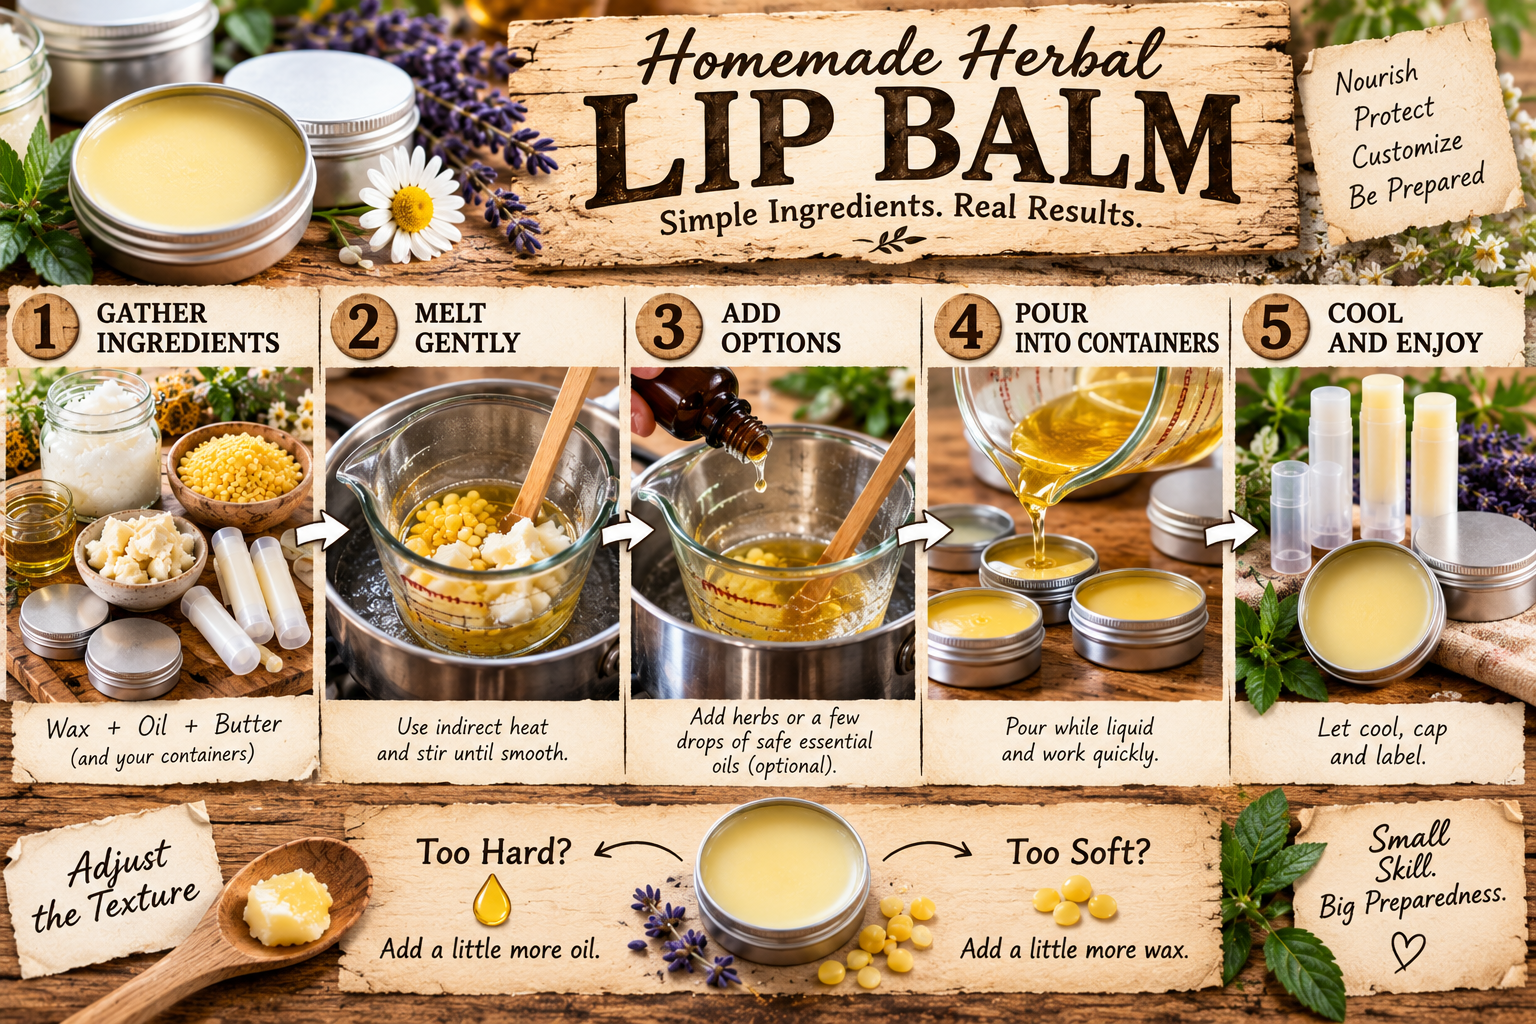
If it feels too hard, return the mixture to the heat and add a little more coconut oil.
If it feels too soft, add a small amount of beeswax and melt it again.
This simple test is worth learning because homemade balm does not require an exact formula. The consistency can be adjusted according to the ingredients available and how the finished product will be used.
A balm stored in a hot vehicle, for example, may benefit from slightly more wax than one kept inside a cool house.
Step 5 – Add Optional Ingredients Carefully
The safest and simplest version is the unscented balm.
Herb-infused oils can also be used in place of some of the plain oil if you already know how to prepare and safely use them.
Essential oils require considerably more caution. Lips and the surrounding skin can be sensitive, and not every essential oil is appropriate for lip products. More is not better.
For a preparedness product, there is actually a strong argument for leaving essential oils out entirely. An unscented balm has fewer ingredients, fewer potential sensitivities, and is easier to reproduce.
Step 6 – Fill the Containers
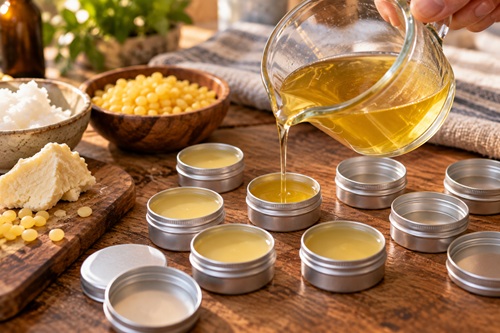
While the mixture is still completely liquid, carefully pour it into the prepared tubes, tins, or jars.
Work fairly quickly because the wax will begin hardening as it cools.
If the mixture starts solidifying in the measuring container, simply return it to the warm water briefly until it becomes liquid again.
Leave the containers uncovered and undisturbed until the balm has completely cooled.
Once solid, install the lids or caps.
Step 7 – Label the Batch
Write the date and basic ingredients on each container.
This may seem unnecessary for something as simple as lip balm, but labeling homemade products is a good preparedness habit. Months later, it can be surprisingly difficult to remember exactly what went into a particular batch.
If you begin experimenting with different formulas, labeling also allows you to identify which version worked best.
Making an Herbal-Infused Version
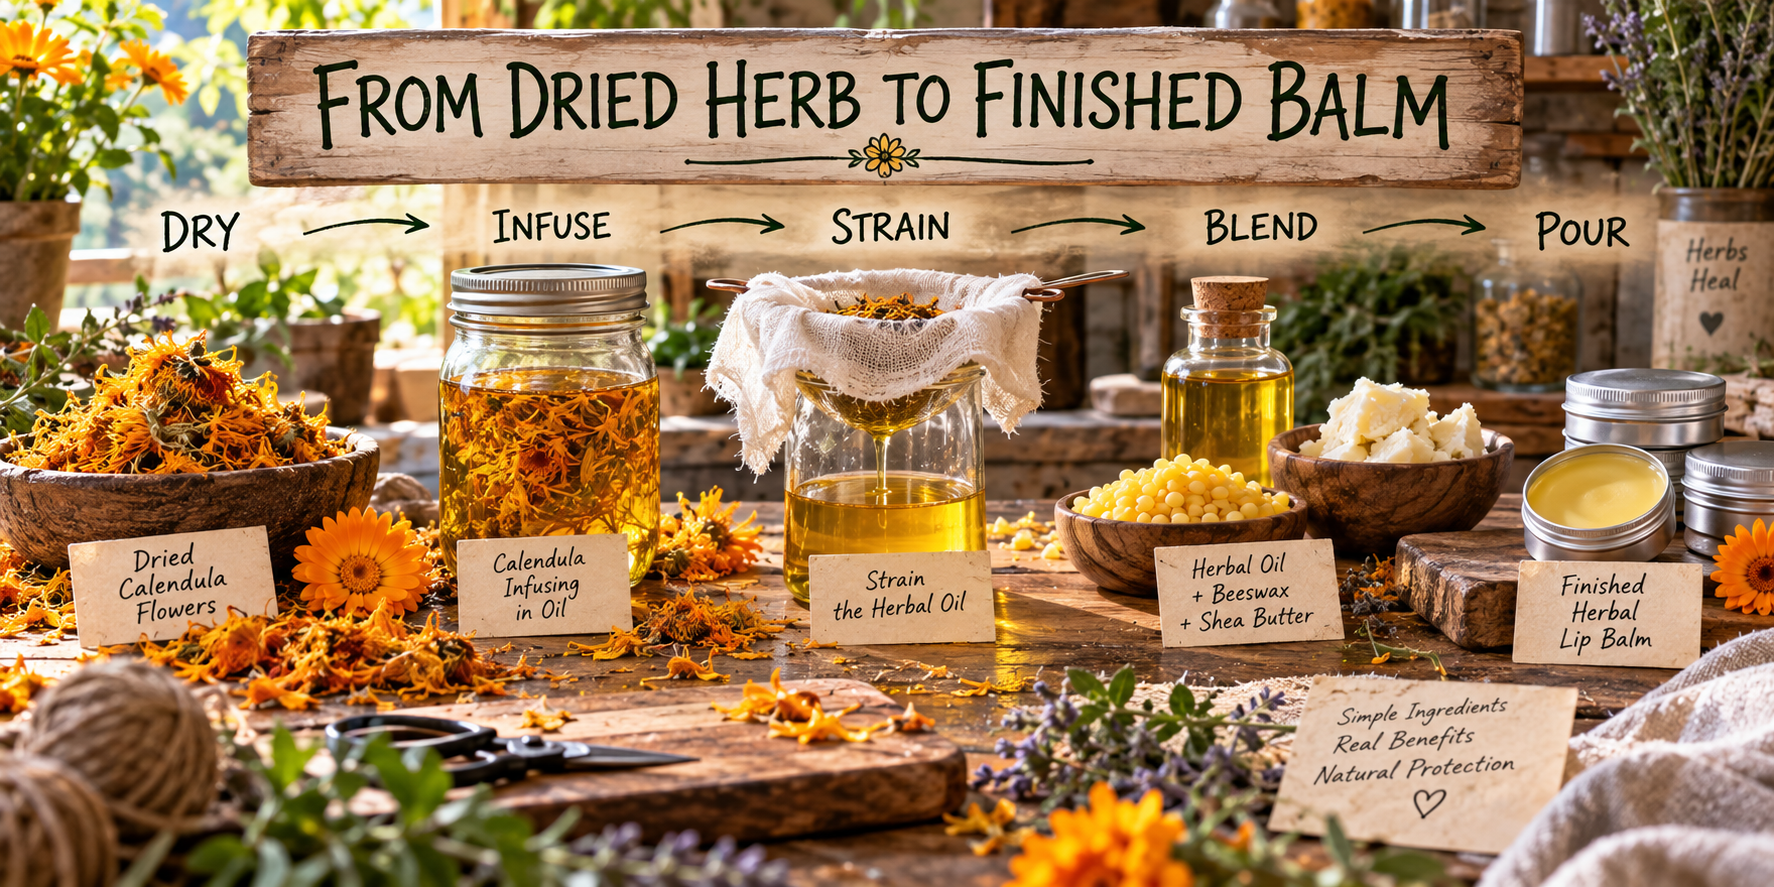
Instead of adding pieces of dried herbs directly to the balm, an herb can be infused into an appropriate carrier oil first and the plant material filtered out before the oil is used.
Calendula is one example commonly used in homemade skin preparations.
Start with properly dried plant material. Moisture introduced by fresh herbs can create storage and contamination problems in oil preparations.
Place the dried herb in a clean, dry container and cover it completely with the chosen carrier oil. The oil can then be infused using an appropriate slow or controlled method before being carefully strained.
Once filtered, the infused oil can replace some or all of the plain liquid oil in the basic lip balm recipe.
Learning this technique is valuable because infused oils can become the starting point for many other homemade preparations.
Understanding the Basic Formula
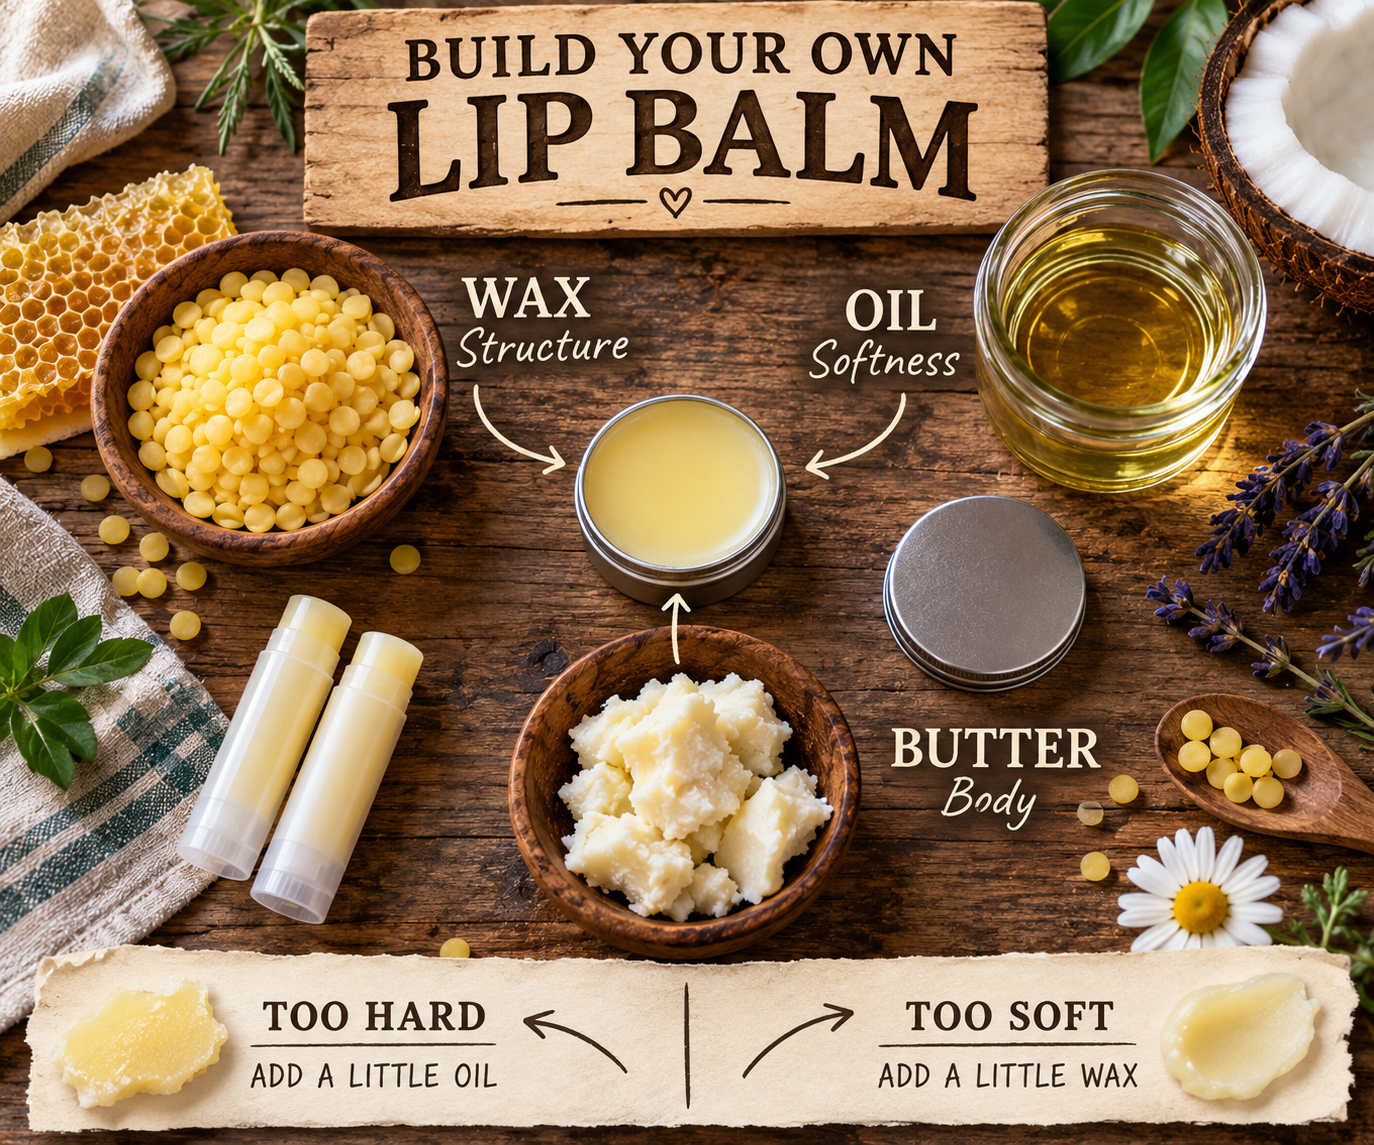
The most useful part of this project is not memorizing a recipe. It is understanding what each ingredient does.
Wax provides structure.
Liquid oil provides softness and spreadability.
Plant butter provides richness and body.
Once that relationship is understood, the formula becomes adaptable.
Too hard? Increase the oil slightly.
Too soft? Increase the wax slightly.
Too greasy? Experiment with the balance of wax and butter.
This is the difference between simply following a recipe and actually learning the skill.
Storage and Shelf Life
Homemade lip balm should be protected from excessive heat, moisture, and direct sunlight.
Because the recipe contains oils and fats, those ingredients can eventually oxidize and become rancid. Make smaller batches rather than producing several years’ worth at once.
Check older balm before using it. A noticeable change in smell, taste, appearance, or texture is a good reason to discard it.
Never assume that something is indefinitely shelf stable simply because it contains no water.
Why This Skill Matters for Preparedness
The preparedness value goes beyond having homemade lip balm.
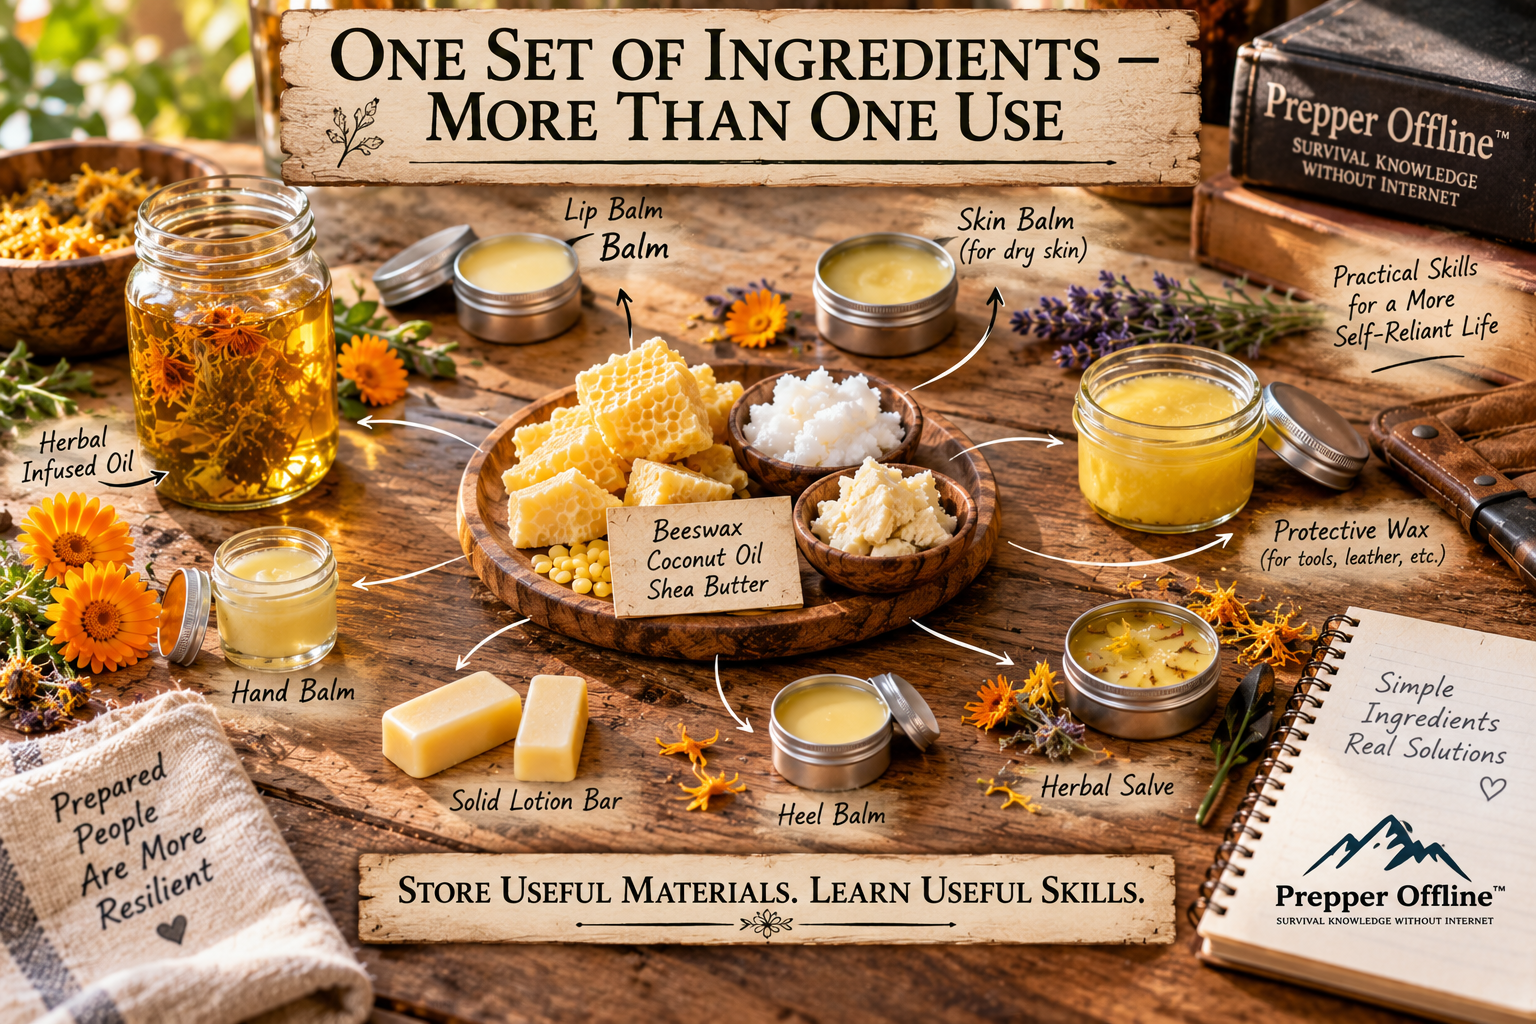
Beeswax, coconut oil, cocoa butter, shea butter, and similar ingredients can serve multiple purposes around a household. Learning how oils, fats, and waxes behave when heated and combined also provides a foundation for making other simple household and personal-care products.
There is another advantage: very little specialized equipment is required. A saucepan, heat-safe container, spoon, and small storage containers are enough to make a basic batch.
That makes this exactly the type of small DIY skill worth practicing before it is needed.
Preparedness Action Plan
Make one small batch using only wax, oil, and butter. Test the finished consistency after it has completely cooled. If it is too hard or too soft, remelt it and adjust the ratio.
Record the formula that works best for you.
Keep enough of the basic ingredients on hand to reproduce it, but avoid making excessive quantities simply for storage. Keeping versatile raw ingredients provides more options than storing large amounts of a single finished product.
Finally, practice making the balm without relying on specialized equipment. Being able to reproduce a useful household product with basic kitchen tools is where the real preparedness value lies.
Key Takeaways
Homemade lip balm is a simple project built around three basic components: wax for structure, oil for softness, and butter for body. Understanding those roles makes it possible to adjust the recipe instead of depending on one exact formula.
Start simple, keep equipment and containers clean and dry, use gentle indirect heat, label each batch, and be cautious with optional essential oils or herbal additions.
The finished lip balm is useful, but the larger preparedness lesson is even more valuable: learn how common raw materials work so you can make what you need instead of depending entirely on finished commercial products.
© Prepping Communities. This content is for informational purposes only and not professional advice. Use at your own risk.
Terms | Privacy | Guidelines