
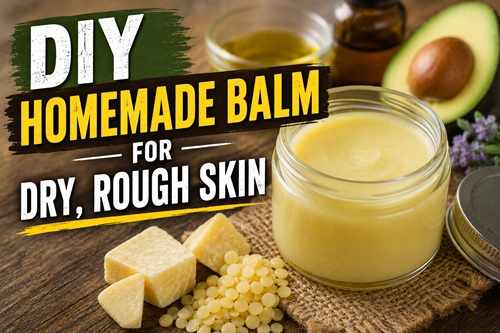
Cold winter air, dry indoor heat, wind, frequent handwashing, gardening, and outdoor work can leave hands, elbows, knees, and other areas feeling rough and dry. A simple homemade balm is an easy way to add a protective layer of oils and waxes without making a complicated lotion.
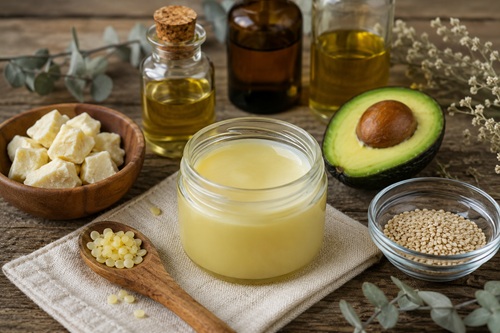
This recipe uses cocoa butter, sesame oil, avocado oil, and beeswax. The cocoa butter gives the balm richness and body, while the liquid oils make it easier to spread. Beeswax firms everything up and leaves a protective coating on the skin.
Unlike a water-based lotion, this is an anhydrous balm, meaning there is no added water. That keeps the recipe simple because you aren’t trying to combine water and oil into an emulsion.
What You’ll Need
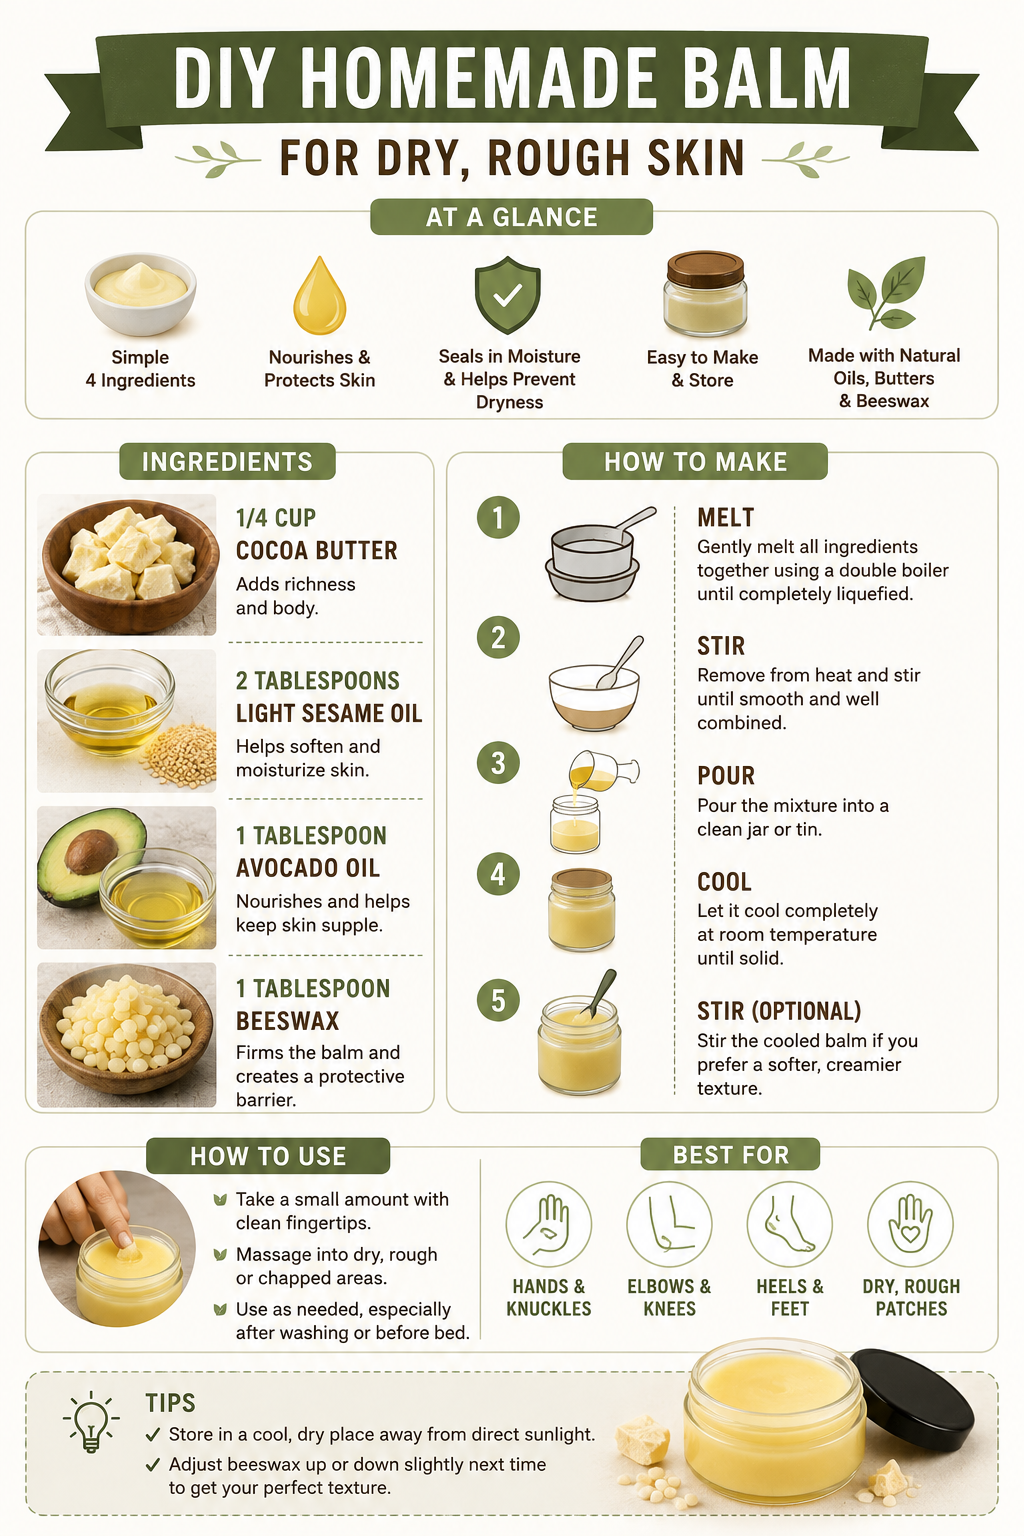
For one small batch, you’ll need 1/4 cup grated cocoa butter, 2 tablespoons light sesame oil, 1 tablespoon avocado oil, and 1 tablespoon grated beeswax. You’ll also need a small heat-safe bowl or measuring cup, a saucepan for creating a water bath, a spoon or small spatula, and a clean 4-ounce jar or tin for the finished balm.
Grating or chopping the cocoa butter and beeswax into small pieces helps them melt more evenly. Have your container clean, completely dry, and ready before you begin because the balm will start firming as it cools.
Melt the Ingredients
Place the cocoa butter, sesame oil, avocado oil, and beeswax into a heat-resistant container. Set the container into a saucepan containing a small amount of gently simmering water, creating a simple double boiler.
Heat slowly rather than using high heat. As the cocoa butter and beeswax begin melting, stir the mixture occasionally. Continue until everything has melted together and the balm looks smooth and uniform.
Be careful not to get water into the oils. Because this recipe contains no water, keeping the container and utensils dry helps maintain the simplicity of the finished balm.
Pour and Cool
Carefully remove the container from the heat and give the mixture another thorough stir. Pour the warm balm into your clean jar or tin while it is still completely liquid.
Leave the container uncovered or loosely covered while the balm cools. As the cocoa butter and beeswax return to room temperature, the mixture will gradually change from a clear liquid into a soft, solid balm.
Once completely cool, stir it if you prefer a slightly softer, worked texture, or simply leave it as a solid balm. Then secure the lid.
How to Use It
You only need a small amount. Rub a fingertip across the surface of the balm and massage it into dry areas such as hands, knuckles, elbows, heels, knees, or other patches of rough skin.
The warmth from your fingers and skin will soften the oils and wax, making the balm easier to spread. Applying it after washing or bathing, once the skin has been gently dried, can be particularly useful because the oily layer helps reduce moisture loss.
For very dry hands, apply a little before bed and allow it to remain on the skin overnight.
Because everyone’s skin reacts differently to cosmetic ingredients, try a small amount on a limited area first. Stop using it if you notice irritation, redness, itching, or another unwanted reaction. Avoid applying homemade balm to infected skin or significant open wounds.
Adjusting the Texture
One advantage of making your own balm is that you can adjust the consistency the next time you make it.
If the finished balm feels harder than you like, slightly reduce the beeswax or increase the liquid oil in the next batch. If it becomes too soft in a warm house, slightly increasing the beeswax will produce a firmer balm.
Make small adjustments rather than dramatically changing the proportions. Beeswax has a significant effect on texture, so even a modest change can make a noticeable difference.
Why Make Your Own Skin Balm?
The biggest advantage is simplicity. Four basic ingredients produce a useful skin balm without requiring complicated lotion-making equipment or an emulsification process.
It’s also a practical skill to know. Cocoa butter, beeswax, and plant oils have uses in many homemade body-care products, and learning how different ratios affect hardness and spreadability makes it easier to experiment with other simple balms later.
A small jar also goes a long way because this isn’t meant to be applied as heavily as a conventional body lotion. Keep one near the sink, in the workshop, or wherever dry hands tend to become a problem.
Simple Homemade Skin Care
Homemade skin care doesn’t have to involve a long ingredient list. A basic combination of cocoa butter, beeswax, and liquid oils can produce a rich balm that is easy to make, easy to store, and useful whenever hands, elbows, heels, or other areas become dry and rough.
Start with a small batch, see how the texture works for you, and adjust the next batch if you want it softer or firmer. Sometimes the simplest DIY recipes are the ones that end up getting used the most.
© Prepping Communities. This content is for informational purposes only and not professional advice. Use at your own risk.
Terms | Privacy | Guidelines