
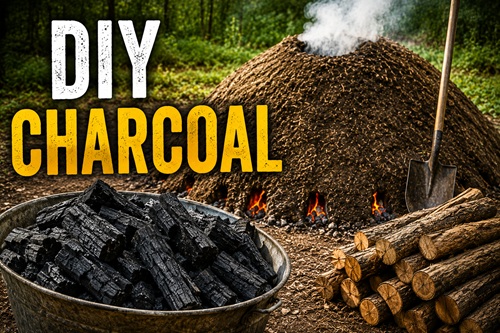
How to Make Charcoal Using the Mound Method
Charcoal is made by heating wood while limiting how much oxygen can reach it. If wood has plenty of oxygen, it burns until most of it becomes ash. Restrict the oxygen while keeping the wood hot, and much of the material is driven off while the carbon-rich structure remains. That’s charcoal.
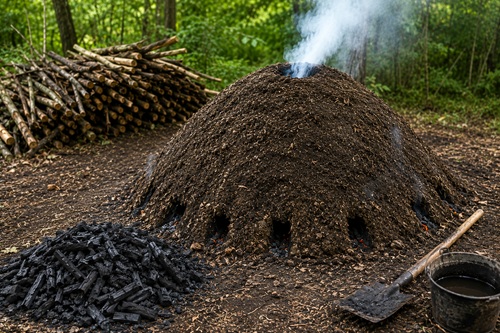
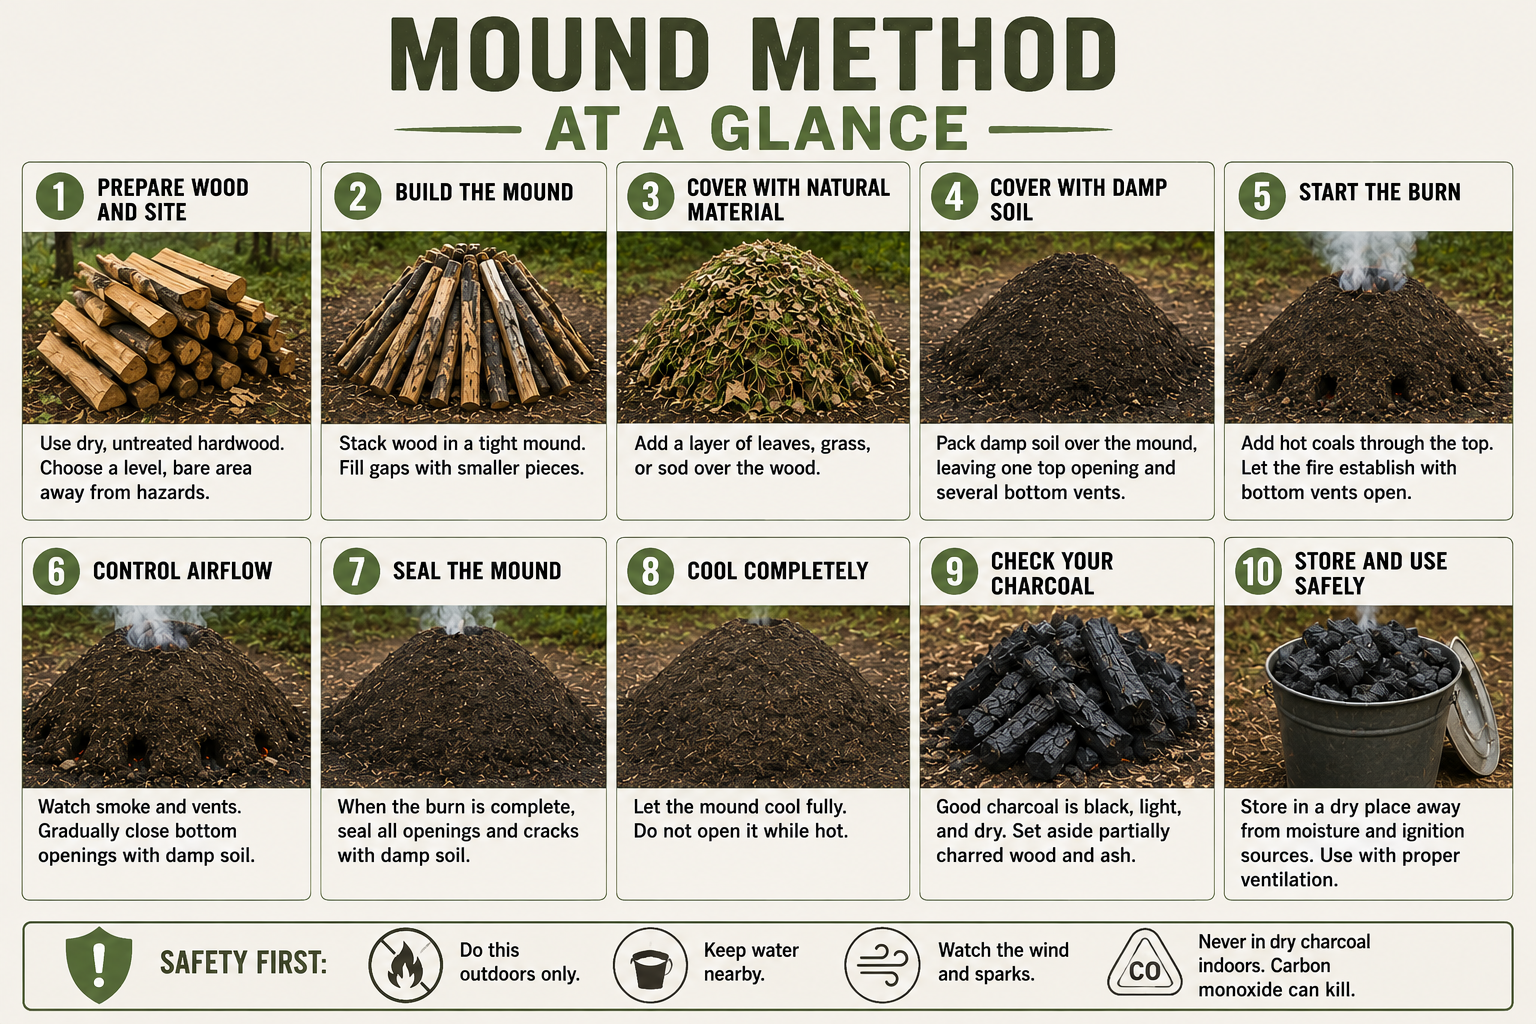
The mound method is one of the simplest ways to do this without a kiln or metal drum. You stack dry wood into a compact mound, cover it with vegetation and damp soil, start a controlled fire inside, and gradually close the air openings as the wood chars. It takes some practice because you’re controlling a fire you can’t directly see, but the basic method is straightforward.
Do this only outdoors where open burning is permitted. Charcoal making creates a lot of smoke, heat, sparks, and carbon monoxide. Pick a clear area well away from buildings, dry vegetation, vehicles, fuel, and overhanging branches, and have plenty of water available before you light anything.
Choosing the Wood and Building the Mound
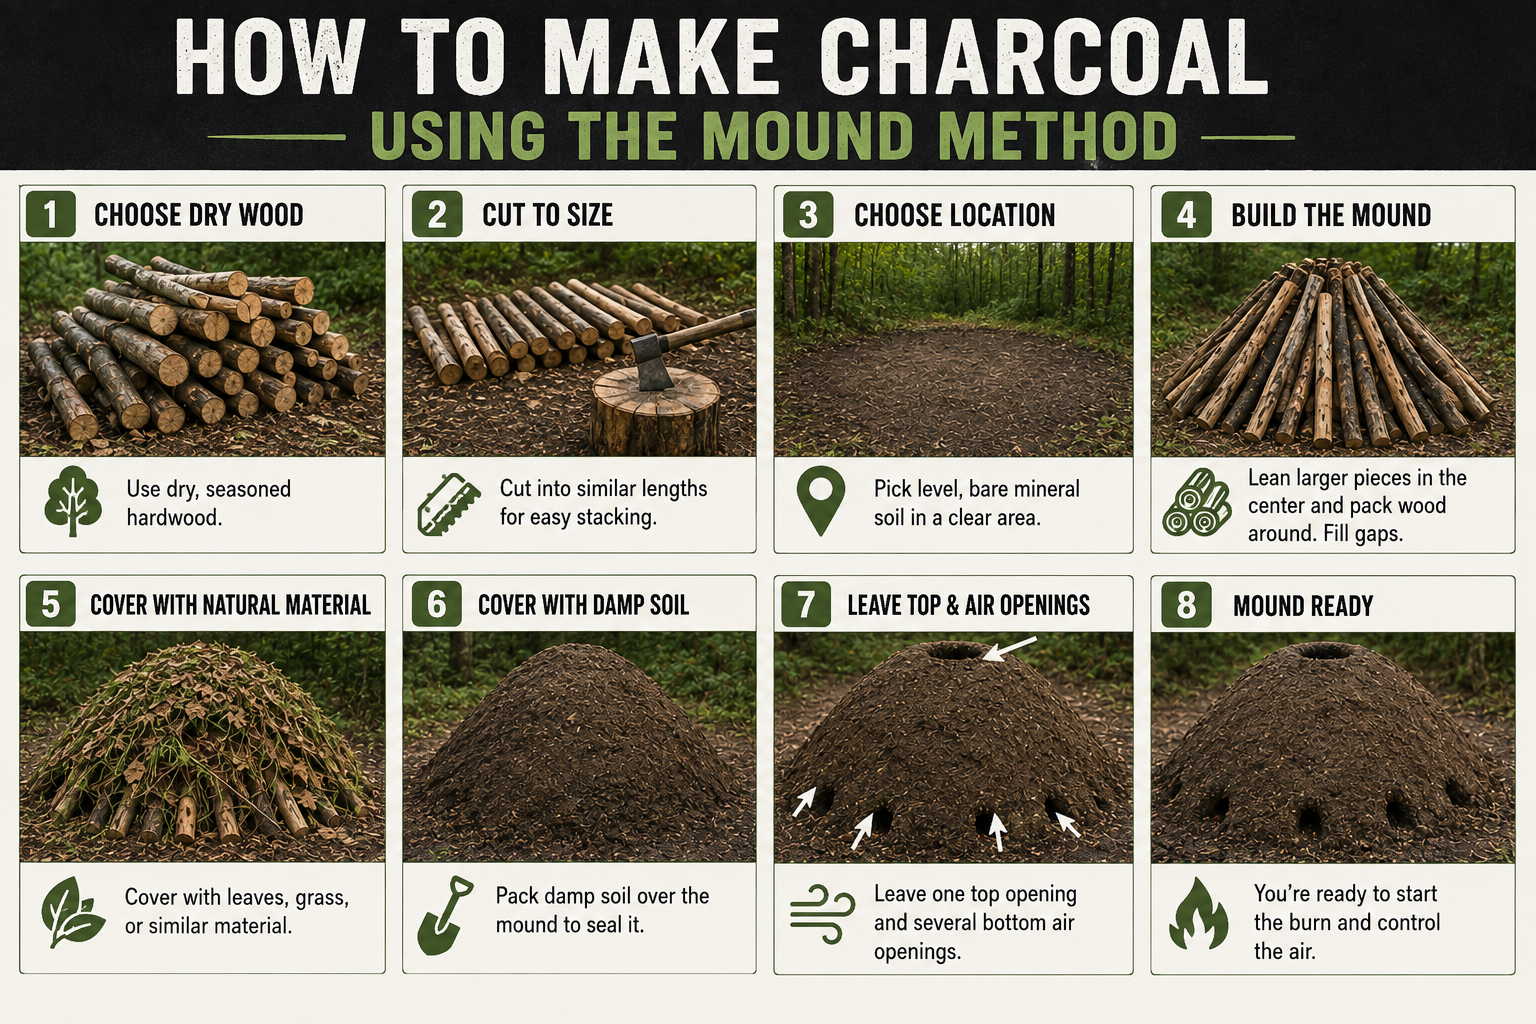
Start with dry, seasoned wood. Dense hardwoods such as oak, maple, beech, and hickory generally produce good charcoal, but there is no reason to overlook another suitable hardwood that is plentiful where you live. Dry wood is much easier to work with than freshly cut green wood because you aren’t spending the first part of the burn trying to drive off a large amount of water.
Use natural, untreated wood. Don’t use pressure-treated lumber, plywood, particleboard, painted wood, railroad ties, or scraps that may contain preservatives, glue, paint, or other chemicals.
Cut the wood into pieces that are reasonably similar in length. They don’t need to be perfect. You’re simply trying to make the mound easy to stack without leaving huge empty spaces inside.
Choose a patch of level, bare mineral soil for the burn. Avoid peat, deep forest litter, buried roots, or other organic ground that could continue smoldering after the mound appears to be finished. A calm day is much easier to work with than a windy one.
Build the mound by standing or leaning some of the larger pieces together near the center and then packing additional wood around them. Fill larger spaces with smaller pieces as you work outward. You want a fairly tight pile rather than a loose stack of firewood.
Once the wood is stacked, cover it with leaves, grass, sod, or similar natural material. This first layer helps keep the soil you’re about to add from falling directly through the spaces between the wood.
Mix soil with enough water to make it damp and workable, then pack it over the mound. You don’t need to create a work of art. You need a continuous covering that can restrict air.
Leave an opening near the top and make several small air openings around the bottom edge. The top opening gives you somewhere to introduce the fire and lets smoke escape during the early part of the burn. The lower openings supply the air needed to get the wood hot.
Starting the Burn
The easiest way to start the mound is with a good supply of hot coals from another fire. Carefully put the coals through the opening at the top. Some small dry kindling can be added if needed to get the interior burning.
Once the fire catches, you should begin seeing smoke coming from the top.
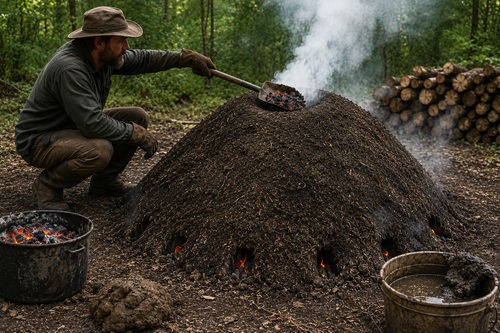
Leave the lower air holes open at first. The fire needs oxygen to establish itself and produce enough heat to start charring the wood. Don’t seal everything immediately or you may simply smother the fire.
Stay with the mound while this is happening. This isn’t a fire you light and come back to several hours later.
Watch the lower vents and the soil covering. As the burn works its way through the mound, you’ll notice changes in the amount of smoke and heat coming from different areas.
When combustion becomes well established near one of the lower vents, close that opening with damp soil. Continue doing this as the burn progresses, gradually reducing the amount of oxygen entering the mound.
The covering will probably crack as the wood heats and shrinks. Patch those cracks with damp soil when you see them. If smoke is suddenly coming through a place where you didn’t make a vent, you’ve probably found an air leak.
This is the part that takes practice. Too much air lets the wood and newly formed charcoal burn toward ash. Shut the air down too soon and you may end up with a mound full of partially charred wood.
Sealing and Cooling the Mound
Once the burn has worked through the mound, close the remaining lower vents with damp soil. Seal the opening at the top as well.
Walk around the mound and look for smoke escaping through cracks or holes. Patch those areas until the mound is sealed as completely as you can make it.
Then leave it alone.
Don’t dig into the mound while the charcoal is still hot. Opening it introduces fresh oxygen, and charcoal that looked like it was finished can suddenly start burning again.
Cooling can take many hours and a larger mound may need considerably longer. Give it plenty of time. Losing a batch because you opened it too early isn’t worth saving a few hours.
Only start uncovering the mound when you’re confident it is completely cold.
Checking Your Charcoal
Carefully remove the soil and uncover the wood.
Good charcoal should be black, dry, noticeably lighter than the original wood, and firm enough to handle. You’ll often still see the grain and shape of the original piece.
Break a few pieces open.
If a piece is black on the outside but still looks like ordinary brown wood in the center, it didn’t carbonize completely. Set those pieces aside. They can go into another charcoal batch rather than being wasted.
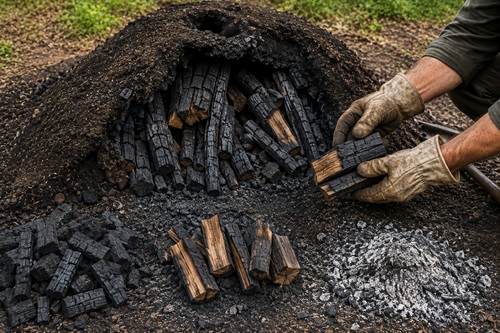
If you’re finding large amounts of gray or white ash instead, that section probably received too much oxygen and continued burning after the wood had turned to charcoal.
Don’t be surprised if your first mound produces some good charcoal, some partially charred wood, and some ash. Look at where each type came from. That gives you useful clues about where the mound received too much air or not enough heat.
After a few attempts, you’ll get much better at recognizing what is happening from the smoke, vents, and condition of the soil covering.
Storing and Using the Charcoal
Make certain the charcoal is completely cold before storing it. A large piece can hide heat inside even when its surface doesn’t feel particularly hot.
Spread the finished charcoal on bare mineral soil or another noncombustible surface while you sort it. Once you’re certain everything is cold and dry, put the usable charcoal into a dry container and protect it from rain.
Keep it away from flames and sparks. Charcoal is now a concentrated fuel, which is the whole reason you made it.
For most people, fuel is the main reason to make charcoal. It works well in equipment designed for charcoal cooking and has traditionally been important for blacksmithing and other work requiring concentrated heat.
Pieces of charcoal can also be used for drawing and temporary marking. There are applications for charcoal in soil improvement as well, although ordinary lump charcoal shouldn’t automatically be considered finished biochar. Preparing charcoal specifically for soil use is a separate process worth learning on its own.
Don’t Confuse Charcoal With Activated Charcoal
Homemade charcoal isn’t the same thing as activated charcoal.
Activated carbon is processed further under controlled conditions to create an enormous internal surface area. That’s what makes it useful for adsorbing certain contaminants in properly designed filters and for specific medical applications.
Crushing your homemade charcoal into powder doesn’t make it medical-grade activated charcoal.
Don’t eat homemade charcoal as an improvised treatment for poisoning. Also don’t assume that running questionable water through a container of homemade charcoal makes it safe to drink. Charcoal can be useful in certain properly designed filtration systems, but it doesn’t reliably remove every microorganism, chemical, heavy metal, or other dangerous contaminant.
One Safety Rule You Don’t Ignore
Never burn charcoal inside a house, tent, vehicle, camper, garage, shed, or other enclosed space.
Charcoal can produce dangerous amounts of carbon monoxide. You can’t see or smell carbon monoxide, which means people can be exposed without realizing what is happening.
This is especially worth remembering during power outages. A charcoal grill may look like an easy emergency source of heat or a way to cook indoors, but bringing one inside can be deadly. Keep charcoal-burning equipment outdoors and use it only as intended.
Start With a Small Batch
There’s no reason to make a huge mound the first time you try this.
A small mound uses less wood, is easier to cover, and makes it much easier to learn how the vents affect the burn. If you make a mistake, you haven’t lost a large pile of firewood.
Build the mound, get it burning, watch what happens at the vents, patch the cracks, and gradually shut down the air. Let it get completely cold before opening it and then break apart several pieces to see how well they carbonized.
If you find brown wood in the middle, you know the burn didn’t progress far enough. If you find too much ash, you know too much oxygen got inside. Adjust the next batch accordingly.
That’s really how you learn the mound method. Make a small batch, see what the fire actually did, make an adjustment, and try again.
Once you can consistently turn a small mound of dry wood into solid charcoal without burning most of it to ash, you’ve learned a practical skill that can be repeated with little more than wood, soil, water, fire, and some patience.
© Prepping Communities. This content is for informational purposes only and not professional advice. Use at your own risk.
Terms | Privacy | Guidelines