
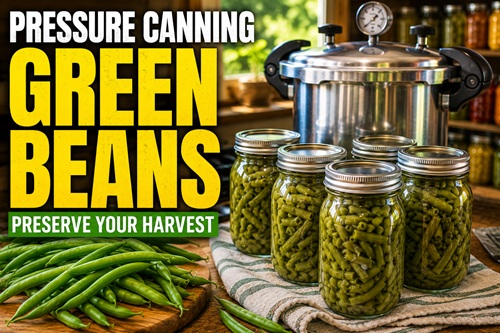
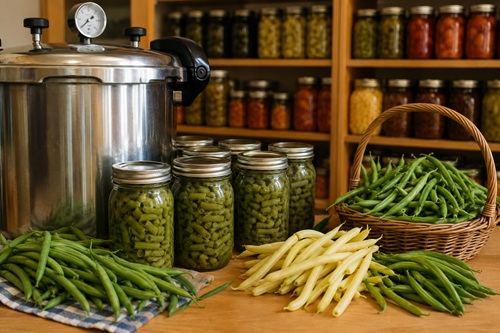
Pressure canning green beans is one of the most valuable food preservation skills for anyone building a resilient pantry. Green beans are among the most productive vegetables in many home gardens, often producing far more than can be eaten fresh during the growing season. Preserving that harvest allows you to enjoy homegrown vegetables throughout the year while reducing food waste and increasing your household’s food security.
Whether you are preserving snap beans, Italian beans, or wax beans, the canning process remains essentially the same. Properly pressure-canned green beans retain good flavor, texture, and nutritional value, making them a convenient addition to soups, casseroles, stews, and countless everyday meals. Having shelves stocked with home-canned vegetables also reduces dependence on grocery stores and provides peace of mind during supply disruptions or emergencies.
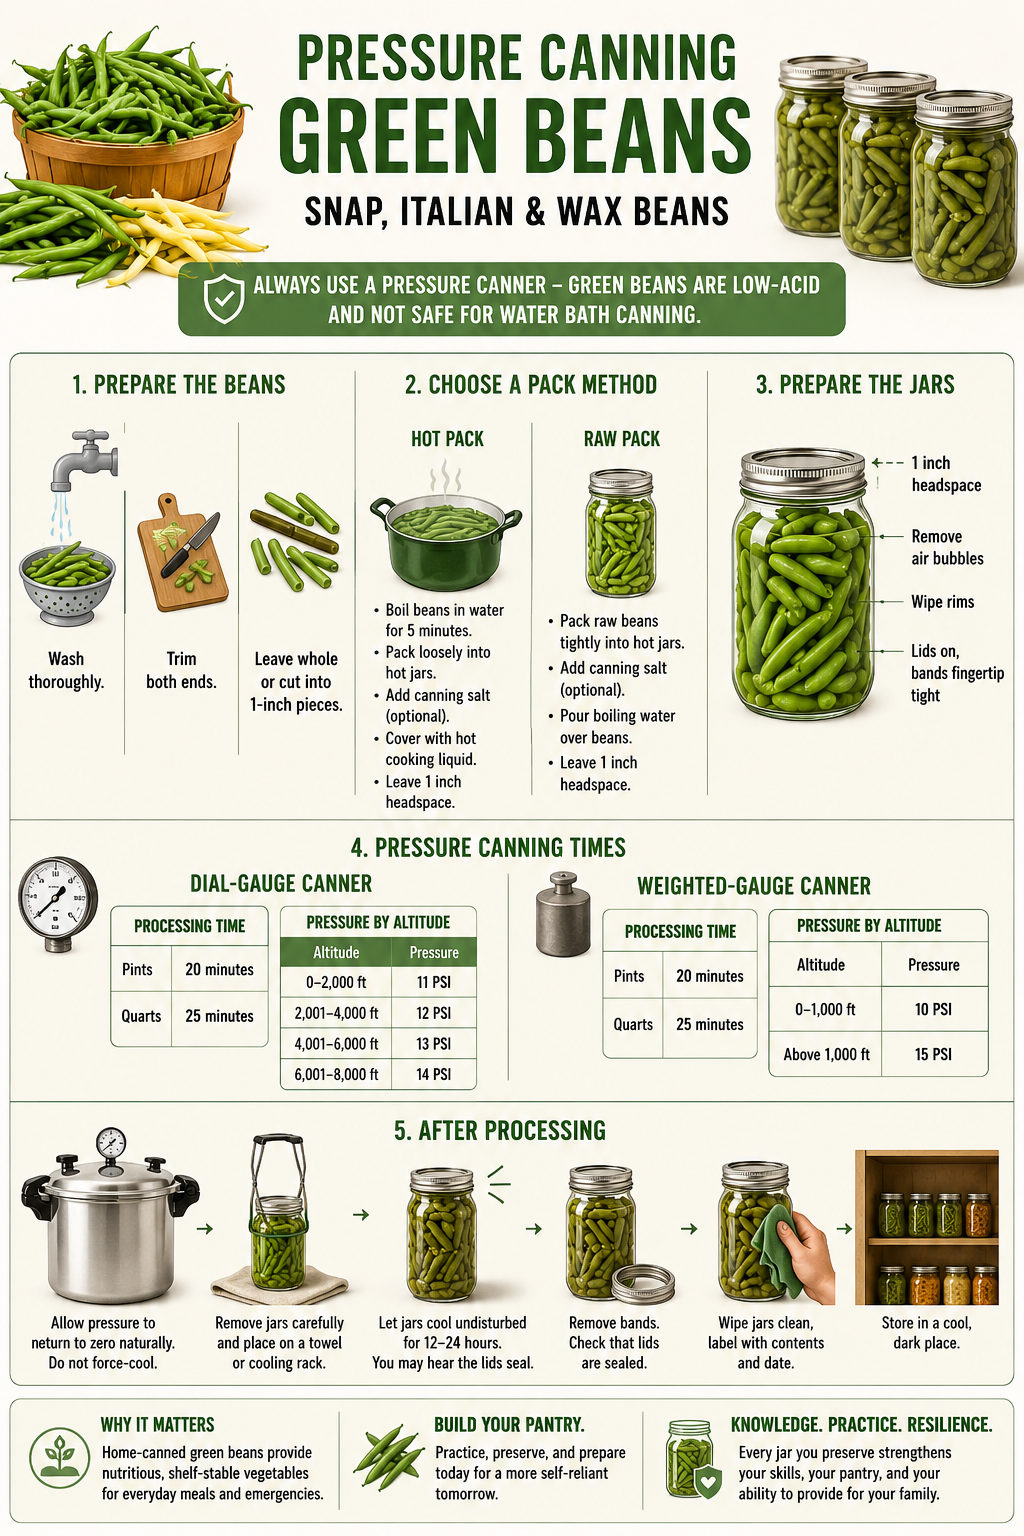
Because green beans are a low-acid food, they must always be processed in a pressure canner. Unlike high-acid foods such as fruits or pickles, green beans cannot be safely preserved using a boiling water bath. Pressure canning reaches the temperatures necessary to destroy harmful bacteria that can survive in low-acid foods, making it the only approved method for safely preserving plain green beans.
Selecting fresh, tender beans is the first step toward producing a high-quality finished product. Avoid beans that are overly mature, tough, or damaged, as they will not can as well. Wash the beans thoroughly, trim both ends, and either leave them whole or cut them into bite-sized pieces depending on your family’s preferences.
Ingredients
- Fresh green, snap, Italian, or wax beans
- Boiling water
- Canning salt (optional)
- 1 teaspoon per quart
- ½ teaspoon per pint
Preparing the Beans
- Wash the beans thoroughly under cool running water.
- Trim both stem ends.
- Leave the beans whole or cut into approximately 1-inch pieces.
Hot Pack Method
The hot pack method helps remove excess air from the beans before processing, often resulting in better quality and less floating during storage.
- Cover the prepared beans with boiling water.
- Boil for 5 minutes.
- Pack the hot beans loosely into hot, sterilized jars.
- Add canning salt if desired.
- Cover the beans with the hot cooking liquid.
- Leave 1 inch headspace.
- Remove trapped air bubbles.
- Wipe the jar rims clean.
- Apply lids and screw bands until fingertip tight.
Raw Pack Method
The raw pack method is faster and is commonly used during large harvests.
- Pack the raw beans tightly into hot jars.
- Add canning salt if desired.
- Pour boiling water over the beans.
- Leave 1 inch headspace.
- Remove trapped air bubbles.
- Wipe the jar rims clean.
- Apply lids and screw bands until fingertip tight.
Pressure Canning
Dial-Gauge Pressure Canner
Processing Time
| Jar Size | Time |
|---|---|
| Pints | 20 minutes |
| Quarts | 25 minutes |
Pressure by Altitude
| Altitude | Pressure |
| 0–2,000 ft | 11 PSI |
| 2,001–4,000 ft | 12 PSI |
| 4,001–6,000 ft | 13 PSI |
| 6,001–8,000 ft | 14 PSI |
Weighted-Gauge Pressure Canner
Processing Time
| Jar Size | Time |
| Pints | 20 minutes |
| Quarts | 25 minutes |
Pressure by Altitude
| Altitude | Pressure |
| 0–1,000 ft | 10 PSI |
| Above 1,000 ft | 15 PSI |
After Processing
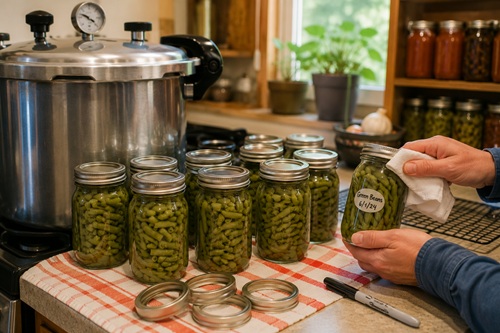
When the processing time has been completed, allow the pressure canner to return to zero pressure naturally according to the manufacturer’s instructions. Do not force-cool the canner, as doing so may interfere with proper sealing and food safety.
Carefully remove the jars and place them on a towel or cooling rack where they can remain undisturbed for 12 to 24 hours. As the jars cool, you should hear the lids sealing. Once completely cool, remove the screw bands, verify that each lid has sealed properly, wipe the jars clean, label them with the contents and date, and store them in a cool, dark location.
Preparedness Notes
Pressure-canned green beans are one of the foundation foods of a well-prepared pantry. Because they require no refrigeration until opened, they provide a dependable source of vegetables during power outages, severe weather, supply chain disruptions, and other emergencies. Home canning also allows families to preserve surplus garden harvests while controlling ingredients and reducing long-term food costs.
Remember that safe canning depends on following tested procedures every time. Always use a pressure canner that is in good working condition, adjust pressure for your altitude, maintain the recommended processing time, and inspect every jar before consuming its contents. Any jar showing signs of spoilage, a failed seal, leakage, or unusual odor should be discarded immediately without tasting the food.
Preparedness Action Plan
Practice pressure canning with a small batch before the peak harvest season arrives. Become comfortable preparing jars, maintaining the proper pressure, adjusting for altitude, and verifying successful seals. Once you have confidence in the process, develop a seasonal canning schedule that allows you to preserve enough vegetables to support your household throughout the year. Building these skills before they are needed ensures you can safely preserve food whenever fresh produce is abundant.
In Summary
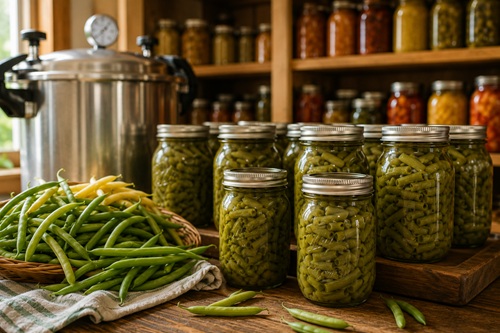
Pressure canning green beans is one of the most practical ways to preserve a garden harvest while building a dependable pantry. By following approved pressure-canning procedures and using the correct processing time and pressure for your altitude, you can safely preserve nutritious vegetables that are ready whenever your family needs them.
Like any preparedness skill, proficiency comes through practice. Each batch you preserve builds experience, strengthens your confidence, and adds another layer of resilience to your household. Over time, those jars become more than stored food – they represent knowledge, self-reliance, and the ability to make the most of every growing season.
© Prepping Communities. This content is for informational purposes only and not professional advice. Use at your own risk.
Terms | Privacy | Guidelines