
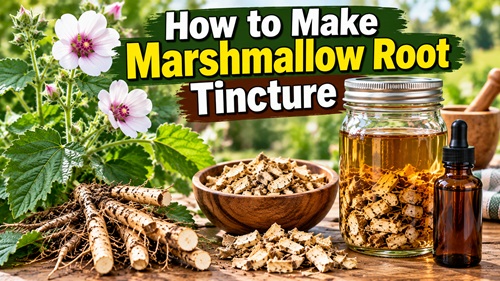
Marshmallow root has nothing to do with the bag of fluffy marshmallows sitting in the grocery store today, although the two share an interesting history. The marshmallow plant (Althaea officinalis) has been used traditionally for centuries, particularly because its roots contain large amounts of mucilage. When mixed with liquid, these plant compounds create the slippery, soothing quality for which marshmallow root is known.
For preparedness, marshmallow is worth learning about for another reason: it is a perennial plant that can potentially be grown, harvested, dried and processed at home. Instead of thinking only in terms of buying another herbal product, learning the complete process creates a renewable skill. A household can grow the plant, harvest some of the root after the growing season, preserve it and turn that material into different herbal preparations.
A tincture is one method of preserving and extracting compounds from herbs using drinking alcohol. Once prepared and strained, the liquid takes up far less space than the original plant material and can be stored in small bottles away from heat and light. The actual hands-on work is minimal, but tinctures require patience because the plant material remains in the extracting liquid for several weeks.
It is important to keep herbal preparations in perspective. Traditional use does not mean an herb is appropriate for every person or every medical problem. Herbs can cause allergic reactions, interact with medications and affect people differently. A homemade tincture should therefore be viewed as an herbal preparation skill rather than a substitute for professional medical care. Anyone considering internal use should check the safety of marshmallow root for their circumstances, particularly if medications or medical conditions are involved.
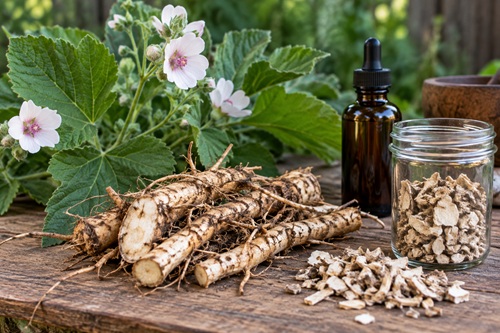
How to Make Marshmallow Root Tincture
Step 1 — Identify the Plant Correctly
If you are purchasing dried marshmallow root, look for the botanical name:
Althaea officinalis
Botanical names matter because common plant names can sometimes refer to more than one species.
If harvesting your own plant, identification becomes even more important. Never consume a wild plant based solely on its resemblance to an online photograph.
Learn to positively identify the plant before harvesting it.
For someone new to herbal preparations, commercially obtained dried marshmallow root is the simplest place to begin.
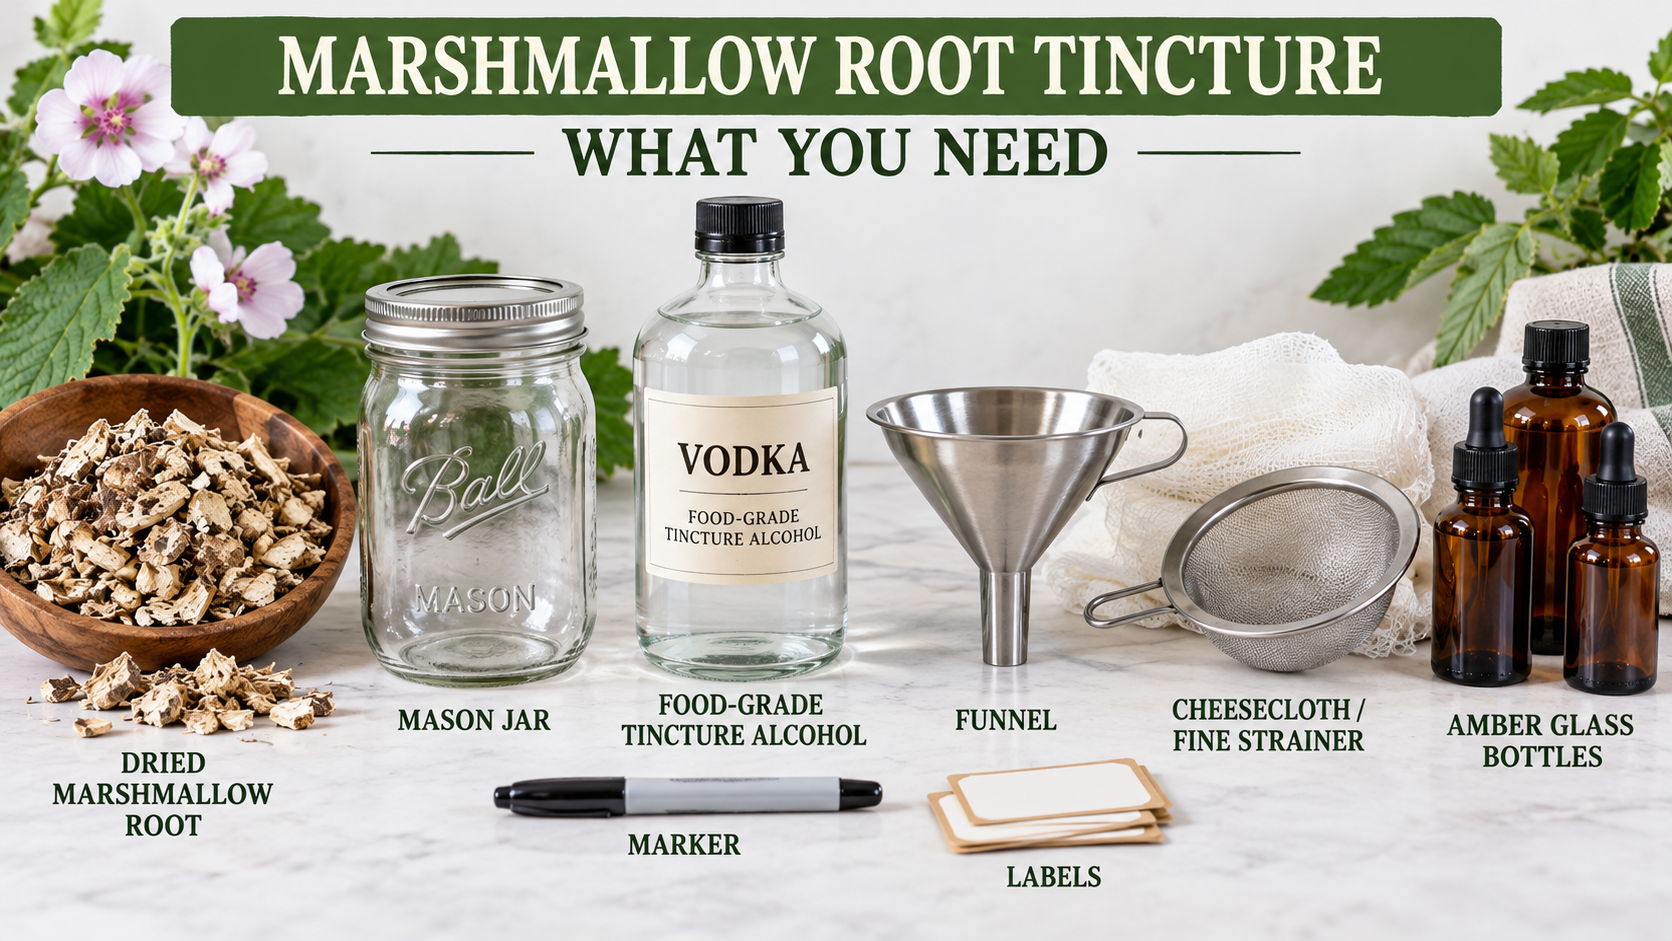
Step 2 — Gather Your Equipment
You only need a few basic items.
Prepare a clean glass mason jar with a tight-fitting lid, dried marshmallow root, a drinking alcohol suitable for tincture making, a funnel, fine mesh strainer or cheesecloth, and clean dark-glass bottles for the finished tincture.
You will also need labels and a permanent marker.
The labels may seem unimportant now, but several months later one bottle of brown herbal extract can look remarkably similar to another.
Never depend upon memory.
Step 3 — Prepare the Marshmallow Root
Dried marshmallow root usually arrives already chopped into relatively small pieces.
If your root pieces are unusually large, reduce them into smaller pieces before placing them in the jar.
Increasing the exposed surface area allows more of the plant material to contact the extracting liquid.
Do not grind everything into a fine powder. Small pieces are easier to strain from the finished tincture.
Step 4 — Fill the Jar
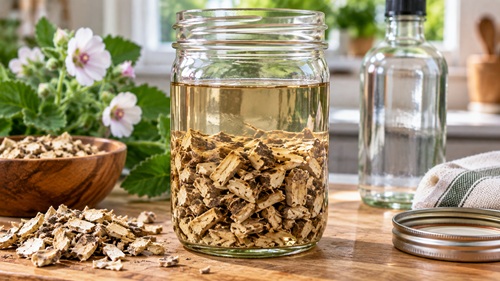
Place dried marshmallow root into your clean mason jar until the jar is approximately halfway full.
Do not pack the root tightly.
The pieces need enough room for the alcohol to move around them, and dried roots may absorb liquid as they sit.
Using a jar larger than you think you need is usually easier than trying to cram everything into a container that is already full.
Step 5 — Add the Alcohol
Pour drinkable alcohol over the dried marshmallow root until all of the plant material is thoroughly covered.
Vodka is commonly used for homemade tinctures because its relatively neutral flavor does not overpower the plant.
Use only alcohol intended for human consumption.
Never use rubbing alcohol, isopropyl alcohol, denatured alcohol or other non-food alcohol for a preparation intended to be consumed.
These products can be toxic when ingested.
The source material recommends alcohol-based extraction but gives inconsistent alcohol strengths in different sections, so rather than treating one of those conflicting figures as definitive, use a reputable herbal formulation reference for the appropriate alcohol concentration for marshmallow root.
Step 6 — Make Sure the Root Is Covered
Look through the side of the jar.
The marshmallow root should remain covered by the extracting liquid.
Some pieces may initially float, but there should be enough liquid that the plant material can remain thoroughly saturated.
Dried roots absorb liquid as they rehydrate.
Check the jar again during the first several days. If the root has absorbed enough alcohol that portions are no longer adequately covered, additional appropriate tincture alcohol may be necessary.
Keeping the plant material properly covered helps reduce the opportunity for exposed wet plant material to deteriorate.
Step 7 — Seal and Label the Jar
Close the jar securely.
Immediately create a label.
At minimum, record:
Marshmallow Root — Althaea officinalis
Also record the date the tincture was started and the type and strength of alcohol used.
This information becomes increasingly valuable as an herbal collection grows.
Good labeling turns jars into usable preparedness resources.
Poor labeling eventually creates a shelf full of mystery liquids.
Step 8 — Store the Tincture Away From Light
Place the jar somewhere cool and protected from direct sunlight.
A cupboard or pantry can work well.
The tincture does not need to occupy valuable refrigerator space while extracting.
Avoid areas that become excessively hot, such as a shelf directly above a stove or beside a heating appliance.
Step 9 — Let It Extract for Several Weeks
This is the easiest part.
Wait.
The source describes several weeks of extraction before straining, although its narrative and recipe sections give somewhat different time ranges. A practical approach is to follow the steeping period specified by the trusted herbal formulation reference or recipe you have chosen and record that target date on the jar.
Periodically check the liquid level and condition of the plant material.
Give the jar a gentle shake occasionally to redistribute the root.
Tincture making requires very little daily work. Most of the process is simply allowing sufficient contact time between the herb and extracting liquid.
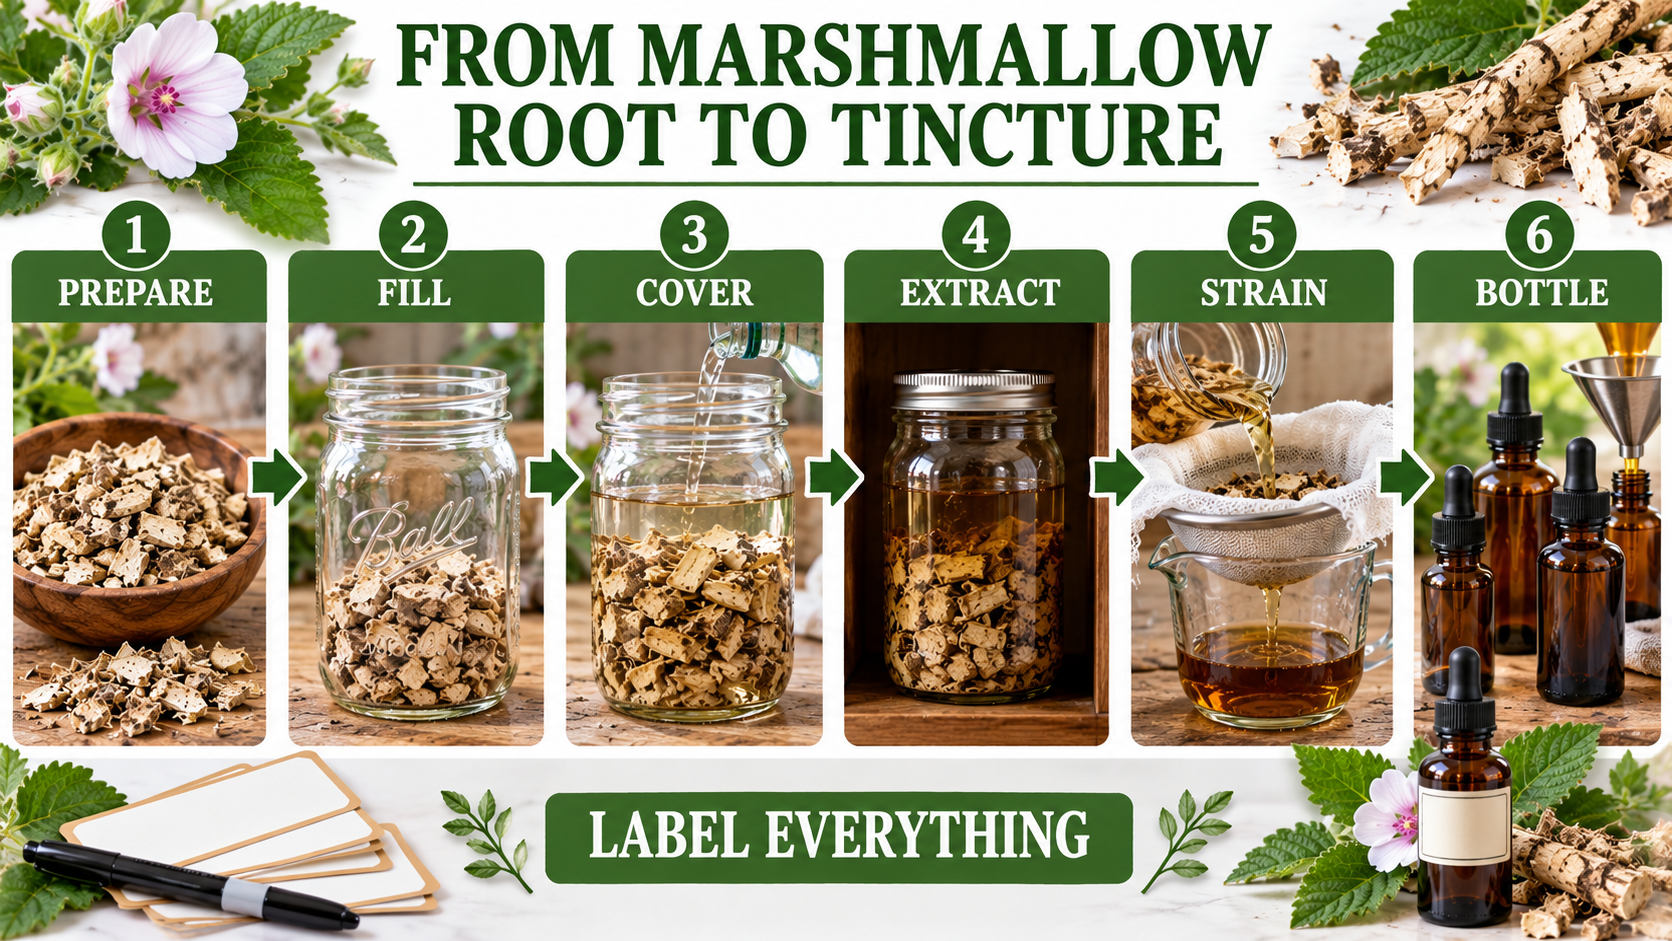
Step 10 — Prepare to Strain the Tincture
When the extraction period is complete, prepare a clean container, funnel and fine mesh strainer or several layers of cheesecloth.
Wash your hands and make sure everything contacting the finished tincture is clean.
Place the funnel into the receiving container and position your straining material inside it.
Work somewhere that is easy to clean.
Herbal tinctures have a remarkable ability to find countertops, clothing and floors.
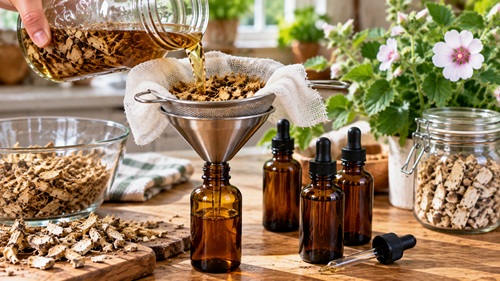
Step 11 — Strain Out the Marshmallow Root
Pour the contents of the jar through the strainer.
Allow the liquid to drain completely.
Then press or squeeze the wet root material carefully to recover additional liquid trapped inside it.
The spent plant material can then be discarded or composted where appropriate.
What remains is the finished herbal extract.
Step 12 — Bottle the Finished Tincture
Transfer the strained liquid into clean dark-glass bottles.
Amber glass is useful because it reduces exposure to light.
Small bottles are convenient because the entire supply does not need to be repeatedly opened whenever a small amount is required.
Fill the bottles carefully and close them securely.
Step 13 — Label Everything Again
Do not assume you will remember what is inside the bottle.
Label the finished tincture with the plant’s common name, botanical name, preparation date, alcohol information and any other information necessary to identify the preparation.
If several bottles came from the same batch, label every bottle.
This becomes especially important in a preparedness setting where someone other than the person who made the tincture may eventually need to identify it.
Step 14 — Store It Properly
Keep the finished tincture tightly closed and protected from excessive heat and direct sunlight.
An organized herbal cabinet is much better than bottles scattered throughout the house.
Consider keeping your herbal reference information in the same general location.
That reference should explain what the plant is, how the preparation was made, relevant safety information and where reliable information about its use can be found.
The goal is not simply to preserve the tincture.
It is to preserve the knowledge required to understand what is in the bottle.
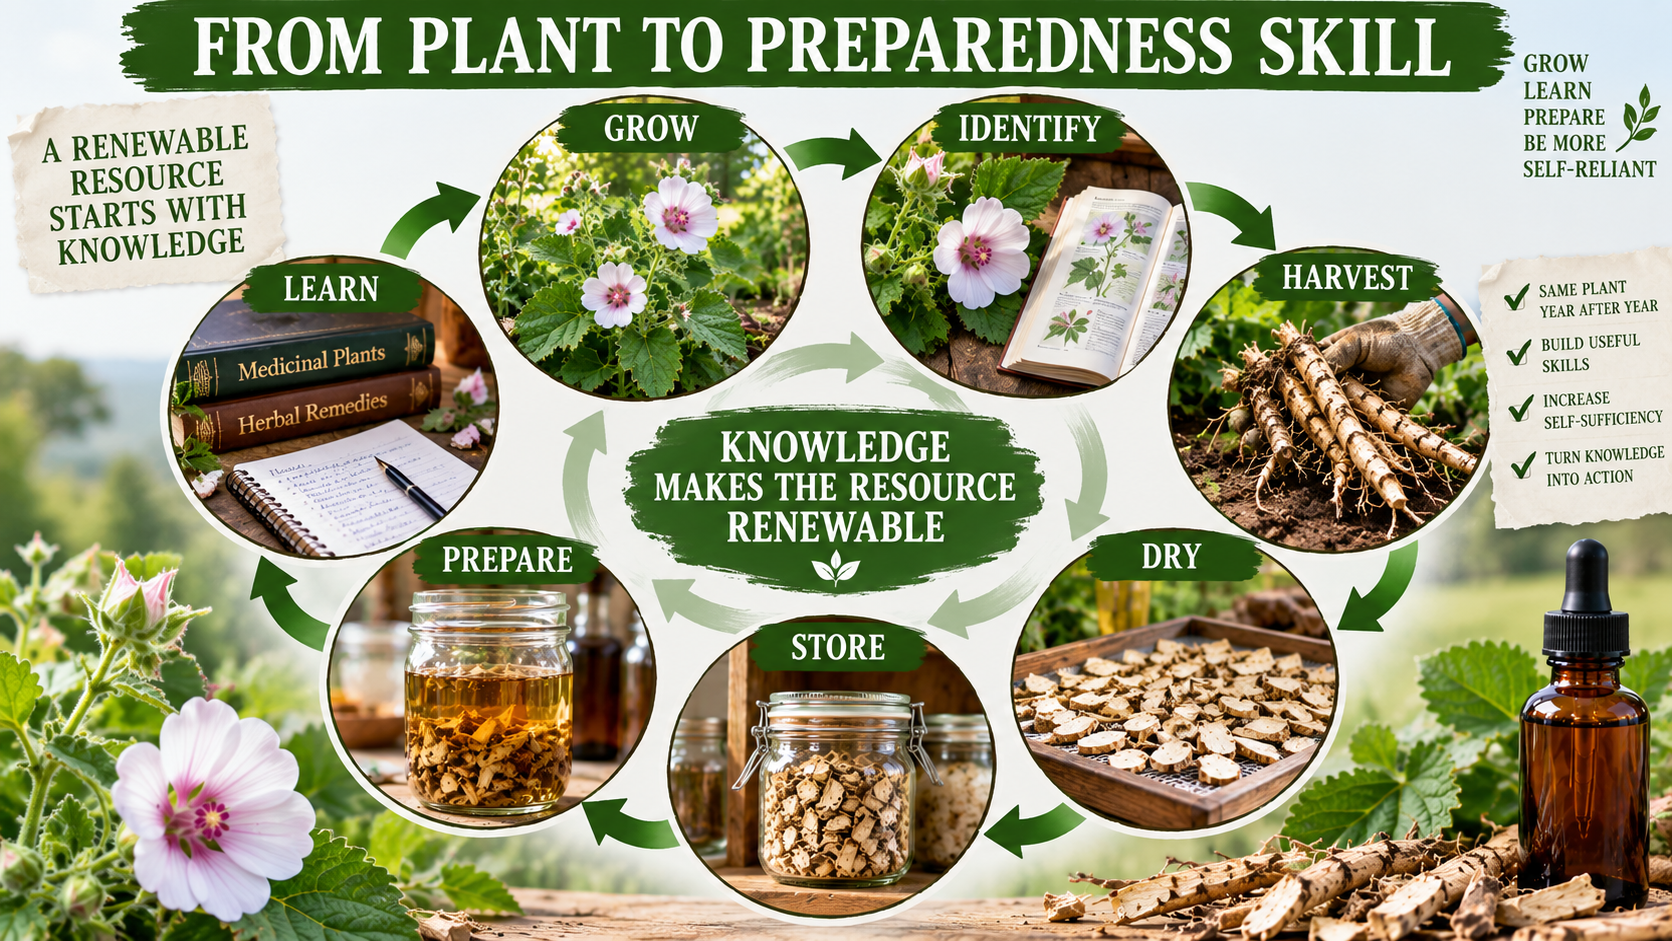
Growing Marshmallow for Preparedness
Marshmallow can become more interesting from a preparedness standpoint when the plant itself is grown at home.
Althaea officinalis is a perennial, meaning an established plant can return year after year. It generally prefers moist soil and can grow in full sun while tolerating some partial shade. The source notes that marshmallow naturally occurs in moist locations such as riverbanks and can be started from seed, cuttings or divisions.
Roots are generally harvested after the plant has died back and entered dormancy. Instead of destroying an entire established planting every year, a gardener can learn to divide mature plants and manage them as a renewable resource.
This creates a much more resilient system than simply purchasing dried root indefinitely.
You have the plant.
You have the knowledge to grow it.
You know how to harvest it.
You know how to preserve it.
And you know how to turn the stored plant material into a useful preparation.
That is the difference between owning an herbal product and developing an herbal preparedness skill.
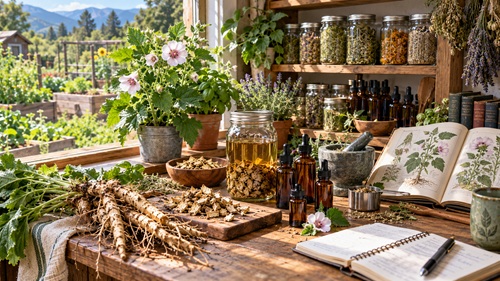
Preparedness Action Plan
Start with a small batch using properly identified dried Althaea officinalis root rather than attempting a large quantity the first time.
Document the entire process as you work. Record the source of the herb, alcohol used, preparation date, extraction method, straining date and final yield. Keep those notes with your offline herbal references.
If marshmallow grows successfully in your climate, consider adding a few plants to the household herb garden. Learn to recognize them throughout their growing cycle rather than only when they are flowering.
Eventually practice harvesting, drying and storing some of your own root.
The objective is not to accumulate bottles of tincture. It is to understand the complete chain from plant identification through cultivation, harvesting, preservation, preparation and safe storage.
Once that process becomes familiar, the same basic skills can help you understand many other traditional herbal preparations.
Key Takeaways
Marshmallow root tincture requires relatively little equipment or hands-on work. The basic process involves properly identifying the herb, preparing the root, covering it with an appropriate food-grade extracting alcohol, allowing sufficient extraction time, straining the plant material and storing the finished tincture in properly labeled bottles.
Never use rubbing alcohol, isopropyl alcohol or denatured alcohol in a tincture intended for consumption.
Accurate identification and labeling are just as important as the extraction itself. Every stored herbal preparation should clearly identify what it contains and when and how it was made.
Most importantly, learn the skill rather than simply making the product. Growing, identifying, harvesting, preserving and processing a useful plant creates a much more resilient capability than depending entirely on a bottle purchased from somewhere else.
© Prepping Communities. This content is for informational purposes only and not professional advice. Use at your own risk.
Terms | Privacy | Guidelines