
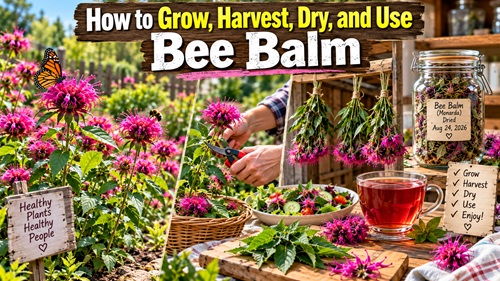
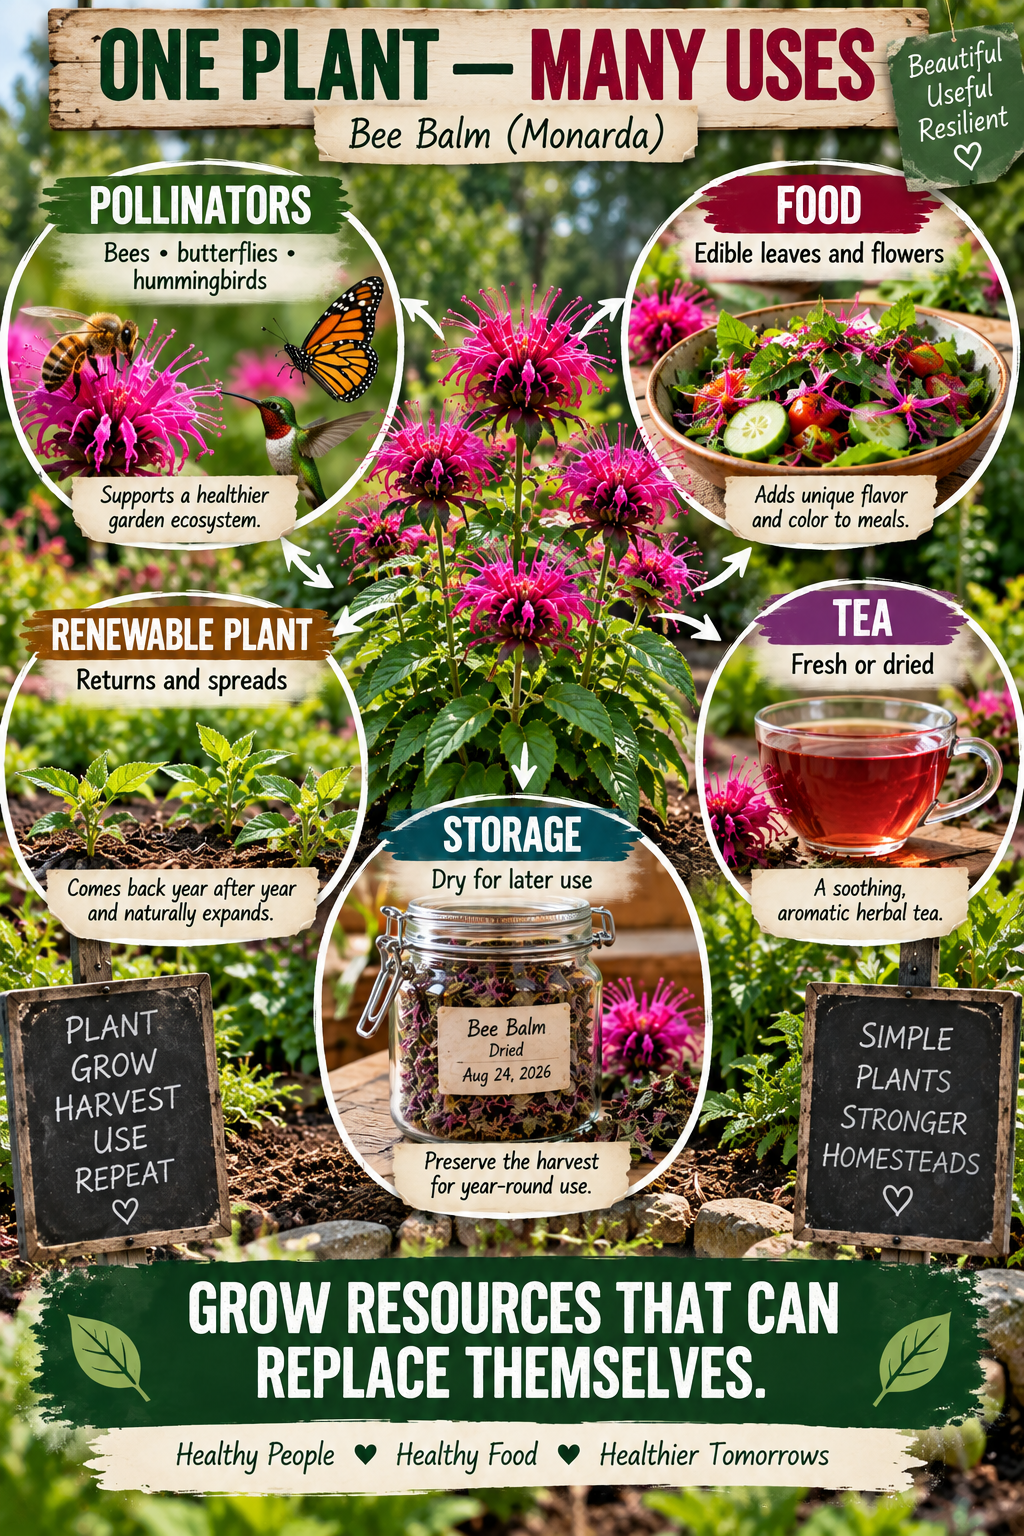
Bee balm is one of those plants that earns its place in a preparedness garden because it does several jobs at once. It attracts bees, butterflies, hummingbirds, and other pollinators, while also producing edible leaves and flowers that can be harvested and dried. Once established, it returns year after year and gradually spreads, giving you a renewable plant rather than something that has to be purchased and replanted every season.
Bee balm belongs to the Monarda genus and the mint family. Two commonly grown types are Monarda didyma, often called scarlet bee balm, and Monarda fistulosa, commonly known as wild bergamot. Both are North American native perennials. For a prepper or homesteader, the real value isn’t simply having bee balm growing in the yard. The useful skill is learning the entire cycle – how to establish it, keep it healthy, harvest it without damaging the plant, preserve what you harvest, and maintain enough living plants to produce another crop next year.
Choosing Where to Grow Bee Balm
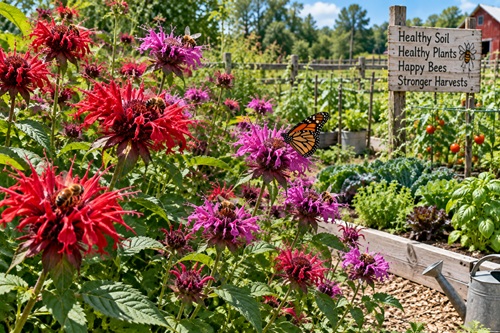
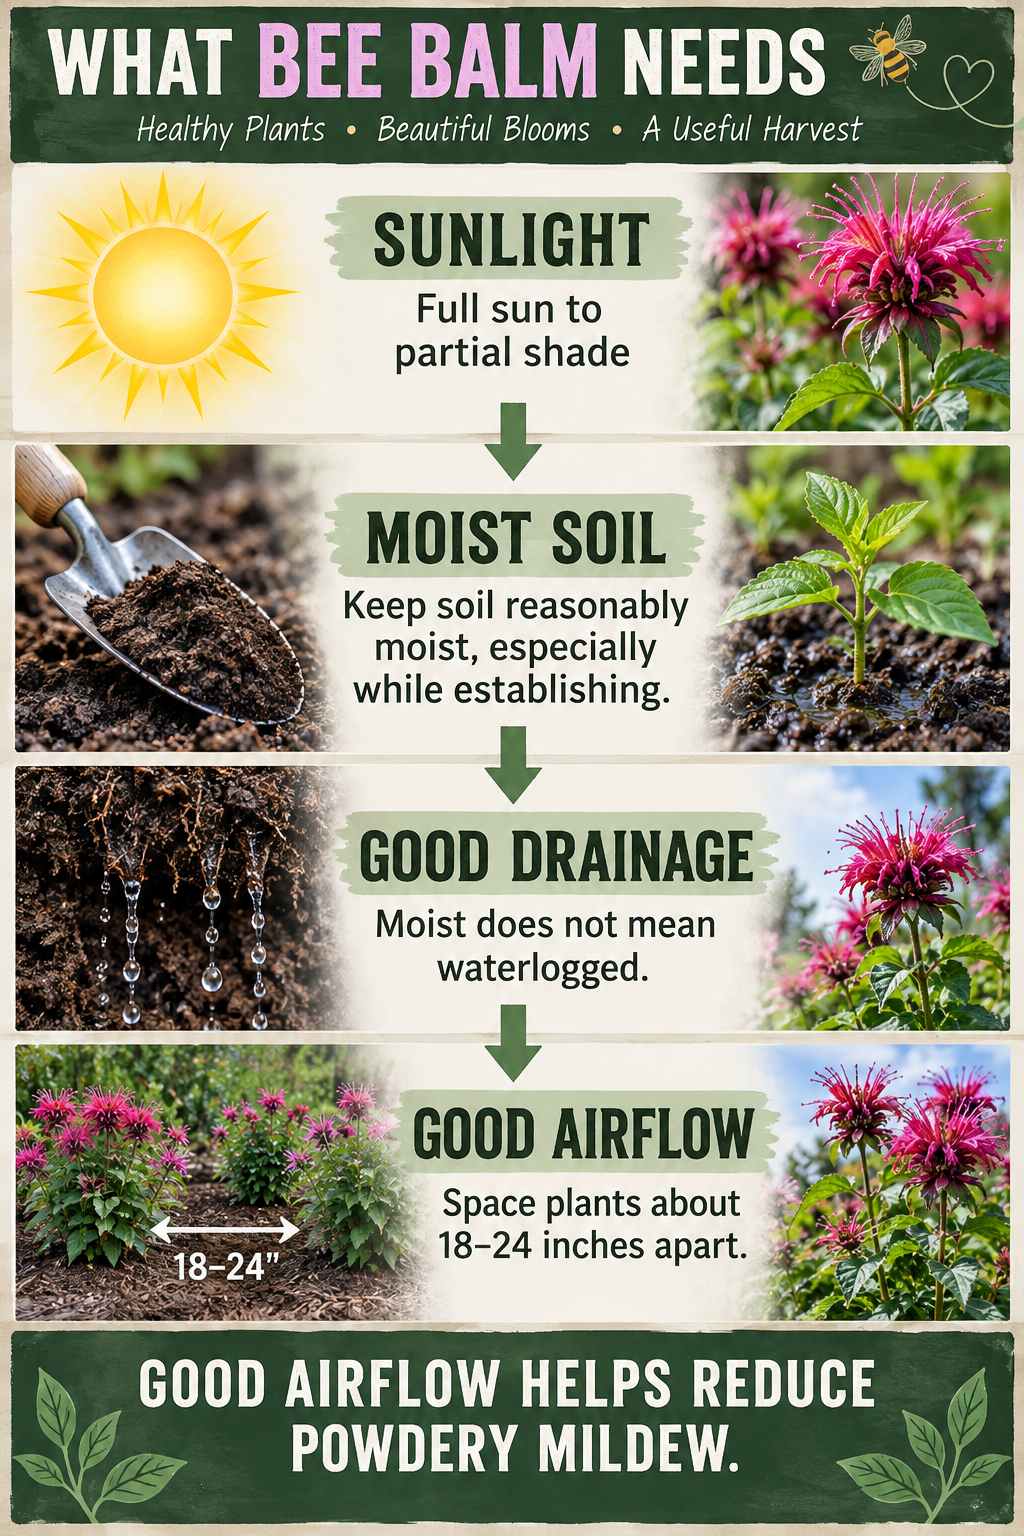
Bee balm generally grows best with plenty of sunlight. Full sun usually produces stronger flowering, although the plant can tolerate some partial shade. Too much shade can reduce flowering and leave the foliage damp for longer periods, which can contribute to powdery mildew.
The soil should hold a reasonable amount of moisture without remaining constantly saturated. Bee balm appreciates moist soil, particularly while becoming established, but that doesn’t mean it should be sitting in water. Soil containing organic matter usually provides a good balance between moisture retention and drainage.
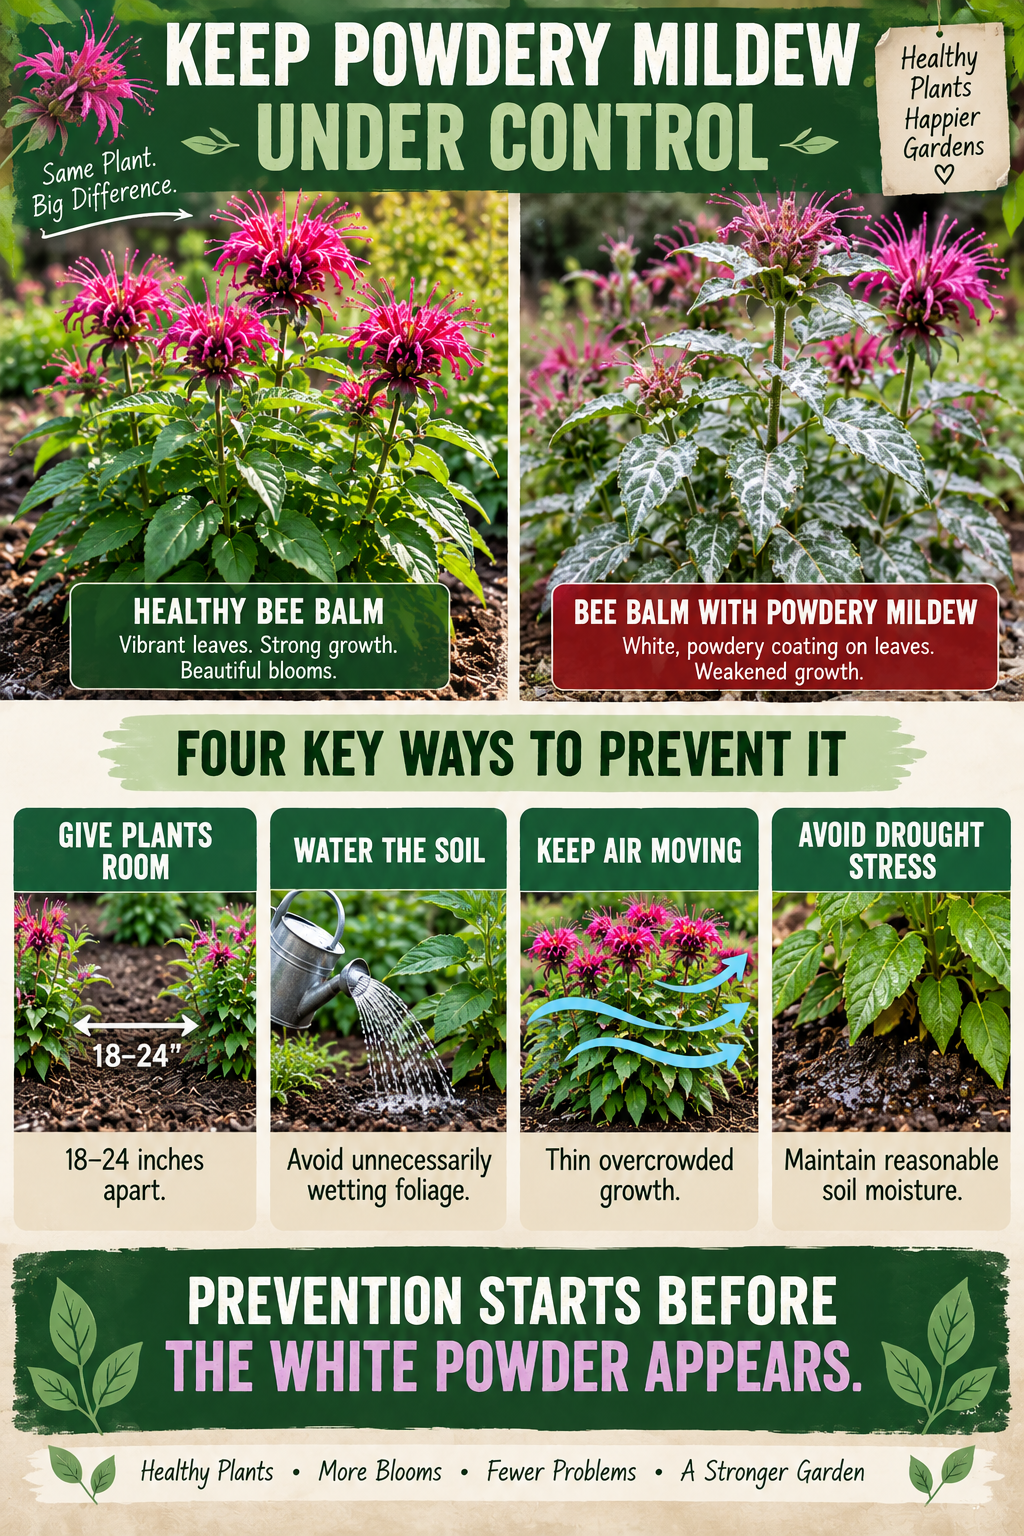
Air circulation is also important. Give plants approximately 18 to 24 inches of space when planting them. That may look like too much when the plants are young, but bee balm doesn’t stay small forever. It gradually spreads and fills the available space. Giving it room from the beginning can make the patch easier to maintain and reduce problems with powdery mildew.
Preparing the Growing Area
Before planting, remove grass, weeds, and other vegetation that will compete with the young bee balm. Loosen compacted soil and work in some finished compost if the ground is poor. There usually isn’t any reason to heavily fertilize the area. What you’re trying to create is healthy soil that can retain moisture while still allowing excess water to drain.
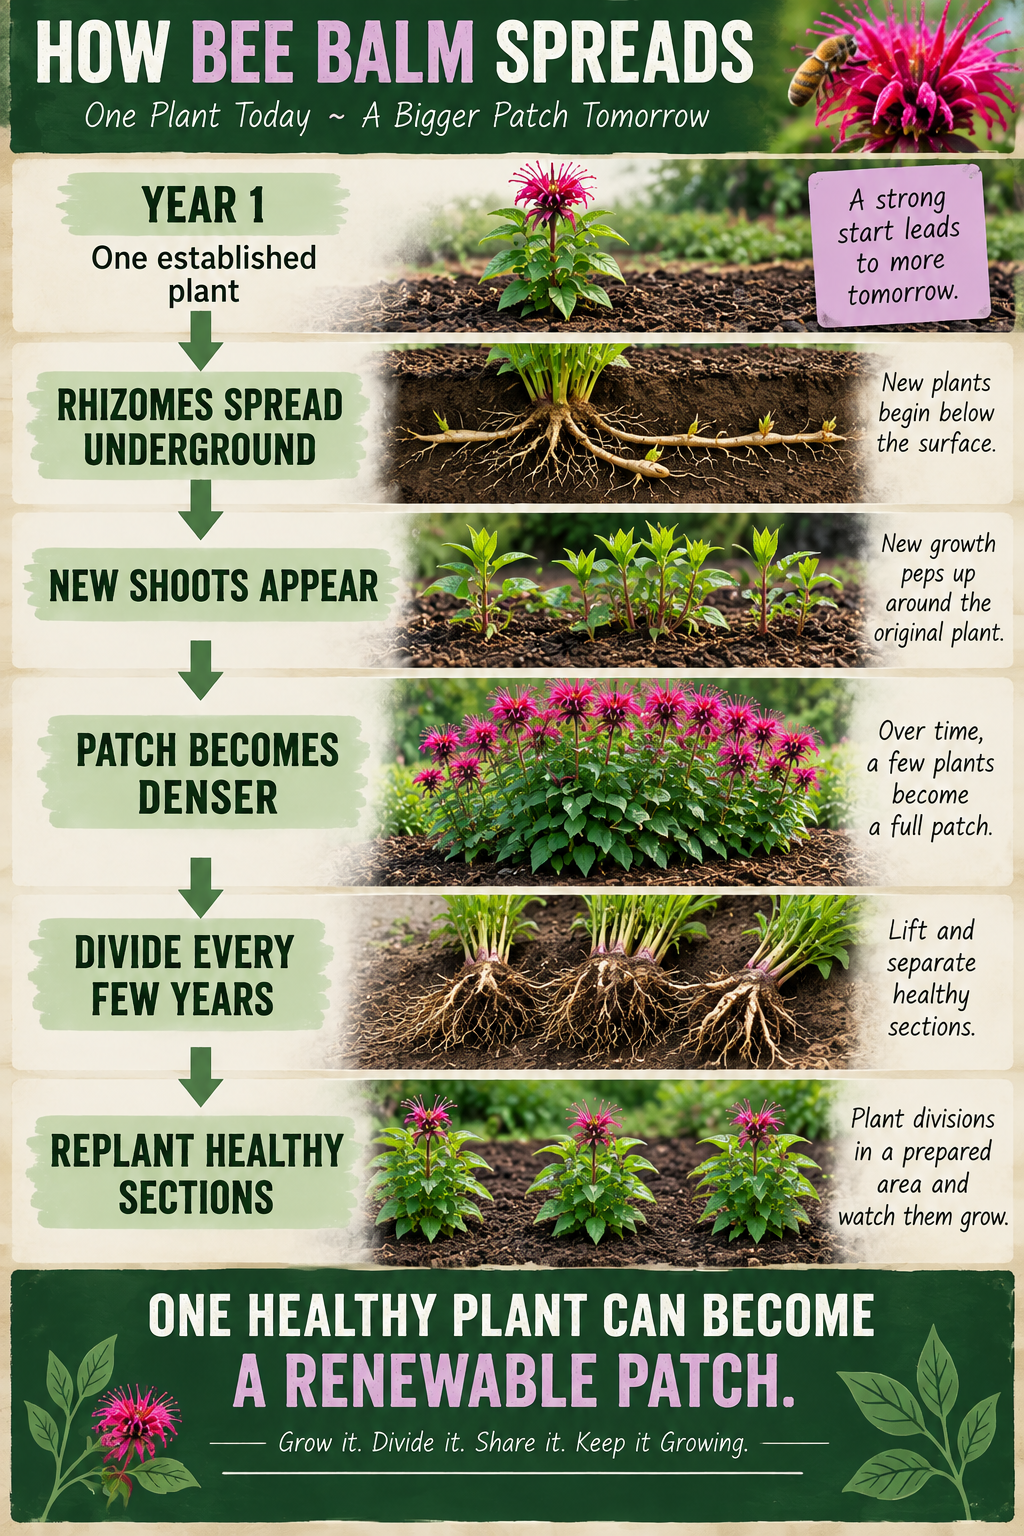
Think beyond the first growing season when deciding where to put the plants. Bee balm spreads through underground rhizomes, so a couple of small plants can eventually turn into a substantial patch. That is useful when you want a renewable supply, but it can become frustrating if the plant is placed somewhere where every new shoot becomes a problem.
A dedicated herb garden, pollinator garden, fence line, or garden edge can work well because these areas allow some natural expansion. The objective is to give bee balm enough freedom to reproduce without allowing it to take over plants you want to protect.
Planting Bee Balm
Spring and fall are generally good times to plant nursery-grown bee balm, depending on local weather conditions. Dig a hole slightly wider than the root ball and carefully remove the plant from its container. If the roots are tightly wrapped around the outside of the root ball, gently loosen them before planting.
Place the bee balm into the hole at approximately the same depth it was growing in the container. Avoid burying the crown deeply. Fill around the roots with soil, gently firm everything into place, and then water thoroughly.
A light layer of mulch around the plant can help retain moisture and reduce weeds. Keep the mulch slightly away from the stems instead of piling it directly against the crown. During the first several weeks, pay attention to soil moisture. Newly planted bee balm hasn’t developed the root system of an established plant yet, so don’t allow it to repeatedly dry out while it is trying to establish itself.
Growing Bee Balm From Seed
Bee balm can also be grown from seed. Seeds can be started indoors approximately six to eight weeks before the last expected frost and transplanted outside when conditions are suitable. Growing from seed requires more patience than purchasing established plants, but it can be an inexpensive way to establish a larger patch.
Once you already have mature bee balm growing, you may not need to continue purchasing seed or nursery plants. Established clumps can be divided and replanted elsewhere. One successful planting can eventually become the source for several additional patches.
That is an important preparedness principle. A package of seed is useful, but an established living plant capable of reproducing itself is considerably more useful.
Maintaining an Established Bee Balm Patch
Bee balm doesn’t require constant attention once it becomes established. In fact, doing too much can sometimes create problems. Don’t automatically apply fertilizer every spring simply because another growing season has started. Excessive nitrogen can encourage thick leafy growth without necessarily improving flowering, and dense foliage can restrict airflow.
Spent flowers can be removed during the growing season to encourage additional blooming. Later in the year, some flower heads can be left standing for wildlife and winter interest.
The more important maintenance job is controlling overcrowding. As bee balm spreads, individual plants can become packed together and older clumps may begin losing vigor in the center. Every few years, dig up portions of the patch and divide them. Replant healthy sections with adequate spacing and use the extras to establish another area or share them with someone else.
This is how a small planting gradually becomes a renewable resource rather than simply another ornamental garden plant.
Preventing Powdery Mildew
Powdery mildew is probably the problem most bee balm growers will eventually encounter. It usually appears as a whitish or gray powder across the leaves. A small amount doesn’t necessarily mean the plant is dying, but a serious infection can weaken the foliage and leave the patch looking unhealthy.
The best approach is to prevent the conditions that encourage it. Maintain enough space between plants for air to circulate and avoid unnecessarily soaking the foliage when watering. Direct water toward the soil and root zone instead. At the same time, don’t allow the plants to become severely drought stressed during extended dry periods.
If mildew appears, remove badly affected foliage and clean up infected plant debris rather than allowing it to accumulate underneath the plants. If powdery mildew becomes a serious problem every year despite good growing practices, consider introducing varieties with better mildew resistance.
Bee balm provides a useful gardening lesson here. Healthy plants don’t begin with sprays or treatments. They begin with good soil, appropriate moisture, adequate sunlight, proper spacing, and airflow.
Harvesting Bee Balm
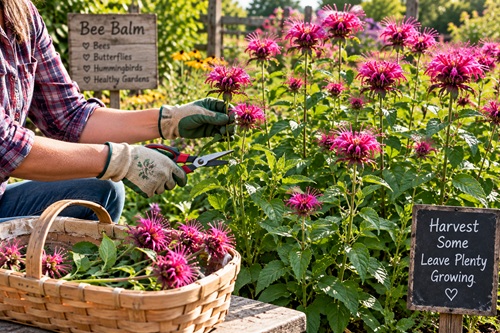
Once the plants are well established and producing plenty of healthy foliage, harvesting can begin. Leaves can be collected throughout the growing season, while leaves and flowers can be harvested together when the plants begin blooming.
A good time to harvest is in the morning after the dew has dried. Use clean scissors or pruning shears and cut healthy stems rather than tearing them from the plant.
The important part is knowing how much to take. Don’t strip the plant bare simply because you want a larger harvest. Leave plenty of healthy foliage so the plant can continue growing and producing energy. If you have several plants, rotate your harvesting between them instead of repeatedly cutting the same plant.
This is where harvesting for preparedness differs from simply collecting everything available. The objective isn’t to get the largest possible harvest today. The objective is to take what you can use while preserving the plant’s ability to provide another harvest later.
Drying Bee Balm for Storage
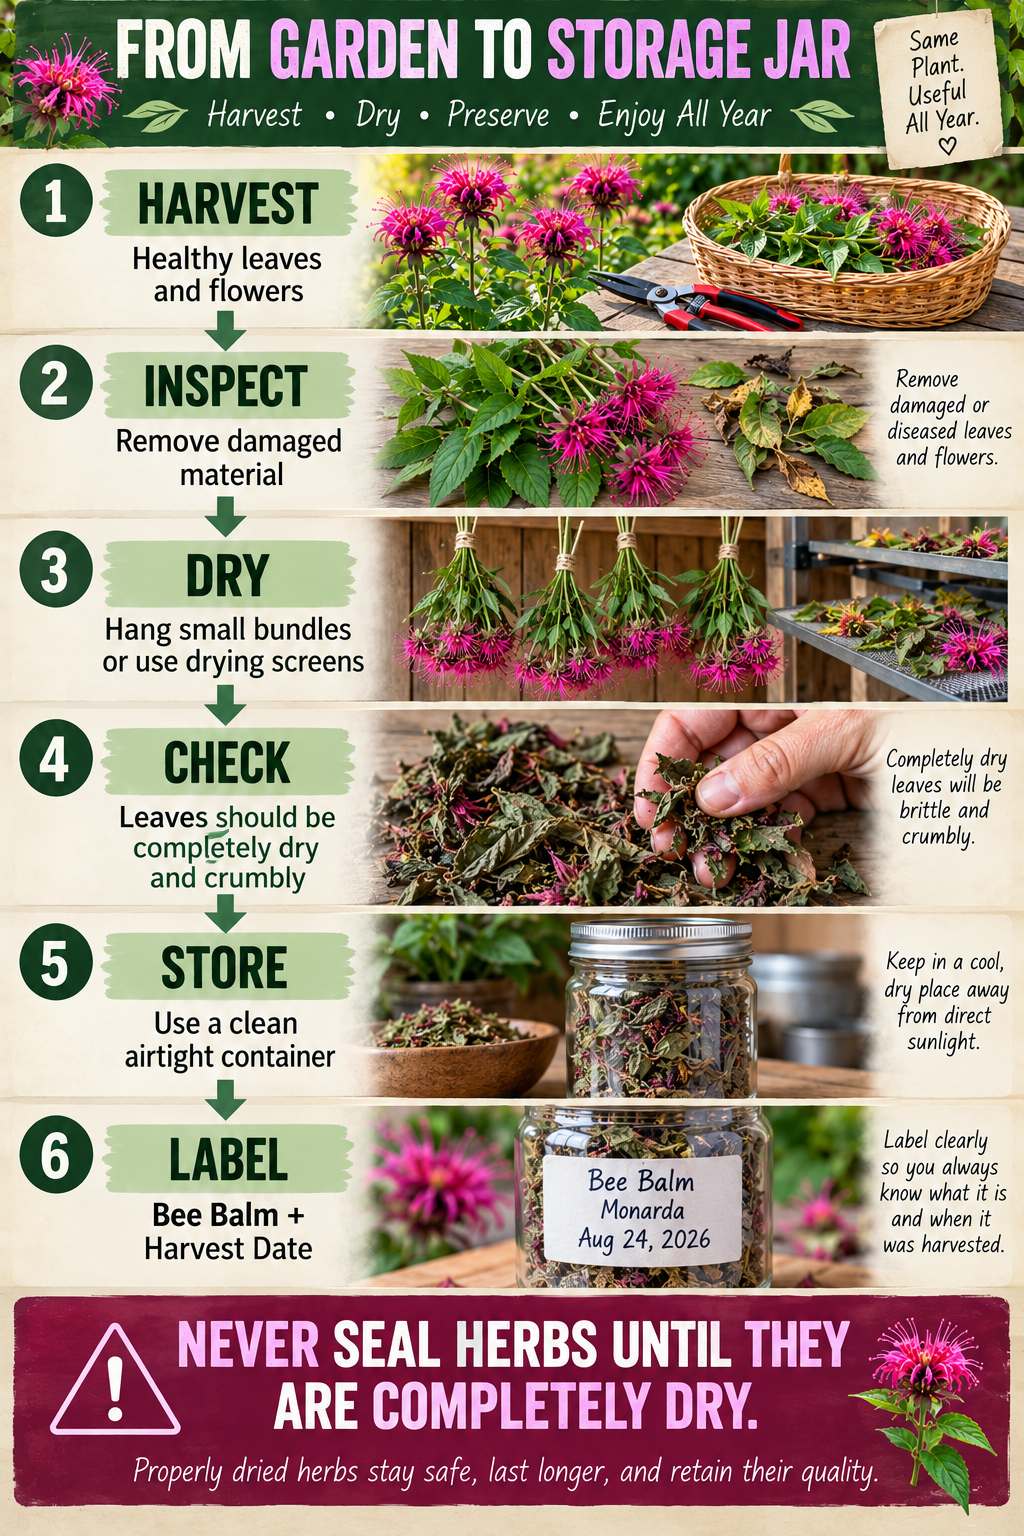
Fresh bee balm is useful while the garden is producing, but drying extends that usefulness throughout the rest of the year. Begin by inspecting everything you’ve harvested and removing damaged, diseased, or questionable plant material.
Small bundles of stems can be tied together and hung upside down somewhere warm, dry, shaded, and well ventilated. Leaves and flowers can also be removed and spread across a drying screen. Keep them out of strong direct sunlight while they dry.
Don’t rush this part of the process. Bee balm should be completely dry before it is sealed in an airtight container. Properly dried leaves should feel brittle and crumble rather than bend like fresh foliage. If moisture remains inside the plant material when it is placed into a sealed jar, mold can develop and ruin the entire batch.
Once everything is completely dry, remove the usable leaves and flowers from the stems and place them into clean airtight containers. Store them somewhere cool, dry, and protected from direct sunlight. Label each container with the plant name and harvest date. It seems obvious when you’re filling the jar, but several months later a shelf full of unlabeled dried herbs can become surprisingly difficult to identify.
Making Bee Balm Tea
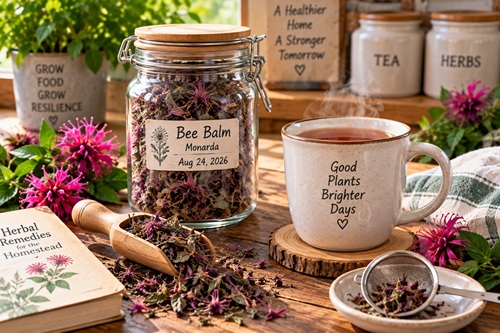
One of the easiest ways to become familiar with bee balm is to make a simple herbal tea. Place a small amount of fresh or dried leaves and flowers into a cup or teapot and cover them with hot water. Allow the tea to steep for approximately 5 to 10 minutes, then strain it.
Bee balm has a distinctive flavor that can seem minty, peppery, or somewhat similar to oregano. Start with a mild tea rather than using a large amount of herb the first time. You can always make the next cup stronger.
Making tea also demonstrates why preservation matters. Bee balm growing outside during summer can become something stored in the pantry and used during winter. You aren’t simply growing a seasonal plant; you’re learning how to move something from the garden into long-term household use.
Using Bee Balm in the Kitchen
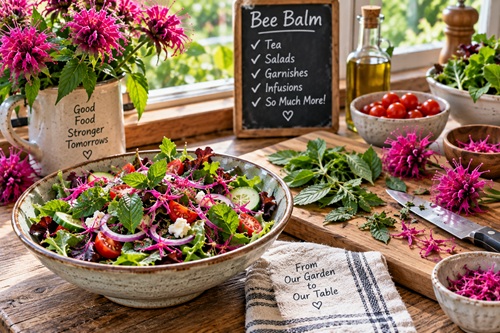
Bee balm doesn’t have to be reserved for tea. Young leaves have a fairly strong herbal flavor and can be experimented with in foods where an oregano-like or peppery herb would make sense. The flowers are edible as well and can be added to salads or used as a garnish.
Start with small amounts until you understand the flavor. Learning how an edible plant actually tastes and how it works with food is far more useful than simply knowing that it is technically edible.
That principle applies to preparedness food in general. Don’t wait until you need something before learning how to prepare and use it.
Using Bee Balm Around the Garden
Even if you never harvest a leaf, bee balm can still contribute to the productivity of the property. Its flowers provide food for pollinating insects and hummingbirds throughout part of the growing season. Planting it near vegetable gardens, berry patches, orchards, or other flowering food plants can help create an environment that keeps pollinators moving through the property.
Bee balm can also be grown with other flowering perennials to extend the period during which pollinators have access to food. The objective isn’t simply to attract bees to one plant. It is to build a garden environment that supports beneficial insects throughout as much of the growing season as possible.
Just remember that bee balm spreads. Give it enough room that its expansion becomes an advantage rather than another garden problem you have to solve.
Building a Renewable Bee Balm Patch
The real preparedness value of bee balm becomes clearer after the original plants are established. Instead of thinking about one plant, think about developing a small renewable patch.
Healthy plants can be divided periodically and moved to another location. Those new plants eventually produce their own flowers, support additional pollinators, and provide more harvestable material. Over several growing seasons, a single purchased plant or small packet of seed can potentially become a continuing household resource.
Stored supplies eventually get used. Living resources can reproduce.
A jar of dried bee balm sitting in the pantry is useful. A healthy patch outside capable of filling another jar next year is better.
Using Bee Balm Responsibly
Bee balm has a long history of traditional herbal use, but traditional use shouldn’t automatically be treated as proof that a plant can prevent or treat a medical condition. Herbal preparations aren’t replacements for appropriate medical care, particularly when dealing with serious symptoms.
Correct identification also matters. Never eat or prepare a wild plant simply because it resembles a photograph of bee balm. Know exactly what you planted, maintain labels when necessary, and be particularly careful when introducing unfamiliar plants into food or homemade preparations.
The preparedness skill isn’t simply knowing that a plant has traditional uses. It is knowing how to identify it correctly, grow it safely, preserve it properly, understand its limitations, and use it responsibly.
Preparedness Action Plan
Start with a few bee balm plants rather than trying to establish a huge patch immediately. Choose a sunny location with reasonable soil moisture and enough space for good airflow. Concentrate on getting those first plants established and learning how they behave throughout an entire growing season.
Once the plants are healthy, practice harvesting a modest amount without weakening them. Dry one small batch completely, place it into a labeled airtight container, and actually use some of it. Make tea, experiment with a small amount in food, and learn what the plant smells and tastes like.
As the patch expands, practice dividing it and establishing another planting. Over time, the goal is to create a self-renewing resource that supports pollinators, produces usable herbs, and continues providing with relatively little outside input.
Key Takeaways
Bee balm demonstrates an important preparedness principle: the most useful plants often do several jobs at once. A healthy patch can support pollinators, provide edible leaves and flowers, produce herbs that can be dried for later use, and reproduce itself through natural growth and division.
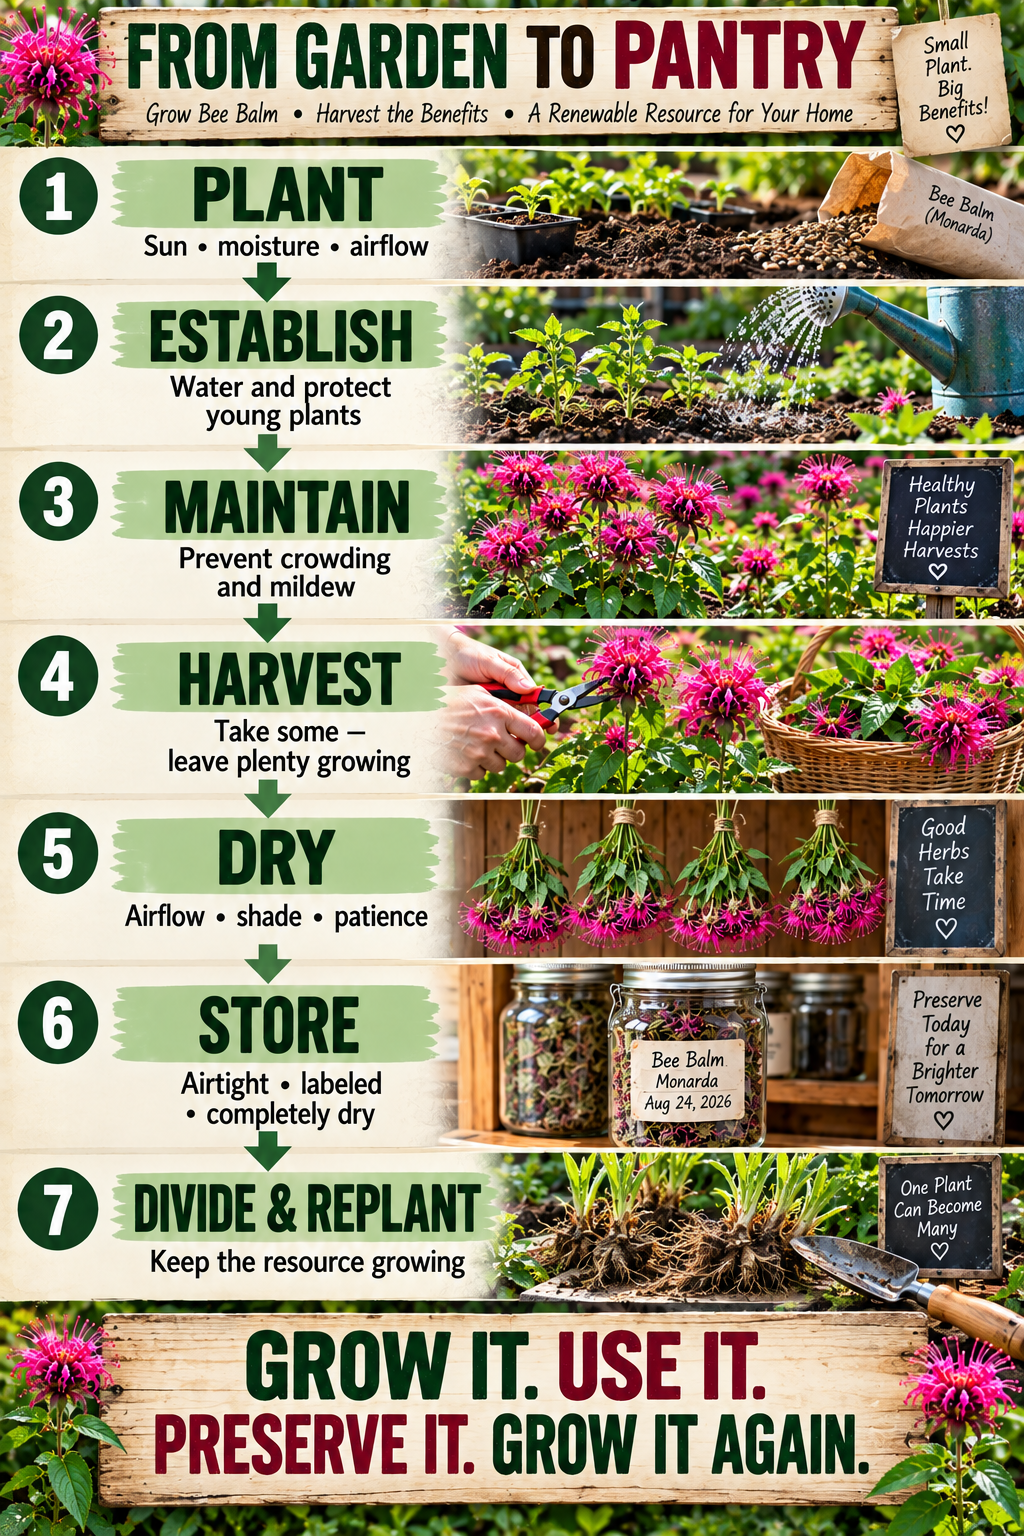
Knowing the name of a useful plant isn’t the same as having a useful skill. The real capability comes from understanding the complete cycle – grow it, maintain it, harvest it, preserve it, use it, and keep enough growing to produce next year’s supply.
© Prepping Communities. This content is for informational purposes only and not professional advice. Use at your own risk.
Terms | Privacy | Guidelines