
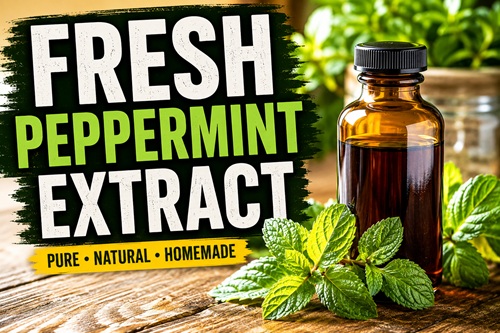
Few herbs are as refreshing and versatile as peppermint. For generations, people have used peppermint to flavor desserts, beverages, herbal remedies, and homemade beauty products. Making your own peppermint extract is surprisingly easy and requires only two main ingredients: fresh peppermint leaves and high-proof alcohol. The result is a pure, concentrated extract with a vibrant flavor that is free from artificial colors, sweeteners, and preservatives.
Homemade peppermint extract is ideal for baking cookies, cakes, brownies, frostings, candies, hot chocolate, coffee, and homemade ice cream. It can also be added in very small amounts to herbal teas or used in DIY soaps, lip balms, and other craft projects. Because alcohol naturally preserves the peppermint oils, a properly prepared extract can remain usable for many years when stored correctly.
Ingredients
- 1 cup fresh peppermint leaves
- 1 to 1½ cups vodka (40% alcohol or higher)
- Clean glass jar with a tight-fitting lid
- Fine mesh strainer or cheesecloth
- Dark glass bottle for long-term storage (recommended)
Step 1: Prepare the Peppermint
Harvest healthy peppermint leaves and rinse them under cool running water to remove any dirt or insects. Dry the leaves completely using paper towels or allow them to air dry. Removing excess moisture is important because water can dilute the extract and reduce its shelf life.
Lightly crush or bruise the leaves with your hands or a wooden muddler. This helps release the aromatic oils that give peppermint its distinctive flavor and scent.
Step 2: Combine the Ingredients
Place the peppermint leaves into the clean glass jar, filling it loosely rather than packing it tightly. Pour the vodka over the leaves until they are completely submerged. Ensuring every leaf remains below the liquid helps prevent mold from developing during the extraction process.
Seal the jar tightly and give it a gentle shake.
Step 3: Let the Extract Infuse
Store the jar in a cool, dark location such as a pantry or cupboard. Allow the mixture to steep for 6 to 8 weeks, gently shaking the jar every few days. During this time, the alcohol slowly extracts the peppermint’s essential oils, color, and natural flavor.
The longer the extract steeps, the richer and more concentrated the flavor generally becomes.
Step 4: Strain and Bottle
After the infusion period, strain the liquid through a fine-mesh strainer or several layers of cheesecloth to remove the leaves. Pour the finished extract into a clean dark glass bottle, which helps protect it from light and preserves its quality.
Label the bottle with the preparation date so you always know when it was made.
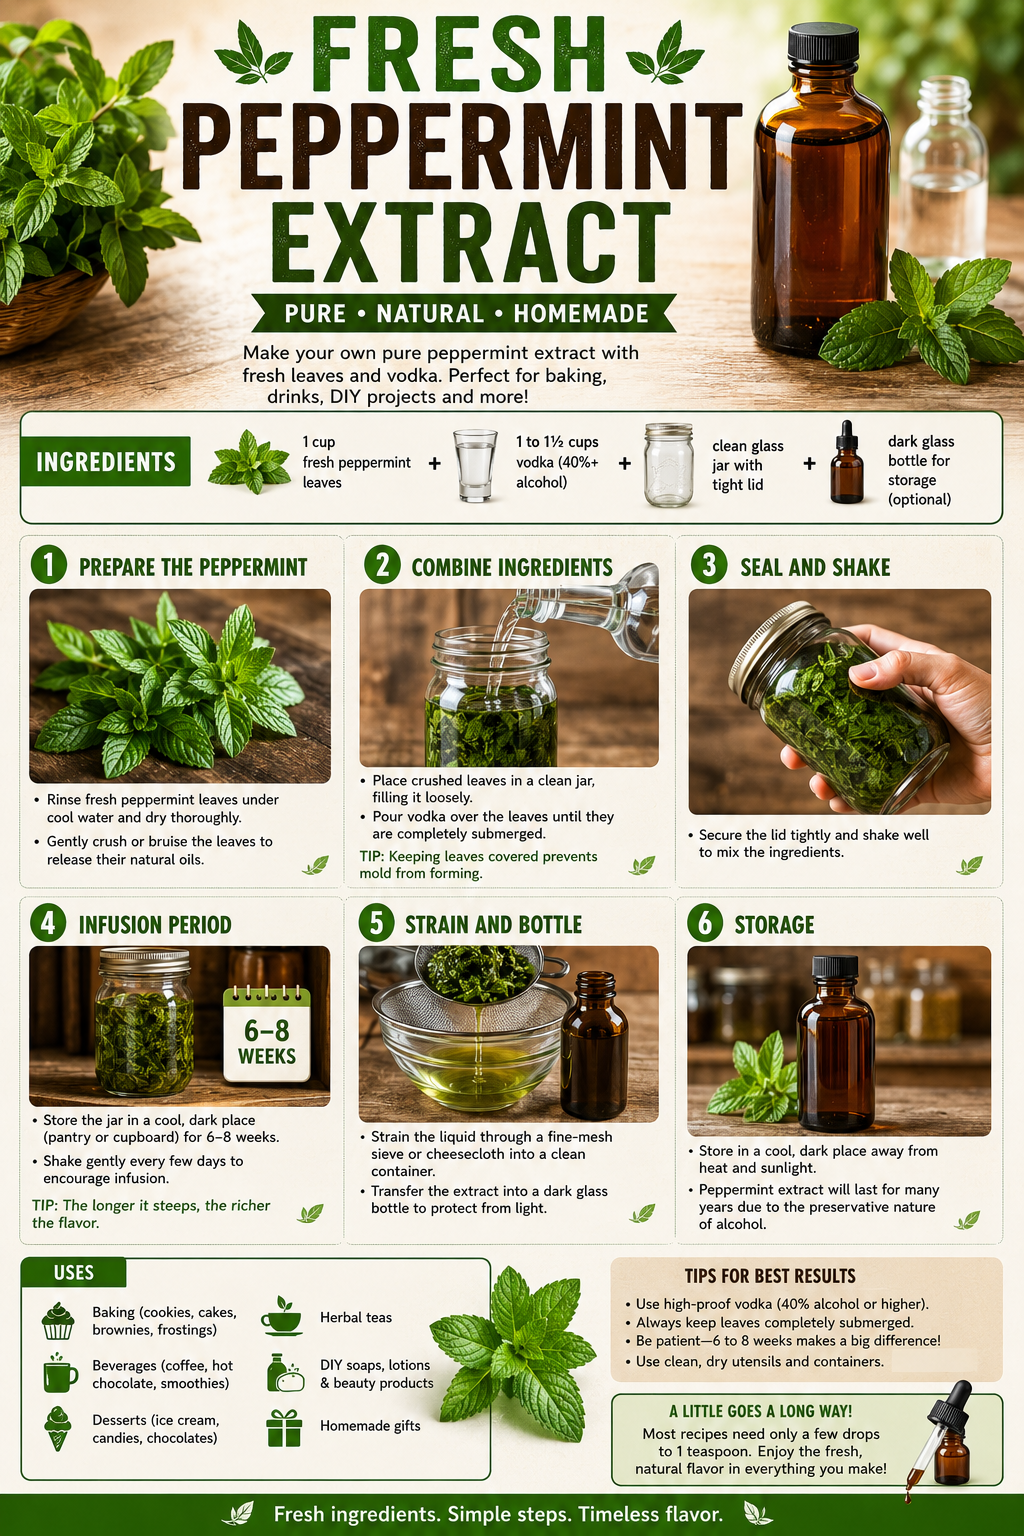
Storage and Uses
Store peppermint extract in a cool, dark place away from direct sunlight and heat. Because of the alcohol content, it has an exceptionally long shelf life and may remain usable for many years when properly stored.
A little goes a long way. Most baking recipes require only a few drops to one teaspoon. Besides baking, peppermint extract can be used to flavor homemade chocolates, candies, whipped cream, frostings, hot drinks, and ice cream. Many people also enjoy making homemade gifts by bottling their extract in decorative glass bottles.
Preparedness Perspective
Peppermint is one of the easiest perennial herbs to grow, making homemade extract an excellent preparedness project. A small patch of peppermint can produce enough leaves year after year to make extracts, teas, dried herbs, and culinary seasonings. Learning to preserve herbs at home reduces reliance on store-bought flavorings while providing a natural ingredient that has many practical uses in both everyday cooking and long-term self-reliance.
© Prepping Communities. This content is for informational purposes only and not professional advice. Use at your own risk.
Terms | Privacy | Guidelines