
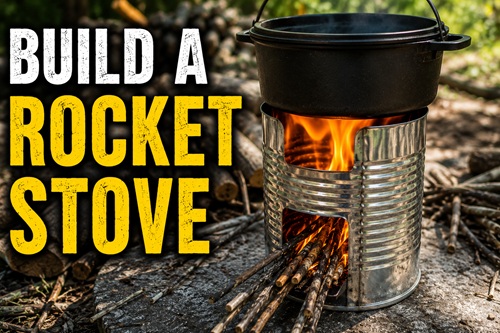
An Efficient Emergency Cooking Stove Made from Recycled Cans
When the power goes out, one of the first challenges many people face is preparing hot meals or boiling safe drinking water. While propane camp stoves are excellent emergency tools, they rely on a limited fuel supply that eventually runs out. A rocket stove offers a simple alternative by producing intense heat while burning only small pieces of natural fuel such as twigs, sticks, pinecones, and other dry biomass.
Because these materials are often readily available, a rocket stove can continue operating long after commercial fuels become difficult to obtain.
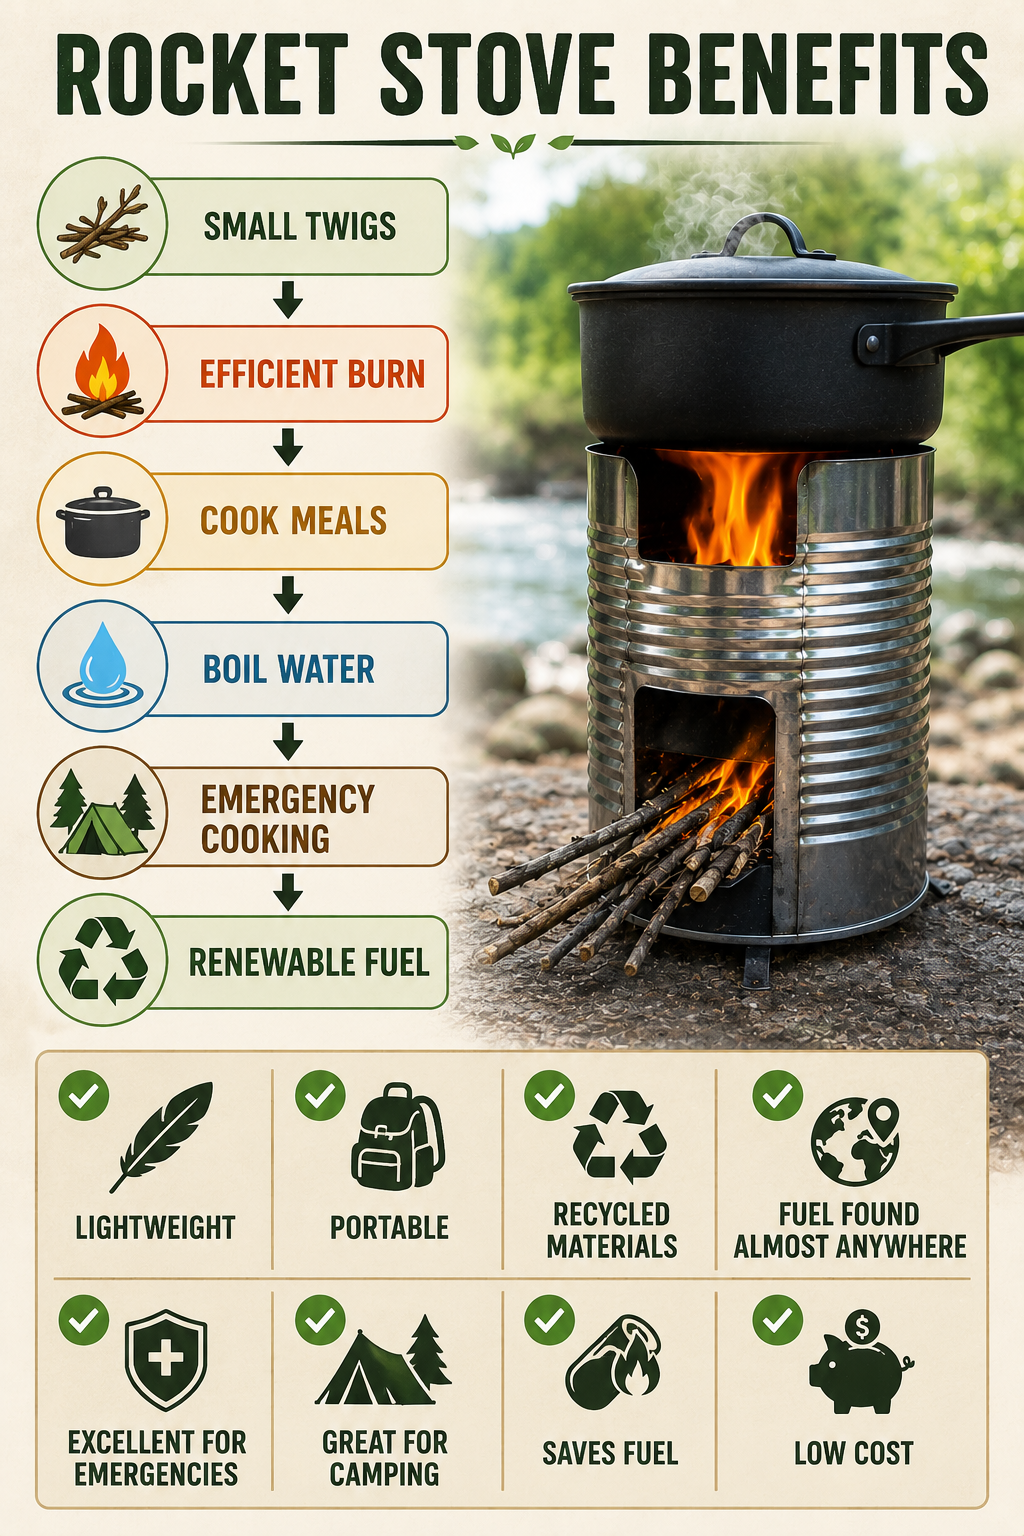
The rocket stove has earned a reputation as one of the most efficient outdoor cooking devices ever developed. Unlike an open campfire that allows heat to escape in every direction, a rocket stove channels both heat and airflow through an insulated combustion chamber. This concentrated design allows fuel to burn hotter, cleaner, and more efficiently, often requiring only a handful of small sticks to prepare an entire meal. Whether you enjoy camping, off-grid living, homesteading, or emergency preparedness, a homemade rocket stove is an inexpensive project that provides practical value for years to come.
Understanding How a Rocket Stove Works
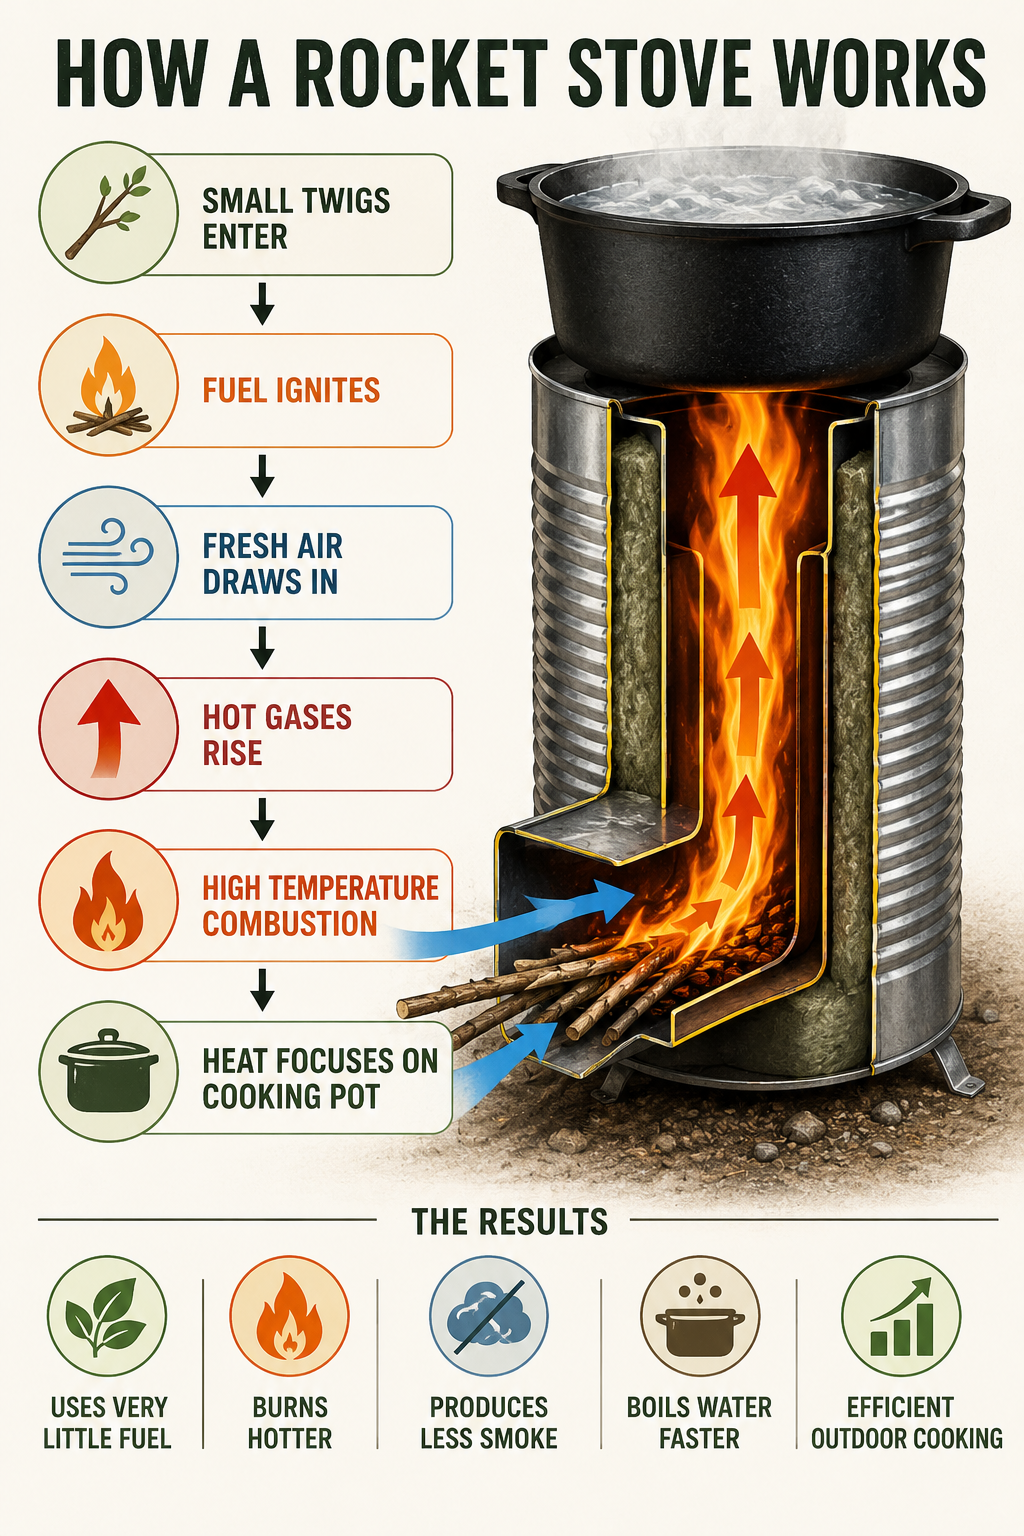
The remarkable efficiency of a rocket stove comes from its simple yet effective design. Inside the stove is an L-shaped combustion chamber. Fuel enters through the horizontal opening while the vertical section acts as a chimney. As the fire burns, hot gases naturally rise through the chimney, creating a strong draft that continuously pulls fresh air into the combustion chamber. This constant airflow supplies oxygen to the fire while the surrounding insulation keeps the heat concentrated where it is needed most.
Because the combustion chamber remains extremely hot, the wood burns more completely than it would in a traditional campfire. More complete combustion produces less smoke, creates higher temperatures, and extracts more usable energy from every piece of fuel. Instead of wasting heat into the surrounding air, much of the energy is directed upward into the cooking pot, making the rocket stove both economical and highly efficient.
Why Rocket Stoves Are Ideal for Preparedness
One of the greatest advantages of a rocket stove is its ability to operate using materials that can often be gathered from the surrounding environment. Small twigs, dry branches, pinecones, hardwood scraps, and even small pieces of split firewood can all serve as effective fuel. Unlike propane cylinders or liquid fuels that require storage and replacement, natural biomass is frequently available in parks, forests, campgrounds, and many residential properties.
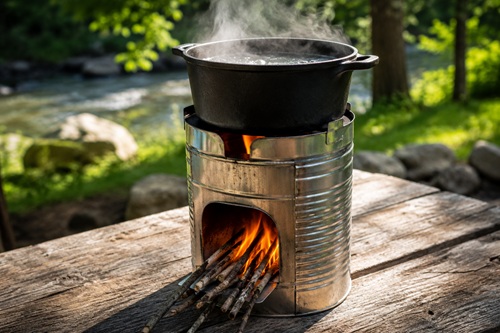
A rocket stove is also compact and lightweight. Many homemade versions can easily fit into an emergency kit, camping equipment, or vehicle without taking up much space. Because they require very little fuel, they are especially valuable during extended power outages when conserving resources becomes important. In addition to cooking meals, they can be used to boil water for drinking, prepare hot beverages, heat canned foods, or cook simple one-pot meals.
Materials You’ll Need
One of the reasons rocket stoves have become so popular is that they can be constructed almost entirely from recycled materials. A large metal food-service can forms the outer body, while two smaller metal cans create the internal combustion chamber.
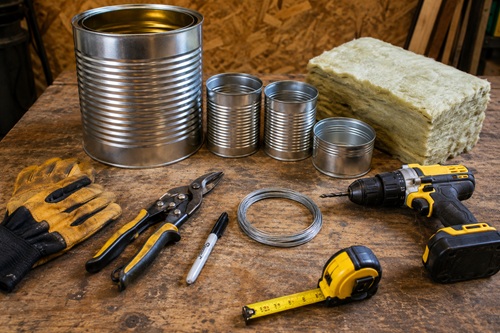
An additional can provides material for the fuel shelf. Non-combustible insulation such as mineral wool, perlite, vermiculite, or ceramic fiber insulation surrounds the combustion chamber to improve efficiency by keeping heat concentrated inside the stove.
Basic hand tools are all that is generally required. Tin snips, a marker, a drill, a hammer, measuring tape, work gloves, safety glasses, and a metal file for smoothing sharp edges will make the construction process much easier and safer.
Building the Stove
Begin by thoroughly cleaning all of the cans and removing any labels. Carefully inspect them for damage or excessive rust. Using one of the smaller cans as a template, mark a circular opening near the lower side of the large outer can. This opening will become the fuel inlet. Cut the opening slowly using tin snips, then smooth any sharp edges with a metal file.
Next, prepare the smaller cans so they form an L-shaped combustion chamber. One can becomes the horizontal fuel feed while the other forms the vertical chimney.
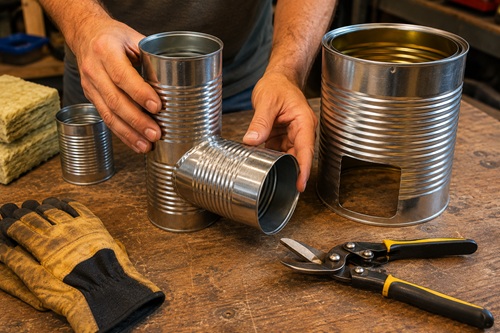
Trim the openings carefully until both pieces fit tightly together. Once assembled, insert the completed burn chamber into the large outer can, ensuring that the horizontal opening aligns with the side opening you previously cut.
The space surrounding the combustion chamber should then be packed with non-combustible insulation. This insulation is one of the most important components of the entire stove because it traps heat inside the combustion chamber, allowing the fire to burn at much higher temperatures. Avoid using materials that can burn or release harmful fumes when heated.
Once the insulation has been installed, modify the lid by cutting an opening large enough for the chimney to pass through. Secure the lid to the stove body by bending the metal tabs into place. The chimney should extend slightly above the top surface, providing a stable area to support cookware.
A simple fuel shelf can be made from scrap sheet metal cut from one of the extra cans. The shelf supports incoming sticks while leaving open space underneath for airflow. This constant supply of oxygen is essential for maintaining the efficient burn that makes rocket stoves so effective.
To finish the project, drill two small holes near the top of the stove and attach a heavy wire handle. If desired, the exterior can be coated with high-temperature stove paint to help reduce rust and improve appearance.
Lighting and Operating the Stove
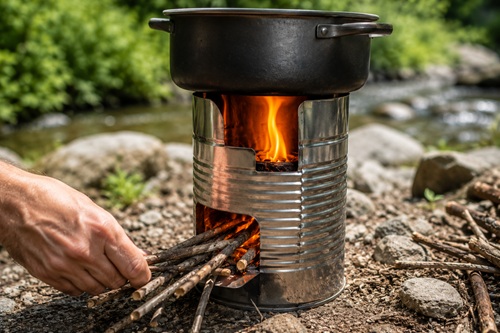
Lighting a rocket stove is straightforward once you understand the process. Begin with dry tinder such as wood shavings, feather sticks, dry grass, cotton balls coated with petroleum jelly, or dryer lint. Light the tinder near the base of the combustion chamber, then gradually add small dry twigs through the fuel opening. Resist the temptation to overload the stove with large pieces of wood. Rocket stoves perform best when they are fed a steady supply of small fuel that allows continuous airflow around the fire.
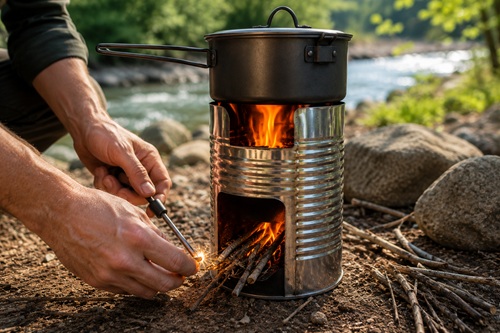
As the chimney heats, the draft quickly strengthens and the characteristic “rocket” sound often becomes noticeable. This indicates that combustion is becoming more efficient. Continue adding small amounts of fuel as needed to maintain a steady cooking temperature.
Choosing the Best Fuel
Dry hardwood generally provides the longest burn time and highest heat output, although almost any dry biomass can be used successfully. Small branches, twigs, pinecones, hardwood scraps, and untreated wood offcuts all make excellent fuel.
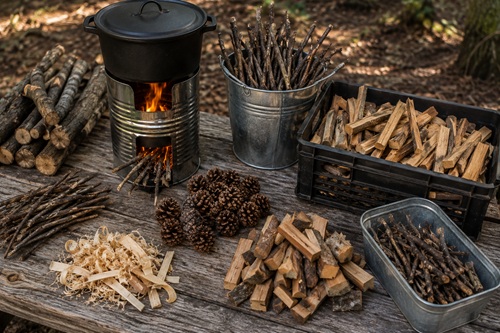
Wet wood should be avoided because it creates excessive smoke, reduces efficiency, and can cause creosote buildup inside the combustion chamber.
Collecting and storing dry fuel ahead of time is a worthwhile preparedness habit. Even a small container of twigs can provide enough fuel for several meals when used in a properly designed rocket stove.
Safety Considerations
Rocket stoves produce extremely high temperatures and should always be operated outdoors in a well-ventilated area. Never use one inside a home, garage, tent, or any enclosed structure because burning wood produces carbon monoxide, an odorless gas that can quickly become deadly.
Always place the stove on a stable, non-combustible surface away from dry grass, leaves, or other flammable materials. Keep children and pets a safe distance away while the stove is operating, and allow it to cool completely before moving or storing it.
Wear gloves whenever handling freshly cut metal during construction, and inspect the stove regularly for loose parts, rust, or damaged insulation before each use.
Maintenance
A homemade rocket stove requires very little maintenance. After each use, allow the stove to cool completely before emptying accumulated ash. Periodically inspect the combustion chamber for corrosion or loose components and verify that the insulation remains securely packed around the chimney. Storing the stove in a dry location will help prevent rust and significantly extend its service life.
Preparedness Perspective
A rocket stove demonstrates how simple engineering can solve real-world preparedness problems. It provides an efficient means of cooking and boiling water using fuel that is often freely available in the surrounding environment. Because it requires very little storage space, costs very little to build, and burns only small amounts of wood, it is one of the most practical DIY emergency cooking projects anyone can undertake.
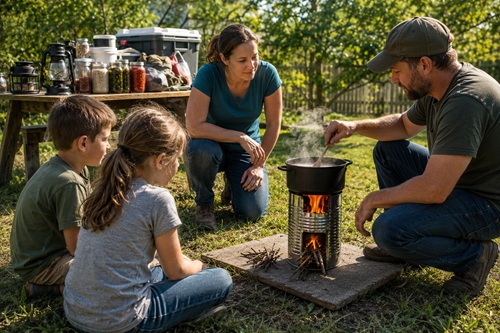
Like any preparedness tool, however, its greatest value comes from experience. Build one before you need it. Practice cooking different meals, experiment with various fuels, and learn how it performs under different weather conditions. Developing these skills now will provide confidence and capability should you ever need to rely on it during an emergency.
Key Takeaways
A homemade rocket stove is one of the most efficient outdoor cooking systems available.
By concentrating heat inside an insulated combustion chamber, it produces high cooking temperatures while consuming remarkably little fuel. Built primarily from recycled materials, it is inexpensive, portable, and well suited for emergency preparedness, camping, homesteading, and off-grid living.
Learning to build and operate one is a practical skill that can provide reliable cooking capability whenever conventional fuel sources are unavailable.
© Prepping Communities. This content is for informational purposes only and not professional advice. Use at your own risk.
Terms | Privacy | Guidelines