

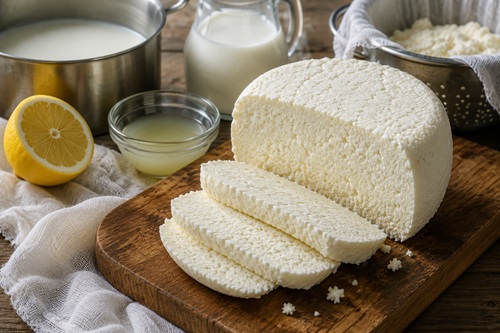
Learn How to Make Cheese From Milk and Lemon Juice
Making fresh cheese at home is much easier than it sounds. With whole milk, lemon juice, and a little salt, you can make a simple farmer’s-style cheese in about 30 minutes. You don’t need special cultures or expensive cheesemaking equipment.
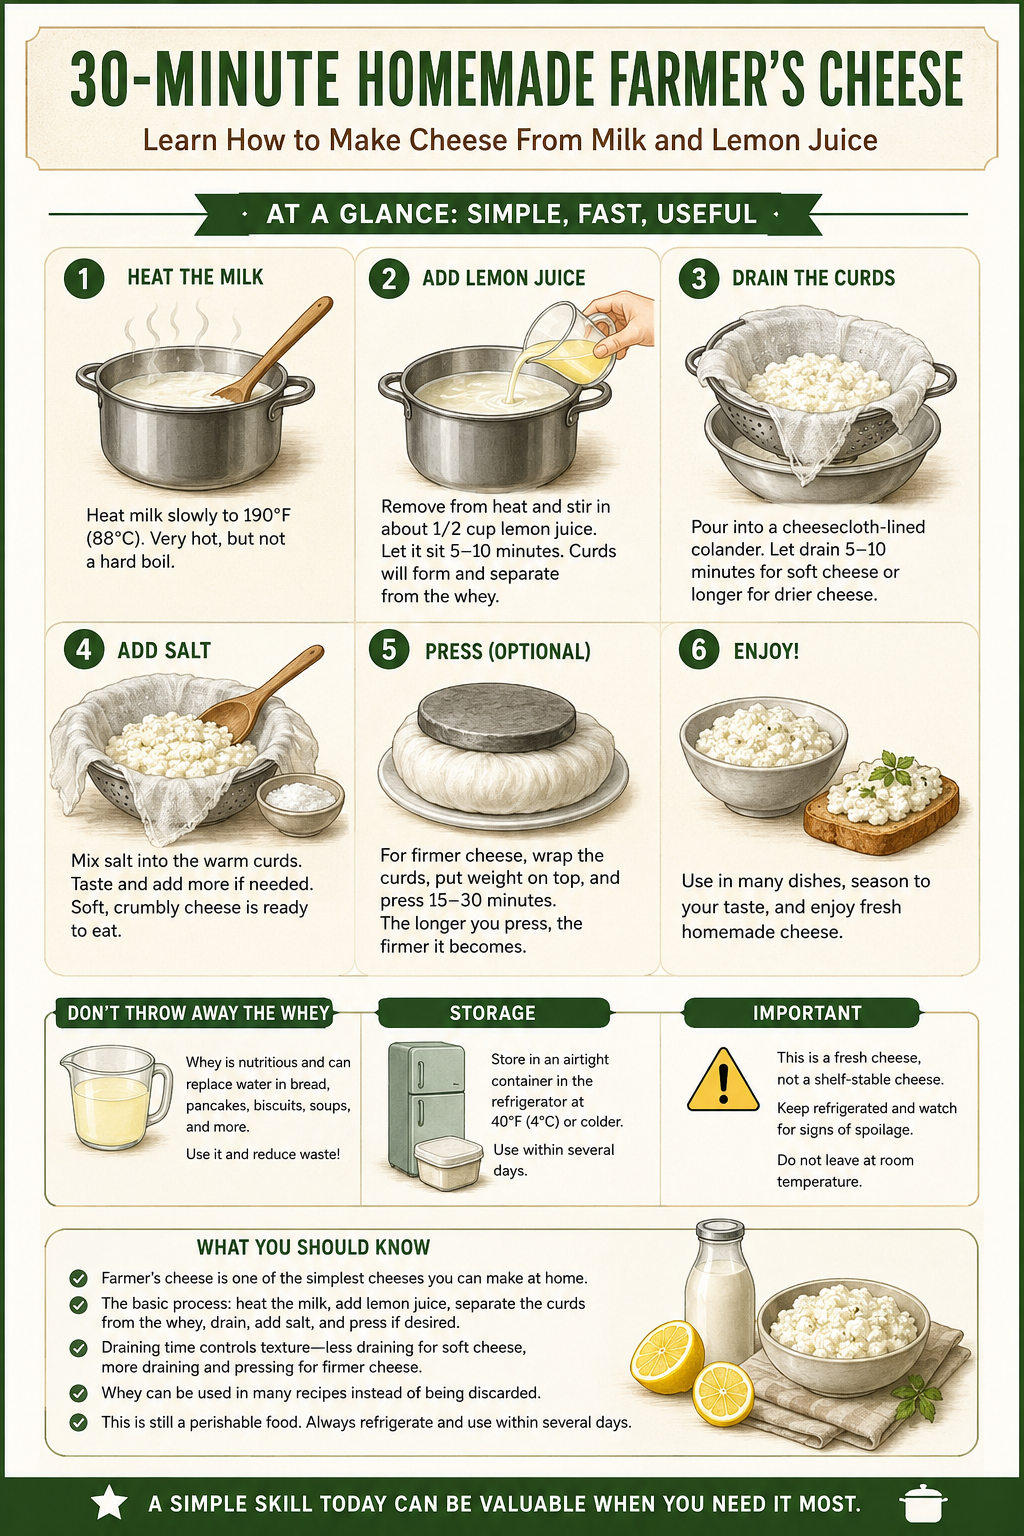
The process is straightforward. Heat the milk, add lemon juice to separate the curds from the whey, drain the curds, add salt, and press the cheese if you want it firmer.
Recipe at a Glance
Preparation Time: About 5 minutes
Cooking and Draining Time: About 25 minutes
Total Time: About 30 minutes
Makes: Approximately 1 to 1½ pounds of fresh cheese, depending on the milk and how much whey is removed
Ingredients
- 4 litres (1 gallon) whole milk
- About 1/2 cup lemon juice, plus a little extra if needed
- Salt to taste
Equipment
- Large pot
- Spoon
- Kitchen thermometer, if available
- Colander or strainer
- Large bowl
- Cheesecloth or a clean, thin cotton cloth
Regular pasteurized whole milk generally works well. If possible, avoid ultra-pasteurized milk because the additional heat processing can sometimes make good curds more difficult to form.
How to Make Farmer’s Cheese
1. Heat the milk. Pour the milk into a large pot and slowly heat it over medium heat, stirring occasionally so it does not scorch on the bottom. Heat the milk to approximately 190°F (88°C). Without a thermometer, look for heavy steam and small bubbles forming around the edges. The milk should be very hot but does not need to reach a hard rolling boil.
2. Add the lemon juice. Remove the pot from the heat and slowly stir in the lemon juice. Stir gently for a few moments and then leave the milk undisturbed for about 5 to 10 minutes. White curds should begin separating from the yellowish liquid called whey.
3. Check the curds. The separation should be obvious. You want visible white curds surrounded by thinner yellowish whey. If the liquid remains very white and milky, add another small amount of lemon juice, stir gently, and wait a few more minutes.
4. Drain the cheese. Line a colander with cheesecloth and place it over a large bowl. Carefully pour the curds and whey into the colander. Allow the curds to drain for about 5 to 10 minutes. Less draining will give you softer cheese, while removing more whey will make it drier.
5. Add the salt. Open the cheesecloth and gently mix a small amount of salt into the warm curds. Taste and add more if needed. At this point, you have a soft, crumbly farmer’s cheese that can be eaten immediately.
6. Press it if you want firmer cheese. Gather the cheesecloth around the curds and shape them into a flat round. Place the wrapped cheese on a clean plate or cutting board, put another flat plate or board on top, and add a moderate weight. A pot partially filled with water works well. Press for about 15 to 30 minutes. The longer you drain and press the cheese, the firmer it will become.
Don’t Throw Away the Whey
The yellowish liquid collected in the bowl is whey. Although the cheese is the main product, the whey can still be useful.
Depending on the recipe, whey can replace some or all of the water in bread dough, pancakes, biscuits, soups, and other cooked foods. This gives you another way to use more of the original milk instead of automatically throwing the liquid away.
Using Your Homemade Cheese
Farmer’s cheese has a mild flavor, so it works with many different foods. You can eat it with bread or crackers, crumble it over potatoes or vegetables, add it to eggs or salads, or use it in cooked dishes.
The basic cheese can also be seasoned. Try adding herbs, garlic, black pepper, or other seasonings you already have. Because the cheese itself is mild, it is easy to adjust the flavor for different meals.
Storage
Farmer’s cheese is a fresh cheese, which means it is still perishable. Store it covered in the refrigerator at 40°F (4°C) or colder and use it within several days.
If the cheese develops mold, unusual discoloration, an unpleasant odor, or other signs of spoilage, discard it.
Making farmer’s cheese should not be confused with long-term milk preservation. Turning milk into this type of fresh cheese does not make it shelf stable. Cheese intended for extended storage requires different techniques.
If the Cheese Doesn’t Separate
Don’t immediately assume the batch has failed if you don’t see good curds. Give the milk several minutes after adding the lemon juice.
If it still looks milky, add another small amount of lemon juice and gently stir again. The milk may simply need a little more acidity. Milk that wasn’t heated sufficiently may also have difficulty forming good curds.
The type of milk can matter as well. Ultra-pasteurized milk can sometimes be more difficult to work with than regular pasteurized whole milk.
Once you have made farmer’s cheese a few times, you will quickly recognize what properly separated curds and whey should look like.
Why This Recipe Is Worth Knowing
This recipe teaches a useful principle: basic ingredients can often be turned into foods we normally think we have to buy.
If you have milk but don’t have cheese, you can make a simple cheese yourself. If you have milk that needs to be used, this gives you another option. And if normal information sources aren’t available, the process is simple enough to follow from an offline recipe.
You don’t need to become an expert cheesemaker. You only need to understand the basic process and have instructions available when you need them.
Preparedness Action Plan
Make this recipe at least once while you have normal kitchen equipment, ingredients, and refrigeration available. Pay attention to what the curds and whey look like when they separate and experiment with how long you drain or press the cheese.
After making it yourself, the basic process becomes much easier to remember:
Heat the milk → Add lemon juice → Form the curds → Drain → Salt → Press if desired.
What You Should Know
Farmer’s cheese is one of the simplest fresh cheeses you can make at home. Once you understand how to heat the milk, separate the curds and whey, drain the curds, and control the final texture, the process becomes fairly straightforward.
The most important thing to remember is that this is still a fresh, perishable food. Making farmer’s cheese gives you another way to use milk and make food yourself, but it does not turn milk into a shelf-stable product.
© Prepping Communities. This content is for informational purposes only and not professional advice. Use at your own risk.
Terms | Privacy | Guidelines