
Turning Animal Fat Into a Useful Preparedness Skill
Soap is one of those supplies that’s easy to overlook in preparedness. It’s inexpensive, available almost everywhere and easy to store. Most of us don’t give it much thought. When a bar runs out, we grab another one from the cupboard and eventually buy another package.
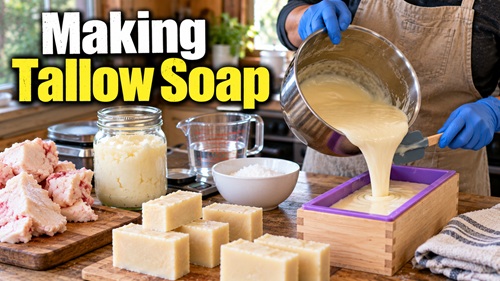
Learning how to make soap changes that relationship a little. Suddenly, something you’ve bought your entire life becomes something you understand how to produce. Tallow soap is particularly interesting because the main ingredient can come from beef fat that might otherwise be discarded. Render that fat properly, combine it with a few other basic materials, and it can become a hard, useful bar of soap.
That doesn’t mean everyone needs to stop buying soap. Quite the opposite. Soap is cheap enough that storing plenty of it makes sense. The preparedness value is in having another skill available and understanding what it actually takes to produce something your household uses every day.
There is one part of this process that needs to be taken seriously from the beginning. Traditional cold-process soap uses sodium hydroxide, commonly called lye. Sodium hydroxide is highly caustic and can cause serious chemical burns. Mixing it with water also generates considerable heat. This isn’t something to eyeball, casually substitute ingredients in, or attempt for the first time during an emergency.
Soapmaking is a skill to learn while everything is normal.
From Beef Fat to Soap
Tallow is rendered animal fat, most commonly beef fat. Rendering separates the usable fat from water, connective tissue, meat particles and other material. Done properly, you’re left with clean tallow that can be used for cooking, soapmaking and other household purposes.
This is where soapmaking starts to become interesting from a preparedness perspective. If an animal is already being processed for food, the fat doesn’t necessarily have to become waste. Someone who learns to render it has created another useful resource from the same animal.
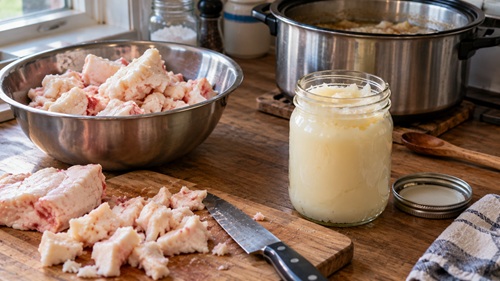
You don’t have to raise cattle to learn the skill. Beef suet may be available from a butcher, meat processor or local farmer. Start with a small amount. Learn to render it properly and see what clean tallow should look and smell like before worrying about producing large quantities.
Soap is created through a chemical reaction called saponification. Fats react with a strong alkali—in this case sodium hydroxide – and are transformed into soap. The chemistry matters because different fats require different amounts of sodium hydroxide. Tallow has one requirement, coconut oil another, olive oil another.
That means soap isn’t like soup. You can’t decide halfway through that another eight ounces of oil would be nice and simply pour it in. Change the fats or their quantities and the required amount of lye may change as well.
Accurate weighing is important. Use a reliable digital scale and a tested soap formula. If you alter the amount or type of fat, recalculate the formula with a reputable soap calculator rather than guessing.
Pure tallow makes a very hard, long-lasting bar with a creamy but relatively restrained lather. Other oils can be added to change those characteristics. Coconut oil can increase cleansing and lather, while olive oil can contribute a different feel and character to the finished bar.
There is plenty of room to experiment later. For the first few batches, simple is probably better.
Working Safely With Lye
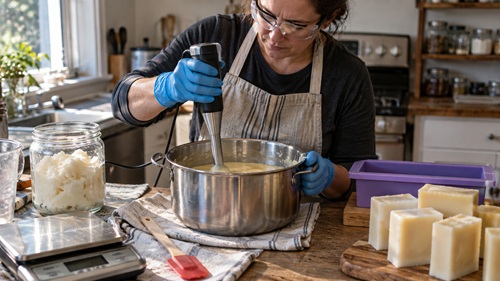
Get the work area organized before opening the sodium hydroxide. Wear gloves and eye protection, cover exposed skin and work somewhere with good ventilation. Children and pets should stay out of the area while you’re mixing lye and handling fresh soap batter.
Have the ingredients weighed and the equipment ready beforehand. Searching through cupboards for a missing container while a hot lye solution is sitting on the counter isn’t ideal.
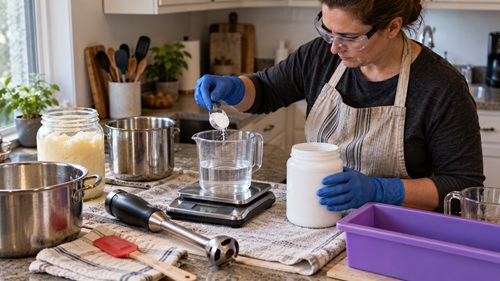
Use equipment that is compatible with sodium hydroxide and avoid aluminum because lye reacts with it. If soapmaking becomes something you do regularly, keeping dedicated containers, spatulas and other basic equipment together makes the process much easier.
The basic mixing rule is worth remembering: add the lye to the water, not water to the lye. Add it carefully and gradually. The solution will heat up considerably as the sodium hydroxide dissolves.
Read the safety information that comes with the sodium hydroxide you’re using and know how the manufacturer recommends handling accidental exposure. Lye doesn’t make home soapmaking unreasonable or frightening. It just means this is one of those traditional skills where being careful matters.
Once you’ve made a few batches, the process becomes familiar. Until then, slow down and pay attention to what you’re doing.
Basic 100% Tallow Soap Recipe
This is a straightforward cold-process tallow soap suitable for learning the basic process. It produces approximately 2½ pounds of soap, or roughly 7–8 bars, depending on the mold and how thickly the bars are cut.
Ingredients
- 28 oz (794 g) clean rendered tallow
- 8.75 oz (248 g) distilled water
- 3.7 oz (105 g) sodium hydroxide (lye)
Equipment
- Reliable digital scale
- Lye-compatible containers
- Silicone or other suitable spatula
- Immersion blender
- Thermometer
- Soap loaf mold or individual soap molds
- Protective gloves
- Eye protection
Important Safety Note
These ingredient quantities belong together as a specific formula. Do not change the amount or type of fat while keeping the same amount of sodium hydroxide. If you resize or modify the recipe, recalculate the formula with a reputable soap calculator.
Always add lye to water, never water to lye.
Directions
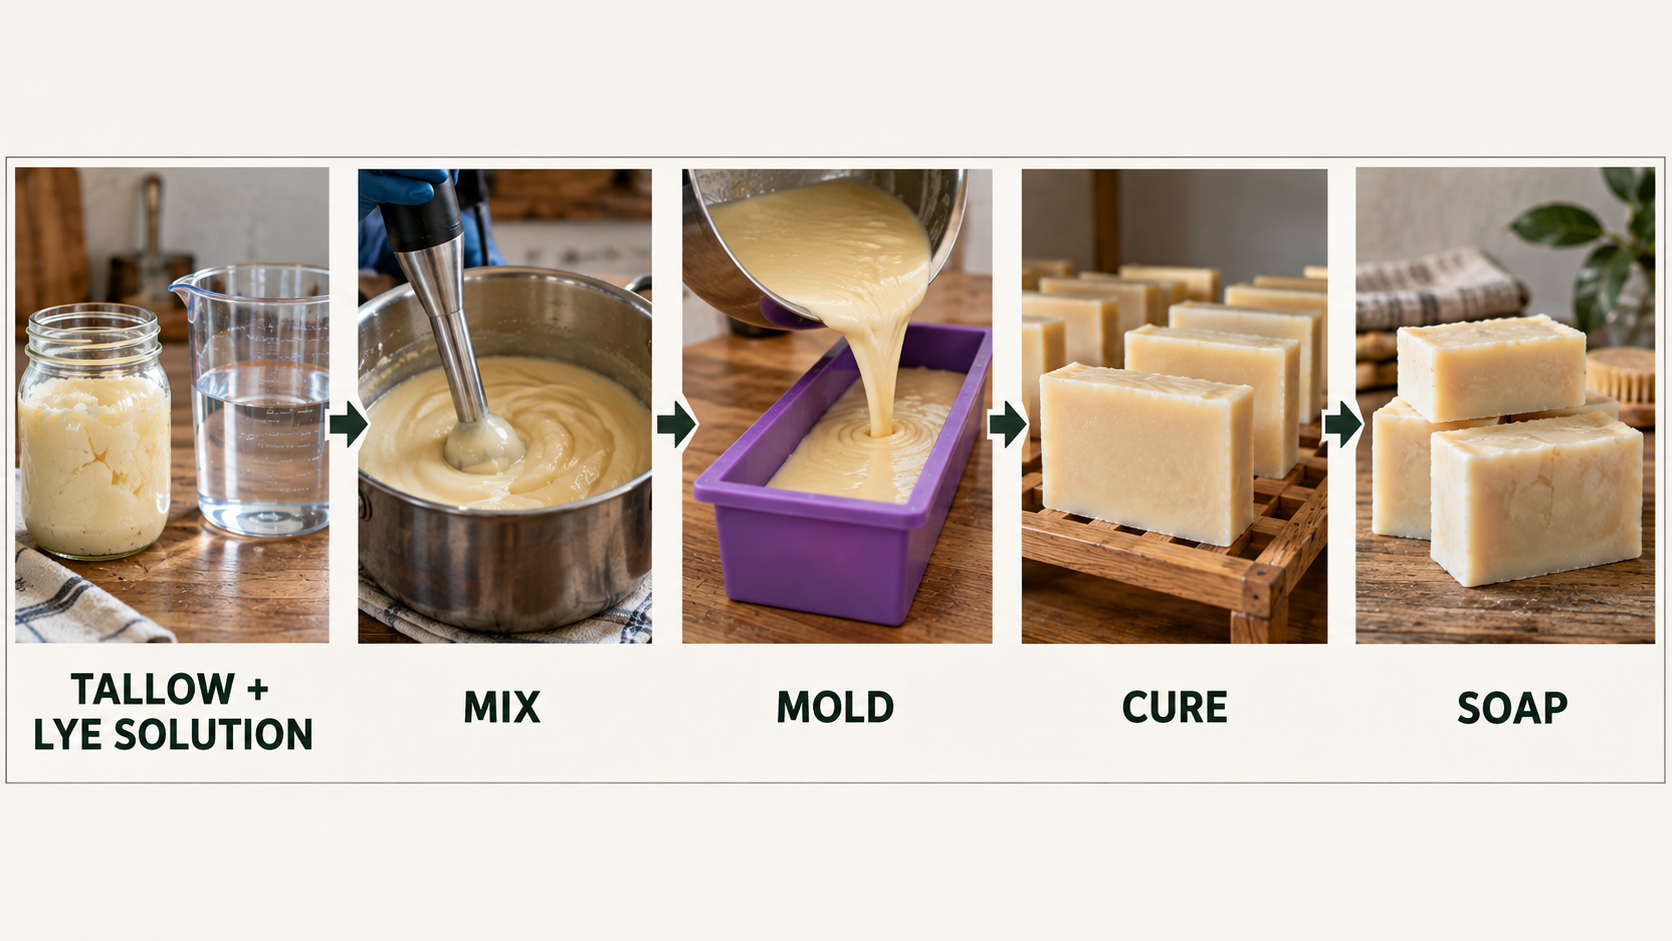
1. Prepare the work area.
Put on gloves and eye protection. Make sure children and pets are away from the workspace and have all ingredients and equipment ready before handling the sodium hydroxide.
2. Weigh everything.
Use the digital scale to weigh the tallow, distilled water and sodium hydroxide separately. Don’t substitute volume measurements for weights.
3. Prepare the lye solution.
Slowly add the measured sodium hydroxide to the distilled water while stirring carefully. The solution will become hot. Set it somewhere secure and allow it to cool.
4. Melt the tallow.
Gently heat the tallow until it is completely melted.
5. Allow both mixtures to cool.
Bring the melted tallow and lye solution to roughly 100–110°F (38–43°C).
6. Combine.
Carefully pour the lye solution into the melted tallow.
7. Blend to trace.
Use the immersion blender in short bursts, alternating with gentle stirring. Continue until the mixture begins to thicken. At light trace, a small amount drizzled across the surface should briefly leave a visible trail before sinking back in.
8. Fill the mold.
Pour the soap mixture into the prepared mold and leave it somewhere safe and undisturbed.
9. Unmold and cut.
After approximately 24–48 hours, check the soap. Once it is firm enough to handle, remove it from the mold. If you used a loaf mold, cut it into bars at this point. Tallow soap can become quite hard, so don’t leave the loaf sitting too long before cutting it.
10. Cure the soap.
Place the bars in a dry, well-ventilated area with space around them for air circulation. Allow them to cure for approximately 4–6 weeks before use.
Learning From the First Batch
Once the soap is in the mold, there isn’t much to do except give it time. That waiting period is easy to underestimate when you’re new to this. A batch may become solid enough to cut after a day or two, but that doesn’t mean you’ve made finished soap overnight. Cold-process soap still needs weeks to cure properly.
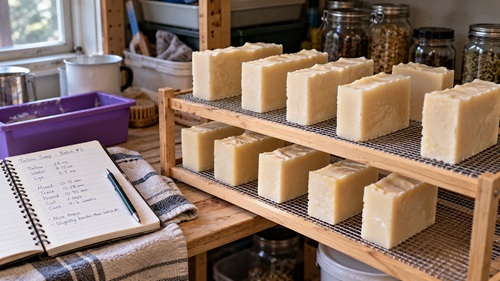
This is actually a useful preparedness lesson by itself. Some things can’t be replaced immediately simply because you know how to make them. Production time matters. If homemade soap were ever part of your household’s backup plan, waiting until the last bar disappeared before starting another batch wouldn’t make much sense.
Keep notes when you make soap. Nothing elaborate is necessary. Write down the date, ingredient weights, how long it took to reach trace, when you removed it from the mold and anything unusual you noticed. Six weeks later, it’s surprisingly easy to forget whether this was the batch you blended for five minutes or the one that seemed to take forever to thicken.
Then use the soap.
See how hard the bar becomes, how much it lathers and how long one bar lasts in your household. Maybe you love a plain tallow bar. Maybe you decide you’d prefer something with a little more lather. That’s where experimenting with other oils starts making more sense.
Later batches might include coconut or olive oil. Milk, honey, oats, fragrances and other additions can also be explored once the basic process is familiar. Changing oils, however, means recalculating the lye requirement. Don’t simply add another oil to the basic recipe and assume everything else remains the same.
There isn’t much preparedness value in making soap unnecessarily complicated. A plain bar that cleans your hands, lasts a long time and can be reliably reproduced is already pretty useful.
The Dependency That’s Easy to Miss
Tallow soap looks very self-reliant at first. Beef fat may be locally available. Water is generally accessible. Molds and basic equipment can be reused for years.
Then there’s the sodium hydroxide.
Most modern home soap makers purchase standardized lye. So learning to make soap reduces your dependence on finished soap, but it doesn’t completely remove the supply chain. You still need an alkali suitable for producing it.
That’s worth knowing.
If soapmaking becomes part of your normal household routine, keeping an appropriate amount of sodium hydroxide on hand may make sense. It needs to be stored according to the manufacturer’s directions, clearly identified and secured away from children, pets, moisture and incompatible materials.
Historically, people produced alkaline solutions from wood ashes. That’s an interesting traditional skill in its own right, but the resulting solutions are much less predictable than standardized sodium hydroxide. Someone learning soapmaking is much better served by first becoming comfortable with known ingredients and properly calculated formulas.
Preparedness doesn’t mean every ingredient has to come from your backyard. Sometimes the useful lesson is figuring out which part of a process would be difficult to replace and planning around it.
Soapmaking also connects naturally with other household skills. Raising or processing livestock can provide fat. Rendering preserves that fat and makes it useful. Soapmaking turns some of the rendered product into a sanitation supply. What started as a by-product of food production becomes something the household can continue using.
That’s the kind of overlap that makes old skills interesting. They don’t always exist separately.
Why Learn This If Soap Is Cheap?
Because sanitation still matters when everything else becomes difficult.
Hands still need washing during a power outage. Cooking equipment still gets dirty. Clothing still needs cleaning. If water, electricity, garbage collection, medical services or normal shopping are disrupted, basic hygiene can become more difficult at exactly the time you don’t need another problem.
That doesn’t mean homemade soap needs to replace stored soap. Keeping extra commercial bars is simple, inexpensive preparedness and should probably come first.
The skill gives you another option.
More importantly, actually making soap removes the mystery from the process. After you’ve made several batches, you know what ingredients are required, how much tallow you need, what the hazards are, how long a batch takes and how many bars you can reasonably expect.
That’s very different from having a recipe saved somewhere and assuming you’ll figure it out when the time comes.
Preparedness Action Plan
If you’ve never made tallow soap, don’t start by buying enough supplies to produce a year’s worth. Get enough clean tallow or beef suet for a small batch and learn the process first.
Learn how to handle sodium hydroxide safely before opening the container. Gather proper eye protection and gloves, use a reliable digital scale and work with a tested formula rather than improvising the lye-to-fat ratio.
Make your first batch while the stores are open, running water is available and nothing is wrong. Keep notes, allow the bars to complete their full curing period and then actually use them.
If the process works for your household, make another batch. Eventually you’ll know whether keeping tallow, soapmaking equipment and a safely stored supply of sodium hydroxide makes sense as part of your preparedness supplies.
Key Takeaways
Tallow soap turns a material that might otherwise be discarded into a useful household product. Learning to make it connects several practical skills, including rendering fat, accurate measuring, safe chemical handling and basic household production.
It also teaches something useful about self-reliance. Knowing how to make something doesn’t necessarily mean you’re independent of every supply chain involved in making it. Understanding those remaining dependencies is part of being prepared.
Store soap because it’s cheap and easy.
Learn to make soap because someday knowing how may matter just as much as having another package on the shelf.
© Prepping Communities. This content is for informational purposes only and not professional advice. Use at your own risk.
Terms | Privacy | Guidelines