
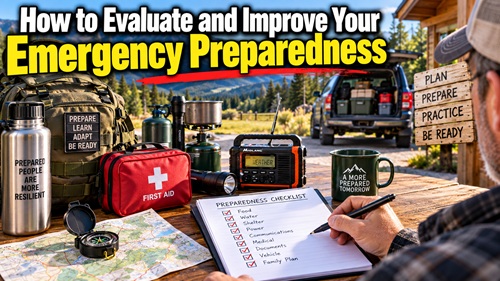
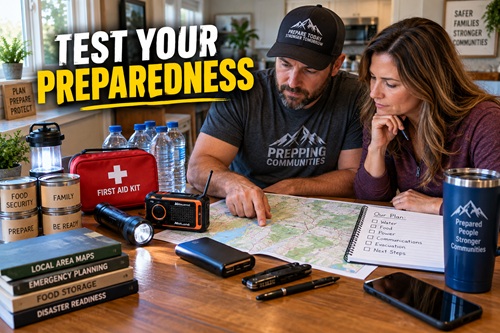
Most people already have some level of preparedness. There may be extra food in the pantry, flashlights around the house, a first-aid kit, bottled water, camping equipment or a few things stored in the vehicle. The harder question is whether all of those individual things actually work together when something goes wrong.
There is a fairly simple way to find out, and you don’t have to buy anything to do it.
Start by looking at the emergencies that could realistically affect where you live. Then walk yourself through what would happen if normal services disappeared for a day, three days and eventually a week. Somewhere along the way you will probably find a point where your preparations start getting thin. That’s what you want to find, because it tells you what to work on next.
Step 1: Find Out What Could Actually Affect Your Area
Before worrying about what else you should buy, spend some time looking at where you live.
What has happened there before? Wildfires? Flooding? Long winter power outages? Extreme heat? Earthquakes? Roads being closed for several days?
Also look beyond natural disasters. Is there a railway nearby? A major highway? Industrial facilities? Are you dependent on one road in and out of your area? If you’re rural, how far away are emergency services, fuel, groceries and medical care?
This is where the Prepping Communities Area Study Maps, powered by GET READY Maps, can be useful.
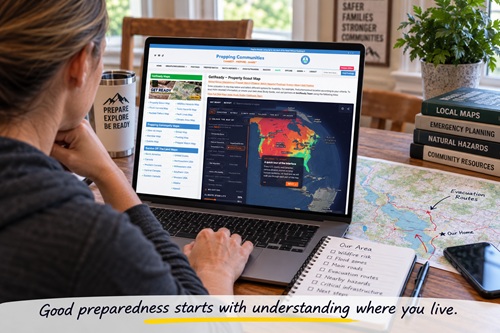
The Property Scout Map can help you take a closer look at the area surrounding a property. From there, check the Wildfire Hazards Map, Toxic Hazards Map, Fault Lines Map and Climate Atlas Map. There are also more specialized tools including the Nuclear Fallout Map and Flock Camera Map.
The point isn’t to look at a map and make a list of everything that could possibly go wrong. You’re trying to understand your area well enough to decide what deserves your attention.
For example, suppose the wildfire map shows a meaningful wildfire hazard around your community and you realize most traffic leaving your neighborhood eventually feeds onto the same main road. Your concern isn’t simply “wildfire.” You need to think about evacuation time, traffic, smoke, power interruptions, fuel, pets, medications and what you would need if you couldn’t return home for several days.
Pick three to five situations that make sense for where you live. Start there.
Step 2: Figure Out What Those Emergencies Would Actually Do
Take each of the hazards you identified and think about the problems it could create.
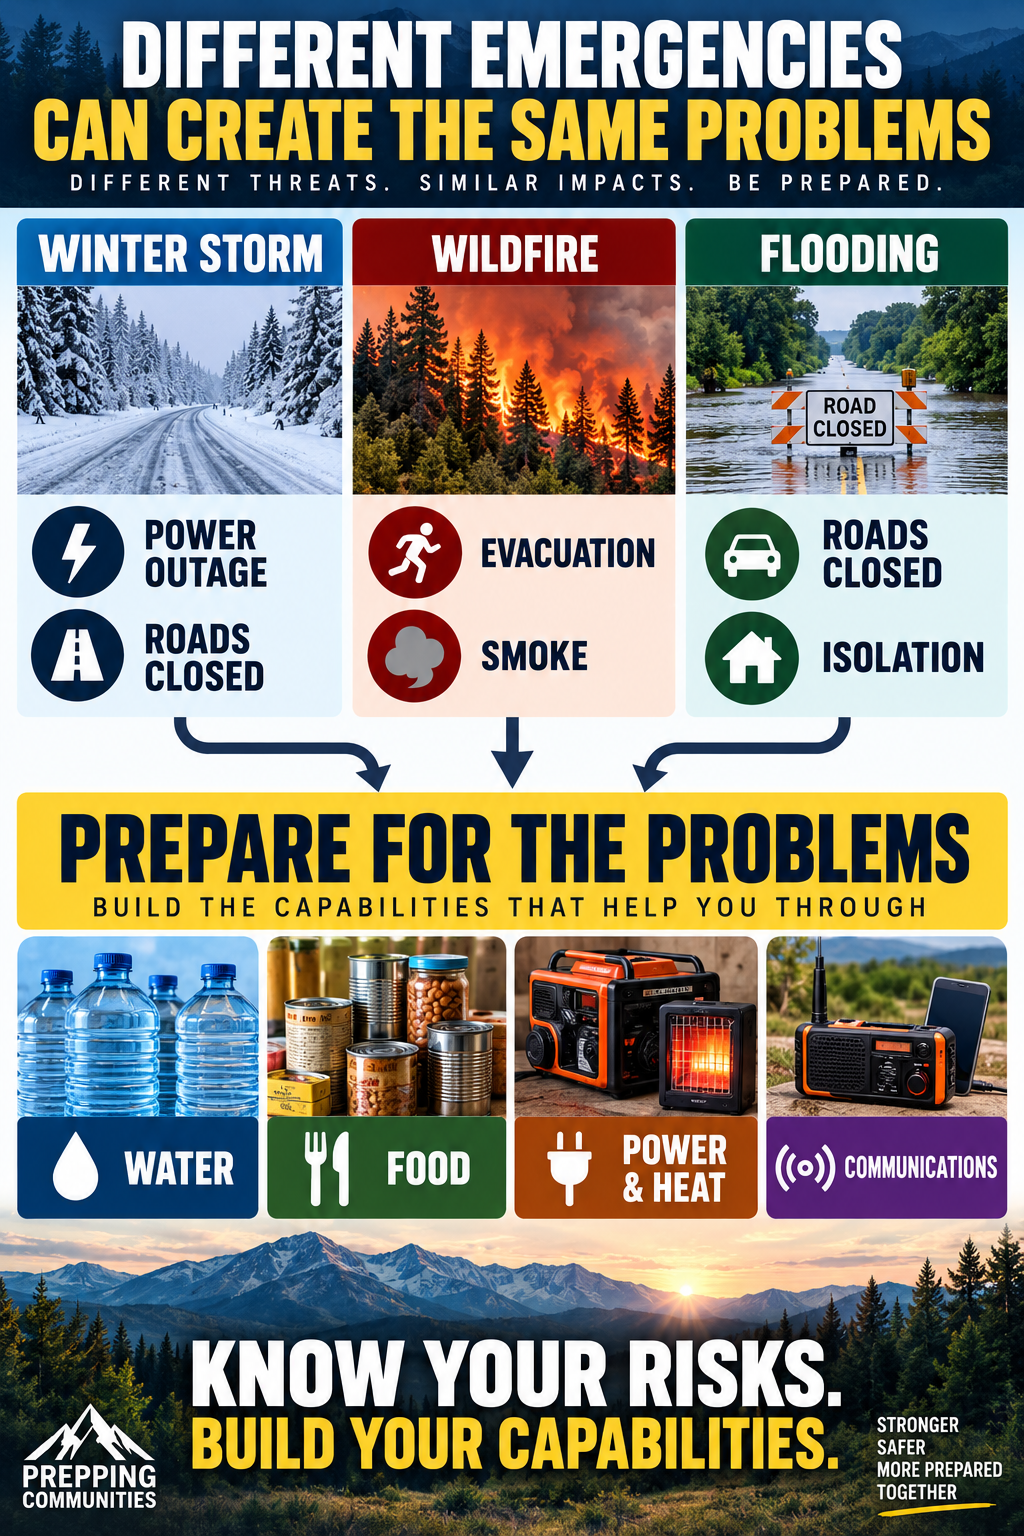
A winter storm might knock out electricity and make roads difficult to travel. A wildfire might cause an evacuation, poor air quality and road closures. Flooding might leave your house untouched but close the highway you use to reach town.
Write down the likely consequences.
You’ll probably start seeing the same problems appearing under several different emergencies. Electricity may be interrupted in three of them. Two might prevent you from getting to a grocery store. Several could interfere with communications.
That’s useful information.
It means improving one capability may prepare you for several emergencies at the same time.
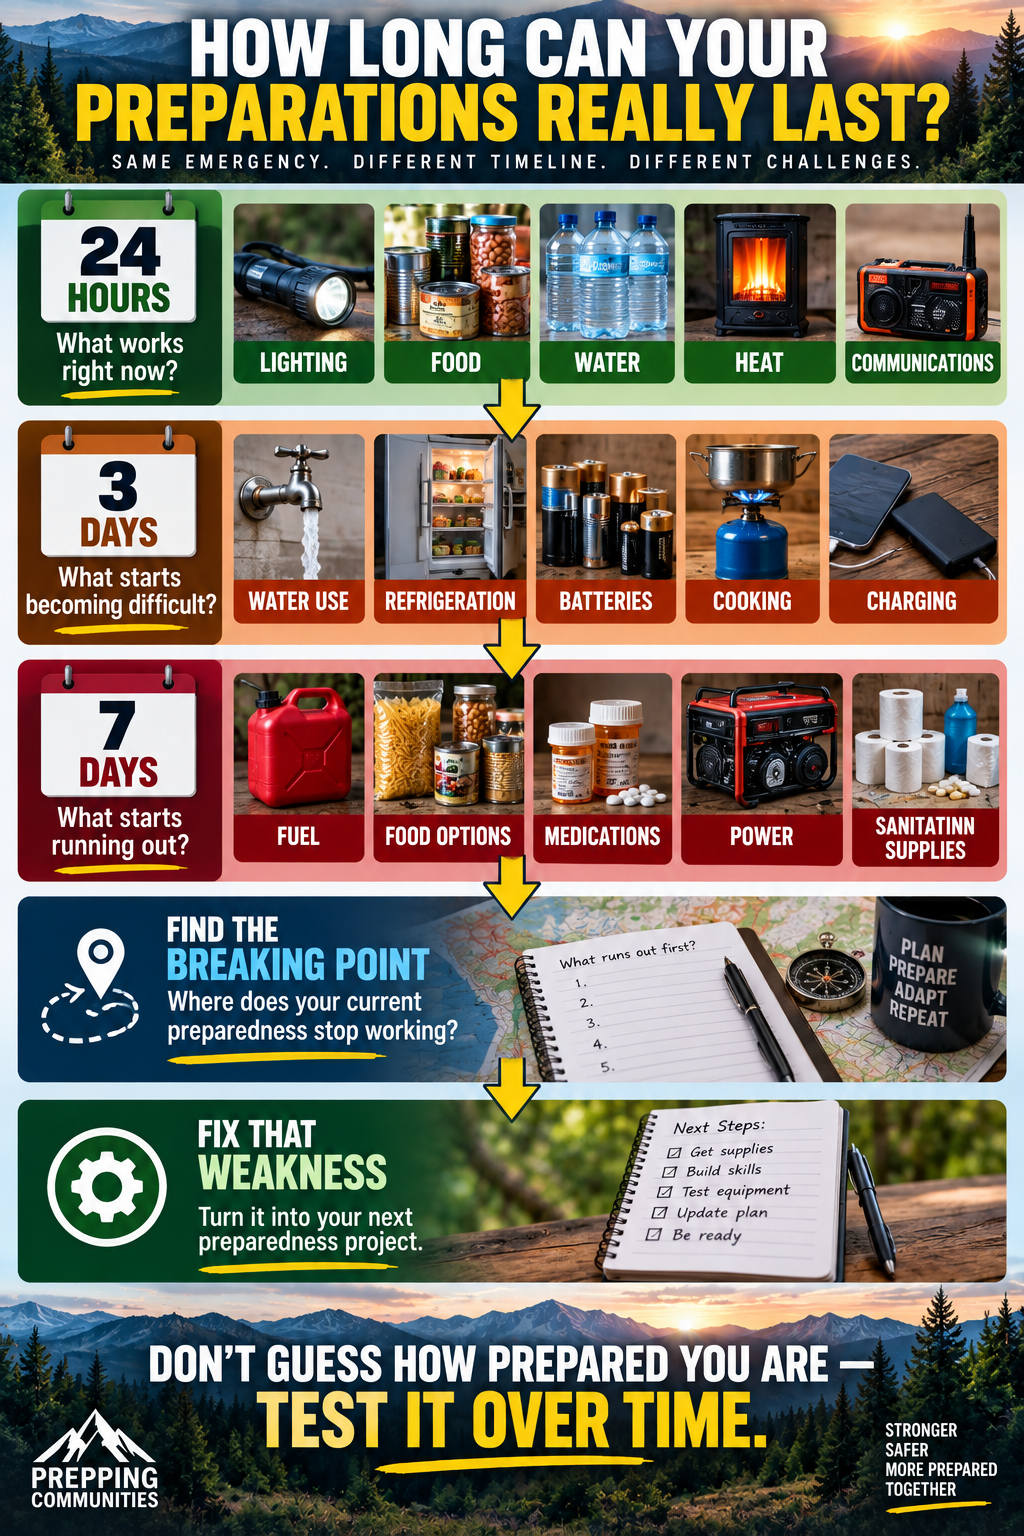
Step 3: See How You Would Handle the First 24 Hours
Choose one of your realistic emergencies and imagine it starts today.
Use what you actually have right now. Don’t give yourself a shopping trip first.
Suppose a storm knocks out electricity this evening.
Can you immediately find working flashlights? Do you have a way to make dinner? If you’re on a private well, does losing electricity also mean losing water? Can you charge your phone? Does your heating system still work? How would you get local information if your internet connection disappeared?
Actually check some of these things instead of assuming you know the answer.
You might think you have six flashlights until you discover that two have dead batteries, one doesn’t work anymore and another uses batteries you don’t have.
That’s exactly the kind of thing this exercise is supposed to uncover.
Write down the problems you find. Don’t fix them yet.
Step 4: Now Make It Three Days
The power is still out.
This changes the exercise.
The flashlight that worked perfectly the first night has already been used for several hours. Phones need charging again. The refrigerator has been without electricity much longer. If you are relying on stored water, you’ve been drinking and cooking with it for three days.
Take water as an example. Don’t just look at several cases of bottled water and decide you have plenty. Count it.
Suppose four people live in the house and you discover you have 12 litres of drinking water stored. Once you start using that water for drinking and food preparation, it may disappear much faster than you expected.
Now you know something useful about your preparedness.
Do the same with food. Look at what you actually have and ask what you could prepare without your normal kitchen.
A pantry containing rice, pasta, dried beans and other staples may represent a lot of food, but much of it also requires water, cooking fuel and time to prepare. If your backup cooking plan is one small camp stove and two fuel canisters, that matters.
Step 5: Push the Same Emergency to Seven Days
Now assume you’re going into Day 7.
This is usually where weaknesses that weren’t obvious during the first day start showing themselves.
If you’re using a generator, how much fuel is left? Don’t guess. Work it out based on how you are actually operating it.
You may discover that running the generator continuously isn’t realistic. That’s not necessarily a problem. Maybe the better plan is to run it for limited periods to keep a freezer cold, charge batteries and operate essential equipment.
The same applies to everything else.
How much water remains?
What food needs to be eaten before it spoils?
Are medications becoming an issue?
How are you handling garbage and sanitation?
What batteries have been used?
How much cooking fuel remains?
Has anyone had to drive anywhere, and if so, how much vehicle fuel do you have?
The useful question at this point is simply:
What runs out next?
Whatever keeps appearing near the top of that list deserves attention.
Step 6: Watch for One Problem Creating Another
This is one of the most important parts of the exercise because emergencies rarely stay neatly contained.
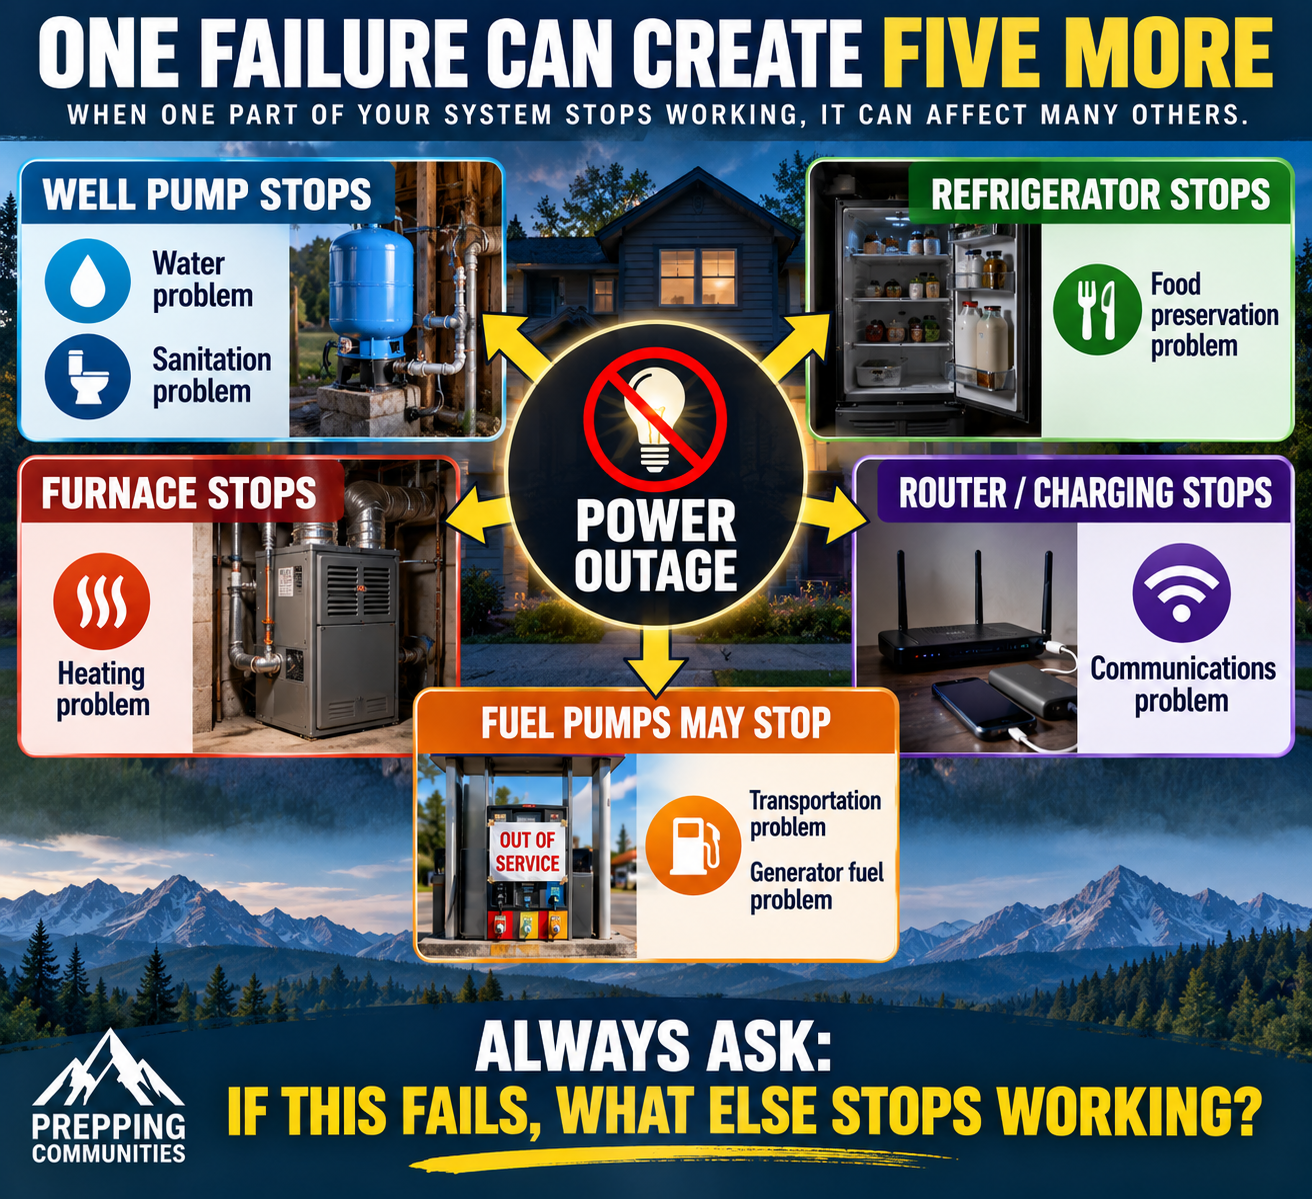
Suppose the electricity goes out.
Your well pump stops working. Now the power outage is also a water problem.
Without water, toilets may become a sanitation problem.
Your refrigerator and freezer stop. Now food preservation becomes a concern.
Your furnace may burn natural gas, but the controls and blower still require electricity. Now you may have a heating problem.
Your internet router stops working, and cellular service may become overloaded. Communications are becoming more difficult too.
Even the nearby gas station may have fuel underground but no way to operate its pumps during an extended outage unless it has backup power.
When you’re evaluating something important, ask:
If this stops working, what else do I lose with it?
You may find that one piece of infrastructure is supporting several things you assumed were independent.
Step 7: Actually Use Your Emergency Equipment
This part is simple. Pick up the things you’re planning to rely on and use them.
If you have a water filter, use it according to the manufacturer’s instructions.
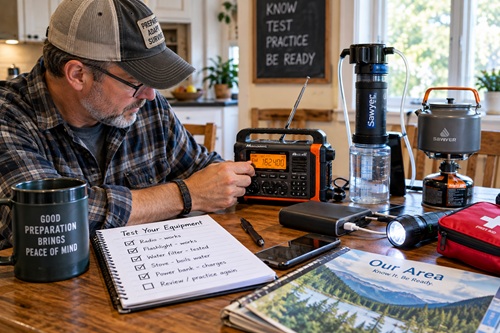
If you have an emergency radio, turn it on and find the stations that provide useful information in your area.
If you have backup cooking equipment, make dinner with it one evening. Do it safely and use the same fuel you would depend on during an outage.
Test your power banks.
Start the generator if you have one and make sure you understand how to operate it safely.
Look in the vehicle and find the jack and tire-changing equipment. If you haven’t looked at your spare tire recently, check it.
Find the water shutoff in your home. Find the electrical panel. Make sure another adult in the household knows where they are.
You’ll probably find a few things that need attention. Maybe a battery is dead or an adapter is missing. Perhaps a fuel container you thought was full isn’t. You might discover that nobody remembers exactly how a piece of equipment works.
Much better to find that out now.
Step 8: See What Happens Without the Internet
Here’s another useful test.
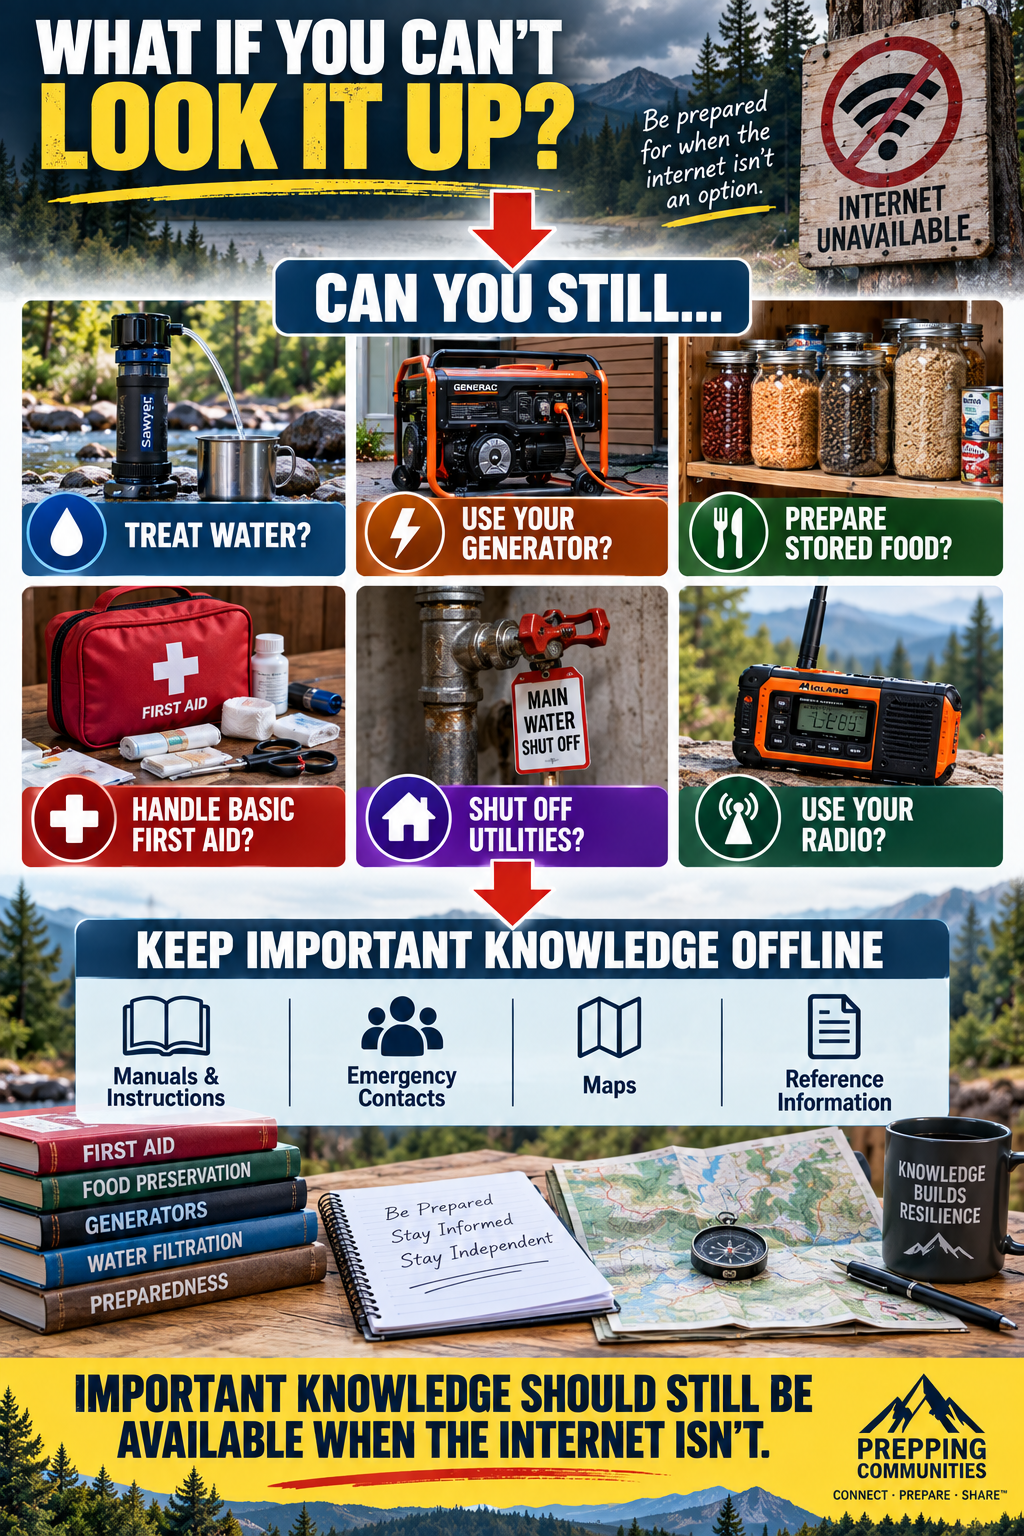
Assume the internet is unavailable.
Can you still use the equipment you’ve stored?
If you needed instructions for your generator, water filter or another important piece of equipment, do you have them somewhere other than online?
Could you safely make water usable?
Could you prepare your stored food?
Do you know enough basic first aid to deal with common injuries?
Do you know how to shut off the water if a pipe breaks?
Think about information you automatically look up on your phone whenever you need it. Some of that information may be worth keeping offline.
You don’t need to memorize everything. The goal is to make sure losing internet access doesn’t also mean losing access to important knowledge.
Step 9: Try the Opposite Scenario — You Have to Leave
So far we’ve mostly looked at staying home. Now change the situation.
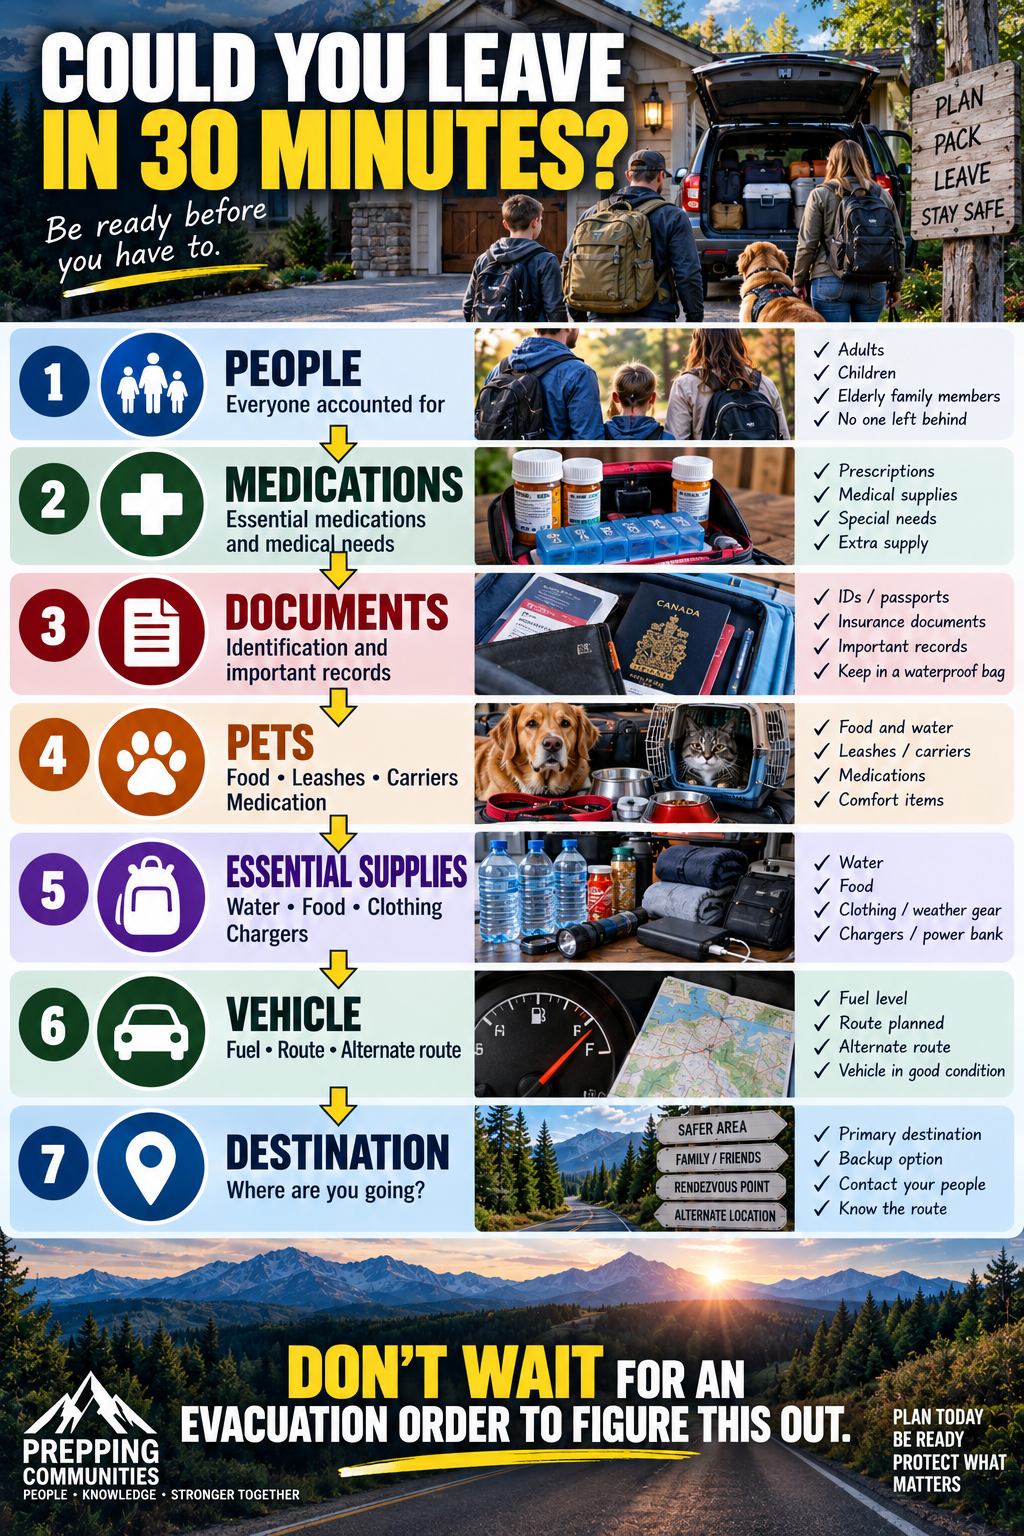
You receive an evacuation notice and need to leave within 30 minutes.
Walk through what you would actually do.
Where are your important documents? What medications need to come with you? What about pet food, carriers or leashes? What clothing would you need? Are chargers easy to grab? Do you have drinking water and food that can quickly go into the vehicle?
Where would you go?
Now make it slightly harder.
The person who normally organizes everything isn’t home.
Could someone else in the household still gather what is needed and leave?
You don’t necessarily need to conduct a full evacuation drill. Simply walking through the house and locating everything can tell you a lot.
If it takes an hour and a half to find what you would need during a 30-minute evacuation, you’ve found something worth fixing.
Step 10: Find the Weakest Part of Your Preparedness
By now you should have a page full of notes.
Don’t turn that into a giant shopping list.
Look for the weakness that would cause the biggest problem during the emergencies you identified at the beginning.
Maybe you have plenty of food, good lighting, a generator and several power banks, but very little stored water.
Start with water.
Another household might have excellent food and water supplies but no realistic backup heat despite living somewhere with severe winters.
Work on heat.
Someone living in wildfire country may be able to stay home comfortably for two weeks but discover that getting the family packed and out of the house quickly would be a mess.
Work on evacuation.
Your biggest weakness won’t necessarily be the same as somebody else’s.
Step 11: Turn That Weakness Into One Project
Make the problem specific enough that you can actually solve it.
Instead of writing:
Need more water.
Try:
Increase our stored emergency water from roughly one day to seven days and develop another way to obtain and safely treat water if the stored supply is exhausted.
Instead of:
Need backup power.
Try:
Determine which equipment we really need during an outage, calculate how much electricity it requires and develop enough backup capacity to operate those essentials.
Now you’ve got a project rather than a vague goal.
Work on that one.
When it’s reasonably solid, move on to the next weakness.
Step 12: Put It All Together
Here’s what the completed exercise might look like for a rural household.
Location: Rural area with severe winter weather.
Main concern: Multi-day winter storm.
Likely problems: Power outage, blocked roads and delayed access to stores.
First 24 hours: Household is comfortable. Food, lighting and heat are manageable.
Day 3: Stored drinking water is getting low because the well pump doesn’t operate without electricity.
Day 7: Generator fuel is becoming the next major concern. Running the generator continuously isn’t sustainable.
Biggest weakness: Water.
First preparedness project: Increase stored water and establish a practical backup water source and treatment method.
Next project: Develop a generator schedule and determine how much fuel is realistically needed to operate essential equipment.
That’s a preparedness plan based on the household’s actual situation rather than a generic list of things somebody says every prepper should own.
Your results may look completely different, and that’s the point.
A Simple Preparedness Gap Worksheet
Use this for each emergency you want to evaluate.
Emergency or disruption: ______________________
Why it could affect my area: ______________________
Services that could be interrupted: ______________________
Problems during the first 24 hours: ______________________
Problems by Day 3: ______________________
Problems by Day 7: ______________________
What runs out first: ______________________
What equipment am I depending on: ______________________
What happens if that equipment fails: ______________________
Knowledge or skills I’m missing: ______________________
Biggest preparedness weakness: ______________________
Next preparedness project: ______________________
Don’t worry about filling every blank perfectly. The worksheet is there to make you think through the problem.
Preparedness Action Plan
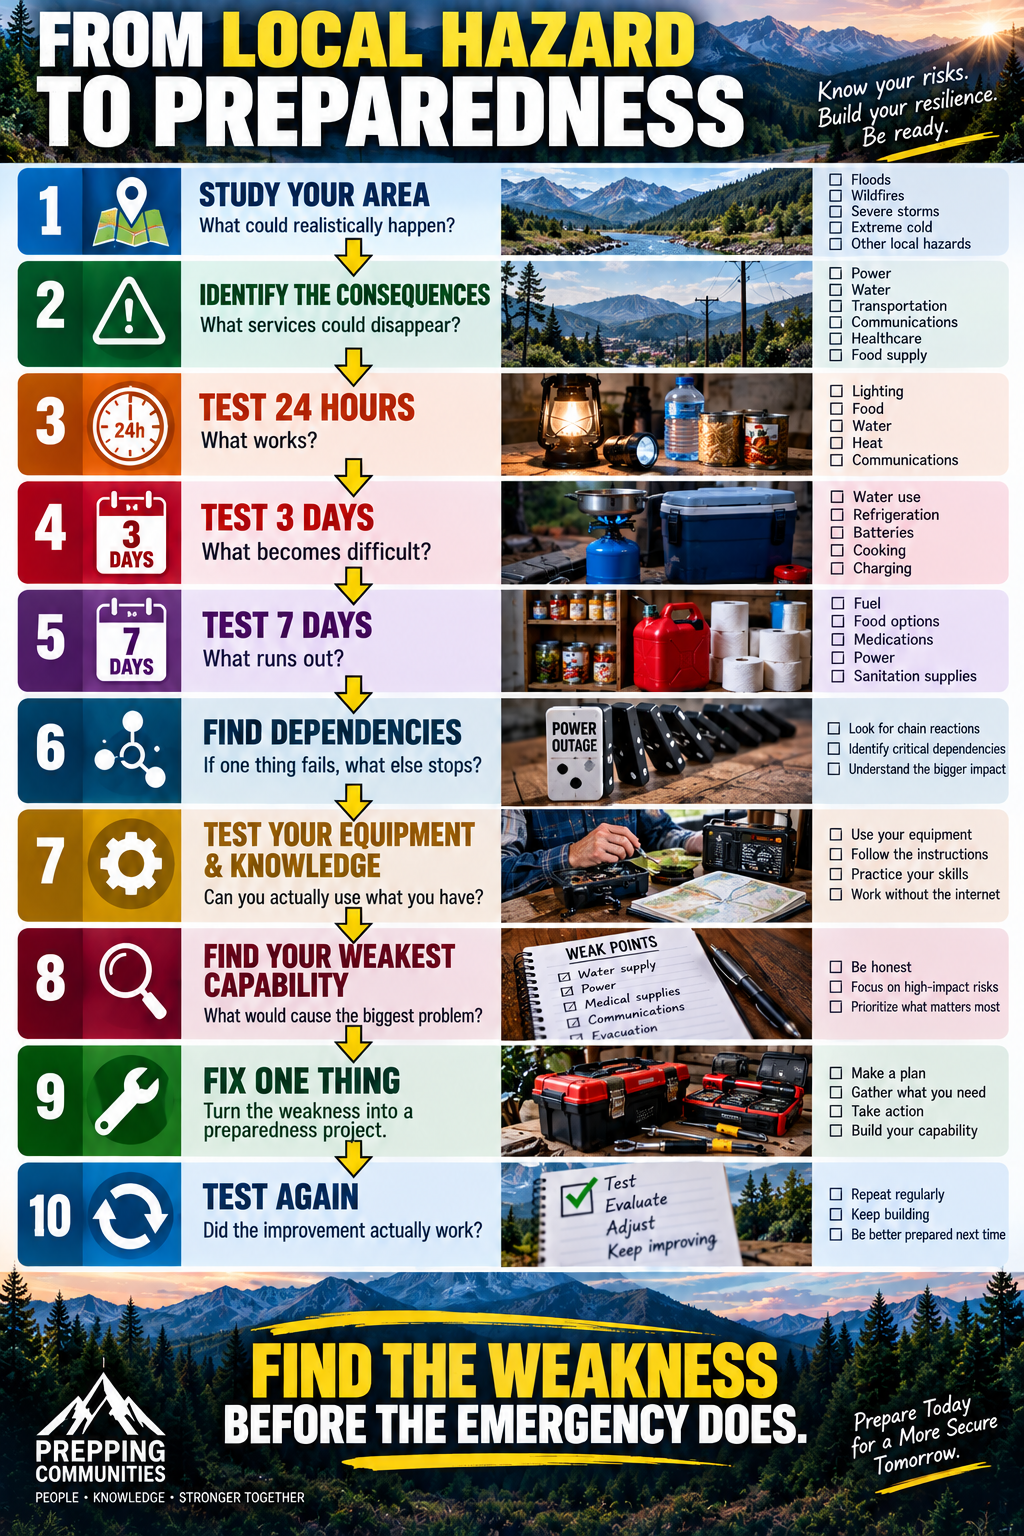
Start with your own area. Use the Area Study Maps powered by GetReady Maps along with reliable local information and identify three emergencies that could realistically affect you.
Pick one and work through it at 24 hours, three days and seven days. Use what you actually have today, not what you intend to buy later.
Pay attention to what runs out, what stops working and what other problems are created when something fails. Test some of the equipment you expect to depend on. Then run the evacuation exercise and see how quickly you could leave if staying home wasn’t an option.
When you’re finished, identify the most important weakness you found.
Make that your next preparedness project.
Fix it, test it and then run the exercise again.
Key Takeaways
Preparedness isn’t about having the biggest pile of emergency supplies. What matters is whether you can keep solving the problems that appear when normal systems aren’t available.
Start with the hazards around you. Look at what those hazards could actually interrupt. Test your preparations over 24 hours, three days and seven days because weaknesses often don’t become obvious immediately.
Pay particular attention to dependencies. Losing electricity might also mean losing your well, heat, refrigeration, communications and access to fuel.
Use your equipment before you need it. Keep important knowledge available offline. Make sure more than one person in the household understands the plan.
Most importantly, don’t try to fix everything at once.
Find the weakness that matters most, improve it and move on to the next one.
Over time, that is how a collection of emergency supplies becomes an actual preparedness capability.
© Prepping Communities. This content is for informational purposes only and not professional advice. Use at your own risk.
Terms | Privacy | Guidelines