
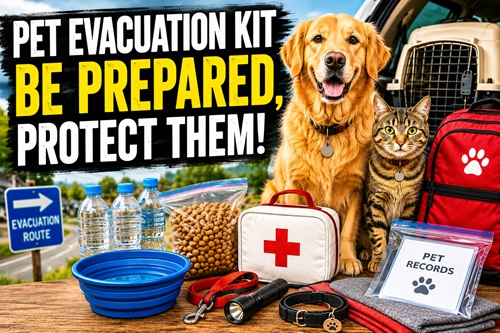
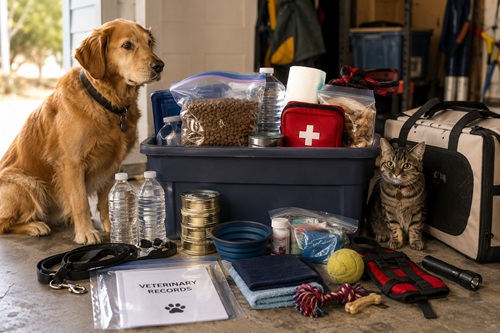
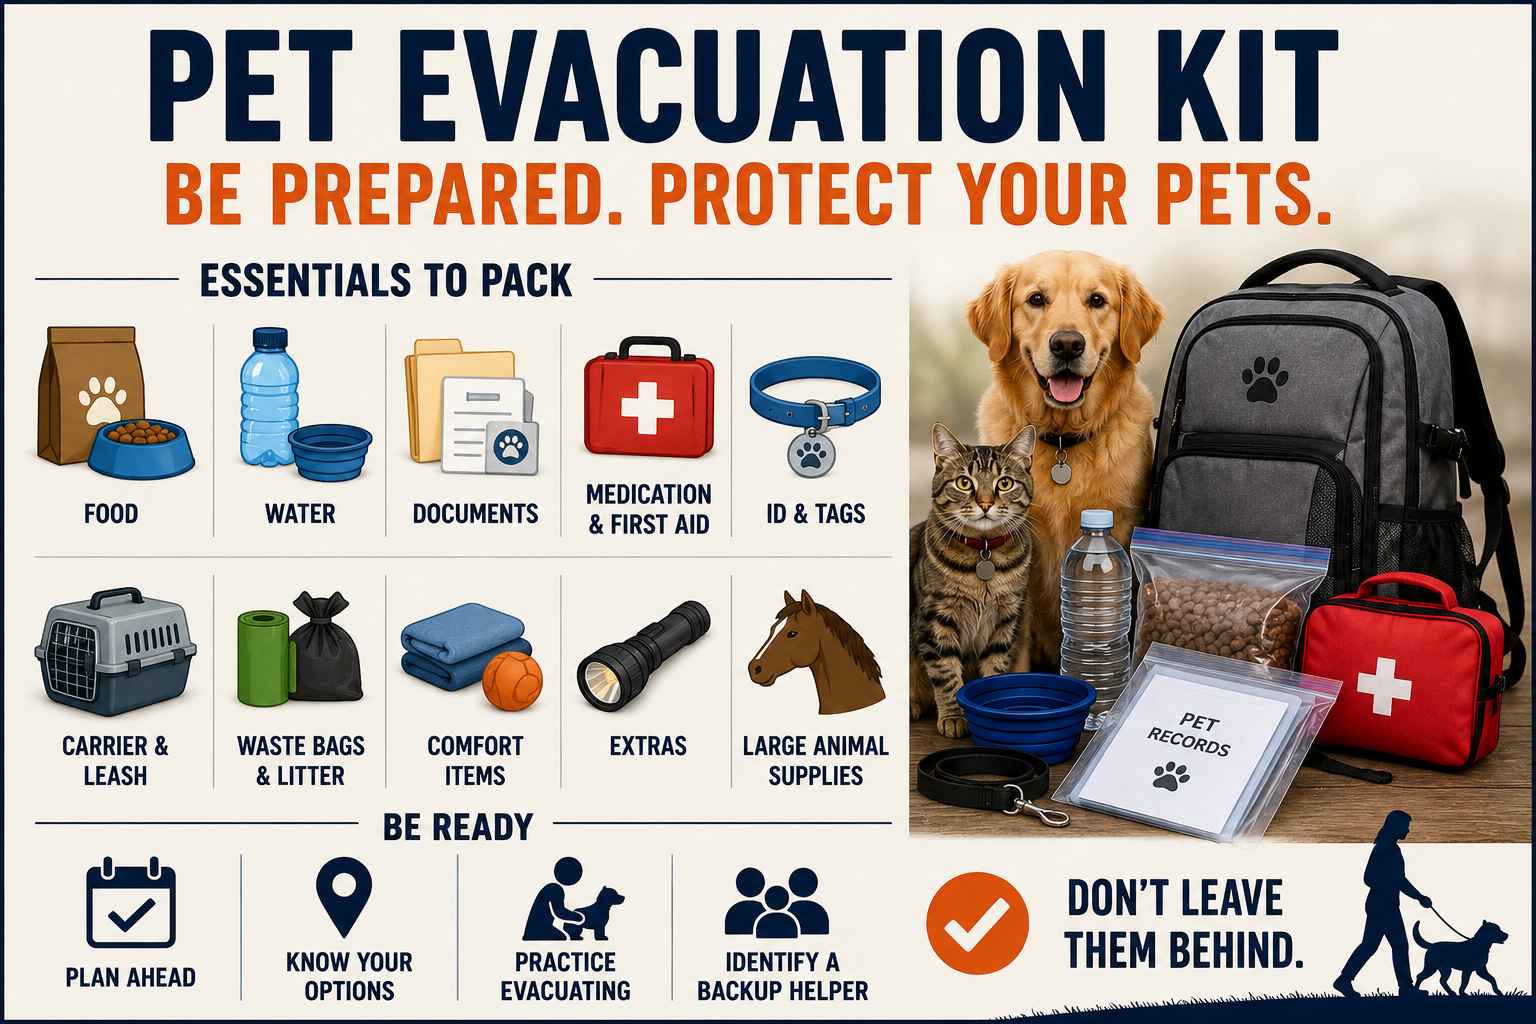
Pets depend entirely on their owners during an emergency. A wildfire, flood, hurricane, chemical spill, evacuation order, or extended power outage can force a family to leave home with very little warning. When that happens, there may not be enough time to gather food, medications, carriers, paperwork, and other supplies. A prepared pet evacuation kit keeps those items together so the animal can leave quickly and safely.
Each pet should have enough supplies for at least three days. Longer emergencies may require additional food, water, medication, and sanitation supplies. The kit should be stored near the family’s emergency equipment or close to the exit normally used during an evacuation. Carriers, leashes, harnesses, and large-animal transportation equipment should also be ready before an emergency begins.
Plan for the Needs of Each Animal
A pet evacuation plan should match the animal rather than relying on one general supply list. A small dog, indoor cat, bird, reptile, horse, and livestock animal all have different transportation, feeding, temperature, and handling requirements. Consider how the animal normally reacts to travel, strangers, loud noises, confinement, and unfamiliar surroundings.
Animals that become anxious or aggressive under stress may require a secure carrier, stronger leash, harness, muzzle, covered cage, or medication prescribed by a veterinarian. Pets with chronic medical conditions may need refrigerated medicine, special food, mobility equipment, or additional monitoring. Large animals require trailers, halters, lead ropes, water containers, feed, and a destination capable of receiving them.
Individual Pet Planning Checklist
☐ Identify how each animal will be transported.
☐ Confirm that carriers, cages, kennels, or trailers are secure and usable.
☐ Record each pet’s medical conditions and special needs.
☐ Determine whether the animal becomes anxious, aggressive, or carsick.
☐ Ask a veterinarian about safe travel or anxiety medication if needed.
☐ Identify at least two locations that can accept the animal.
☐ Practice loading each animal before an emergency.
Pack Food for Several Days
Pack familiar food that the pet already eats. Sudden dietary changes during a stressful emergency can cause digestive problems. Dry food can be divided into individual meal portions and sealed in sturdy bags or containers. Canned food should be checked for expiration dates, and a manual can opener should be included when necessary.
Avoid packing only treats or unfamiliar emergency foods unless the animal has already eaten them successfully. Rotate stored food regularly so it remains fresh. Large animals may require hay, grain, supplements, and a plan for obtaining additional feed at the evacuation destination.
Pet Food Checklist
☐ Three to seven days of familiar food.
☐ Individually measured meal portions.
☐ Treats for comfort or handling.
☐ Manual can opener.
☐ Feeding instructions.
☐ Special diet or prescription food.
☐ Feed and supplements for large animals.
Store Water and Feeding Supplies
Animals need dependable access to clean water during travel and after arrival. Pack bottled water or filled containers for each pet rather than assuming water will be available at shelters, hotels, or rest stops. Collapsible bowls are useful because they take up little space, but standard lightweight bowls also work.
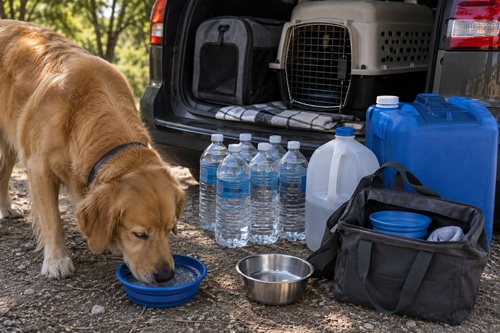
Water needs vary by animal size, temperature, activity, and health. Hot weather and stressful travel can increase consumption. Large animals may require many gallons each day, so their evacuation plan should include larger containers and a reliable refill location.
Water and Feeding Checklist
☐ Drinking water for each animal.
☐ Collapsible or lightweight food bowls.
☐ Water bowls or buckets.
☐ Extra water for cleaning.
☐ Large water containers for livestock.
☐ Towels for spills and cleanup.
Protect Veterinary and Ownership Records
Emergency shelters, boarding facilities, and hotels may require proof of vaccination before accepting an animal. Keep copies of current vaccination records, licenses, registration documents, prescriptions, and medical information in a waterproof pouch.
Include a written description of each animal with its name, species, breed, age, sex, colour, markings, medical conditions, and identifying features. Add clear photographs taken from several angles. Include at least one picture showing the owner with the pet, which may help establish ownership if the animal becomes separated from the family.
Pet Document Checklist
☐ Vaccination records.
☐ Veterinary contact information.
☐ Medication list and dosage instructions.
☐ Registration or licensing documents.
☐ Microchip number and registry details.
☐ Written physical description.
☐ Current photographs from several angles.
☐ Photograph of the owner with the pet.
☐ List of pet-friendly hotels, shelters, kennels, and boarding facilities.
Maintain Reliable Identification
Every animal should have more than one form of identification whenever possible. Dogs and cats should wear collars with current contact information. Carriers, cages, kennels, halters, trailers, and pet supply bags should also be labelled.
Microchips provide another layer of identification, but the registration information must remain current. A microchip cannot help if the linked phone number and address are outdated. Birds, reptiles, livestock, and large animals may require leg bands, ear tags, halter tags, tattoos, photographs, or other appropriate identification methods.
Identification Checklist
☐ Collar with identification tag.
☐ Current phone number and alternate contact.
☐ Microchip registration updated.
☐ Carrier or kennel labelled.
☐ Halter or trailer labelled for large animals.
☐ Backup identification photograph.
☐ Temporary identification method available.
Prepare a Safe Carrier or Restraint System
A frightened animal may run, hide, bite, scratch, or escape. Each small pet should have a secure carrier or crate that allows enough room to stand, turn around, and rest. Dogs should have a strong leash, collar, and preferably a properly fitted harness. Cats should be transported inside carriers rather than held in the vehicle.
Carriers should be easy to reach and should not be buried behind stored supplies. Place bedding, a towel, or a familiar-smelling item inside to reduce stress. Practice placing the animal inside the carrier before an emergency so the process is not completely unfamiliar.
Carrier and Restraint Checklist
☐ Secure carrier, crate, cage, or kennel.
☐ Strong leash.
☐ Backup leash.
☐ Collar and harness.
☐ Bedding or familiar blanket.
☐ Muzzle if appropriate.
☐ Trailer, halter, and lead rope for large animals.
Add Sanitation and Cleanup Supplies
Sanitation can become difficult during an evacuation. Pack waste bags, paper towels, disinfecting wipes, trash bags, and disposable gloves. Cats need a litter tray, litter, and scoop. Birds, reptiles, and small animals may require cage liners, bedding, or absorbent material.
Cleaning supplies should be safe for animals and used according to label directions. Keeping the animal’s space clean reduces odors, stress, and the risk of illness in crowded temporary accommodations.
Sanitation Checklist
☐ Waste bags.
☐ Paper towels.
☐ Trash bags.
☐ Disposable gloves.
☐ Pet-safe cleaning supplies.
☐ Cat litter and scoop.
☐ Small litter tray.
☐ Cage liners or bedding.
☐ Towels and absorbent pads.
Build a Pet First Aid Kit
A pet first aid kit can help manage minor injuries until veterinary care is available. It should contain basic wound-care supplies, but it should not be treated as a replacement for professional treatment. Include non-stick dressings, gauze, bandage material, adhesive tape, scissors, tweezers, saline eyewash, gloves, and any veterinarian-approved medications.
Do not give human medications to an animal unless a veterinarian has confirmed the correct product and dose. Some common human medications are toxic to pets. Keep written veterinary instructions with the kit, especially for allergies, seizures, diabetes, heart conditions, or other chronic problems.
Pet First Aid Checklist
☐ Non-stick wound dressings.
☐ Gauze pads and bandage rolls.
☐ Medical tape.
☐ Blunt-tip scissors.
☐ Tweezers.
☐ Disposable gloves.
☐ Sterile saline.
☐ Styptic powder.
☐ Digital thermometer.
☐ Tick-removal tool.
☐ Prescription medications.
☐ Veterinarian-approved emergency medications.
☐ Written medical instructions.
☐ Emergency veterinary contact numbers.
Include Comfort and Handling Items
Emergencies are stressful for animals. Familiar bedding, a favorite toy, treats, grooming tools, and a towel can make confinement and travel easier. These items may also help calm the animal in a crowded shelter or unfamiliar room.
Avoid packing oversized or unnecessary comfort items that make the kit difficult to carry. Choose small, familiar items that provide the most benefit without taking up excessive space.
Comfort Checklist
☐ Familiar blanket or bedding.
☐ Small toy.
☐ Treats.
☐ Brush or grooming tool.
☐ Towel.
☐ Calming wrap or veterinarian-approved calming aid.
Identify Evacuation Destinations
Do not assume every emergency shelter will accept pets. Research pet-friendly hotels, campgrounds, boarding kennels, veterinary clinics, animal shelters, fairgrounds, stables, and relatives who may be able to help. Record several options in different directions because roads or entire areas may become inaccessible.
Call facilities before an emergency whenever possible to learn their requirements. Some may require vaccination records, reservations, crates, or separate housing for animals. Large-animal owners should identify multiple sites capable of receiving trailers and livestock.
Destination Planning Checklist
☐ Pet-friendly hotels identified.
☐ Boarding facilities identified.
☐ Emergency animal shelters identified.
☐ Veterinary clinics recorded.
☐ Friends or relatives willing to receive pets.
☐ Large-animal facilities identified.
☐ Backup destinations in several directions.
☐ Facility requirements written down.
Choose a Backup Caregiver
An evacuation may happen while the owner is at work, travelling, injured, or unable to return home. Choose a trusted person who can reach the animals, locate the evacuation kit, load them safely, and take them to a predetermined destination.
The caregiver should have a key or another approved way to enter the property. Provide written instructions about feeding, medications, handling, carriers, hiding places, and emergency contacts. A second backup person provides additional protection if the first person is unavailable.
Backup Caregiver Checklist
☐ Primary caregiver selected.
☐ Secondary caregiver selected.
☐ Caregivers have access to the home.
☐ Written pet instructions provided.
☐ Location of evacuation kit explained.
☐ Veterinarian information provided.
☐ Evacuation destinations shared.
☐ Caregivers have practised handling the animals.
Practice the Evacuation
A plan is not complete until it has been tested. Practice gathering the kit, placing pets in carriers, loading the vehicle, and preparing to leave. Time the process and look for delays. A cat that hides under furniture, a dog that refuses the vehicle, or a horse that will not enter a trailer can create serious problems during an actual evacuation.
Repeat the practice periodically and make it calm rather than frightening. Reward animals for cooperation and correct any equipment problems before the next drill.
Pet Evacuation Drill Checklist
☐ Locate the evacuation kit quickly.
☐ Place pets in carriers or restraints.
☐ Load food, water, and documents.
☐ Load animals into the vehicle or trailer.
☐ Confirm all animals are accounted for.
☐ Test the planned route.
☐ Record how long loading takes.
☐ Correct problems found during the drill.
Final Pet Evacuation Kit Checklist
Before considering the kit complete, confirm that it contains the following:
☐ Food for at least three days.
☐ Drinking water.
☐ Food and water bowls.
☐ Prescription medications.
☐ Veterinary and vaccination records.
☐ Current photographs.
☐ Identification tags.
☐ Secure carrier or restraint system.
☐ Leashes, collars, and harnesses.
☐ Bedding and comfort items.
☐ Sanitation and waste supplies.
☐ Pet first aid supplies.
☐ Emergency contact information.
☐ List of evacuation destinations.
☐ Written care instructions.
☐ Backup caregiver information.
Common Mistakes
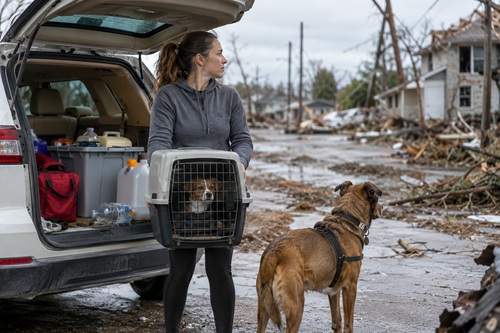
One of the most common mistakes is waiting until evacuation is already underway to search for carriers, documents, medication, and food. Another is assuming public shelters will accept every type of animal. Owners also forget to update microchip information, rotate stored food, practice loading animals, or identify someone who can help when they are away from home.
Leaving pets behind during a short evacuation is also dangerous. A brief evacuation can become a long-term exclusion zone, and authorities may not allow residents to return. When evacuation is necessary and it is safe to do so, take the animals at the same time the household leaves.
Key Takeaways
A pet evacuation kit should be prepared before an emergency, stored where it can be reached quickly, and customized for each animal. Food, water, medication, identification, veterinary records, carriers, sanitation supplies, and first aid equipment form the foundation of the kit. Owners should also identify pet-friendly destinations, select a backup caregiver, and practice loading and transporting their animals. A small amount of preparation can prevent delays, separation, injury, and the need to leave an animal behind during an emergency.
© Prepping Communities. This content is for informational purposes only and not professional advice. Use at your own risk.
Terms | Privacy | Guidelines