
If you’re serious about food storage, learning to pressure can meat is one of the most valuable skills you can develop. It lets you turn short-term groceries into shelf-stable meals that last for years.
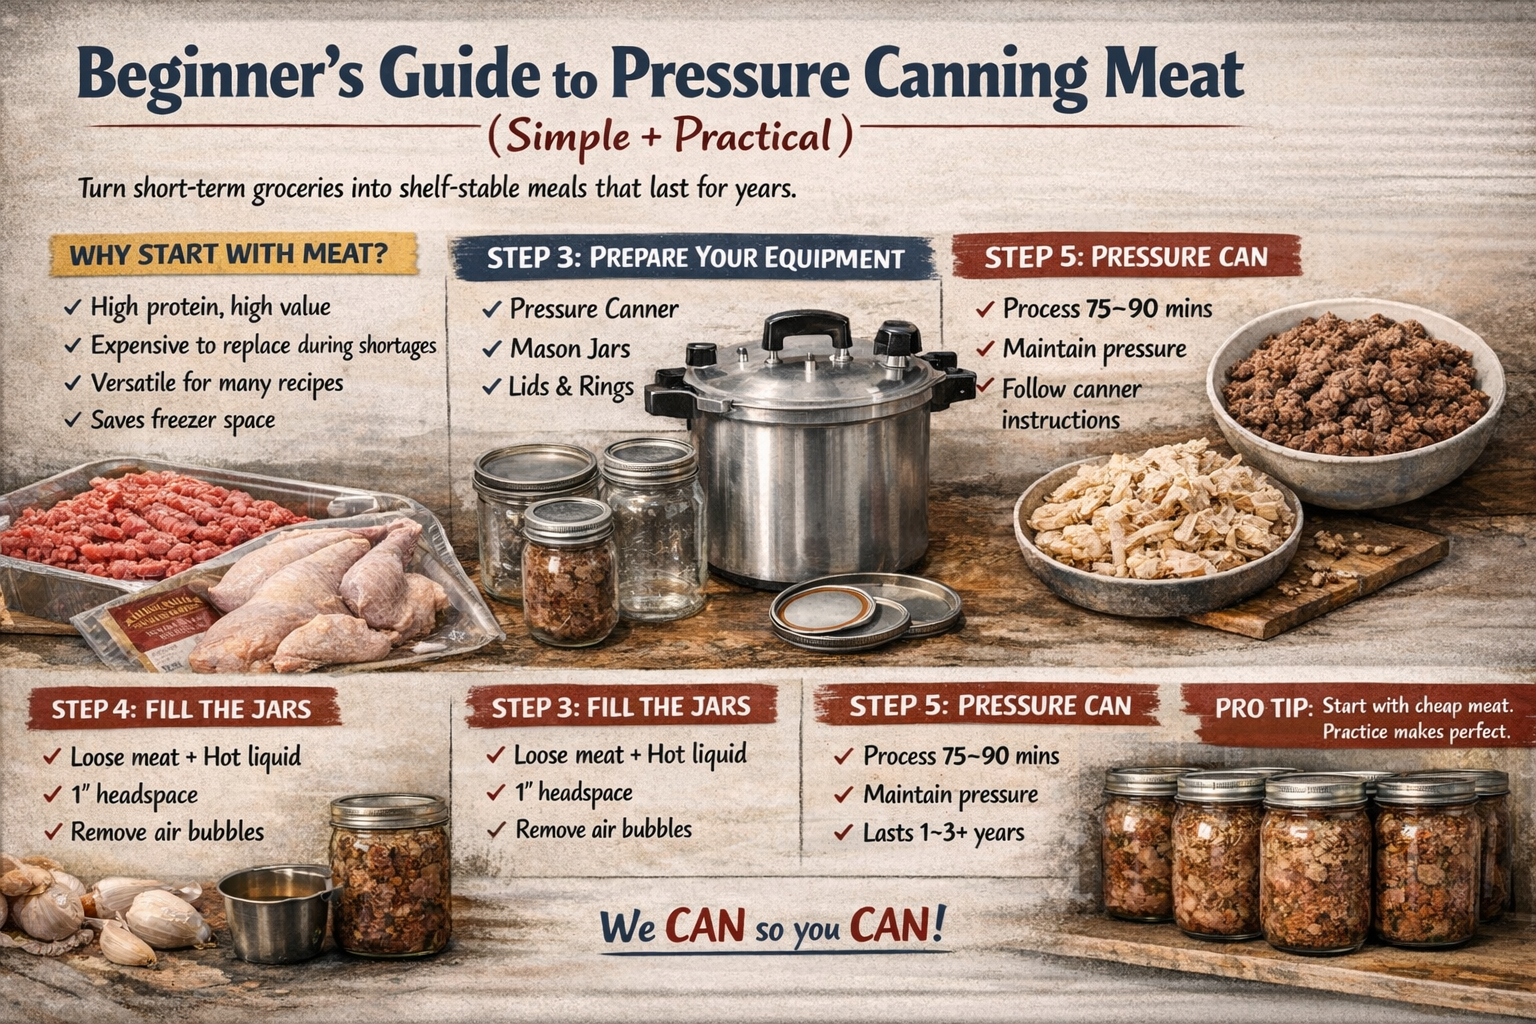
Why Start with Meat?
High protein, high value for storage
Expensive to replace during shortages
Extremely versatile (tacos, soups, stews, etc.)
Saves freezer space and protects against power outages
Step 1: Source Affordable Meat
Look for:
Discounted or bulk ground beef
Whole chickens (usually cheapest option)
Manager specials nearing sell-by date
You don’t need premium cuts—this is about building a reliable food supply.
Step 2: Prep the Meat
Ground beef: Brown lightly (don’t overcook)
Chicken: Cook fully (bake, boil, or roast)
Avoid seasoning early so it stays versatile
Tip: Keep it simple while learning—just meat.
Step 3: Prepare Your Equipment
You’ll need:
Pressure canner (not water bath)
Mason jars (hot)
Lids and rings
Hot water or broth
Hot pack method works best:
Hot food → hot jars → hot canner
Step 4: Fill the Jars
Add meat loosely (don’t pack tightly)
Leave about 1 inch headspace
Fill remaining space with hot water or broth
Remove air bubbles
Wipe rims clean and seal lids finger-tight
Step 5: Pressure Canning Process
Add ~1.5–2 inches of water to canner
Load jars and seal lid
Vent steam for 10 minutes
Apply weight and bring to pressure
Processing time:
Pints: ~75 minutes
Quarts: ~90 minutes
Maintain steady pressure the entire time.
Step 6: Cool Down Properly
Turn off heat
Let pressure drop naturally (don’t rush it)
Remove lid carefully (away from your face)
Let jars cool undisturbed
You’ll hear the “pop” as they seal.
Step 7: Store + Use
Store in a cool, dark place
Shelf life: 1–3+ years
Use for quick meals anytime
Pro Tips
Practice with cheap meat first
Don’t overcomplicate early batches
Always follow safe canning guidelines
Build slowly—consistency beats rushing
Why This Matters
Canning isn’t just a skill – it’s control.
You’re turning unstable supply chains into something reliable you own.