
Storing water is step one.
Making sure it’s safe to drink when you actually need it is step two—and just as important.
Even properly stored water can become questionable over time. Containers fail. Treatments degrade. Contamination happens. That’s why every serious preparedness plan needs backup purification methods.
Why Backup Purification Matters
Water systems fail in layers:
Municipal treatment stops or degrades
Stored water loses protection over time
Containers can introduce contaminants
Natural water sources carry bacteria, parasites, and chemicals
If you don’t have a way to purify water, your stored supply has a shelf life.
With purification, your water becomes renewable.
The Rule of Redundancy
Never rely on just one method.
A solid setup includes:
Primary storage
At least 2–3 purification methods
A plan for different scenarios
Example:
Filter + boil
Chemical + filter
Boil + aerate
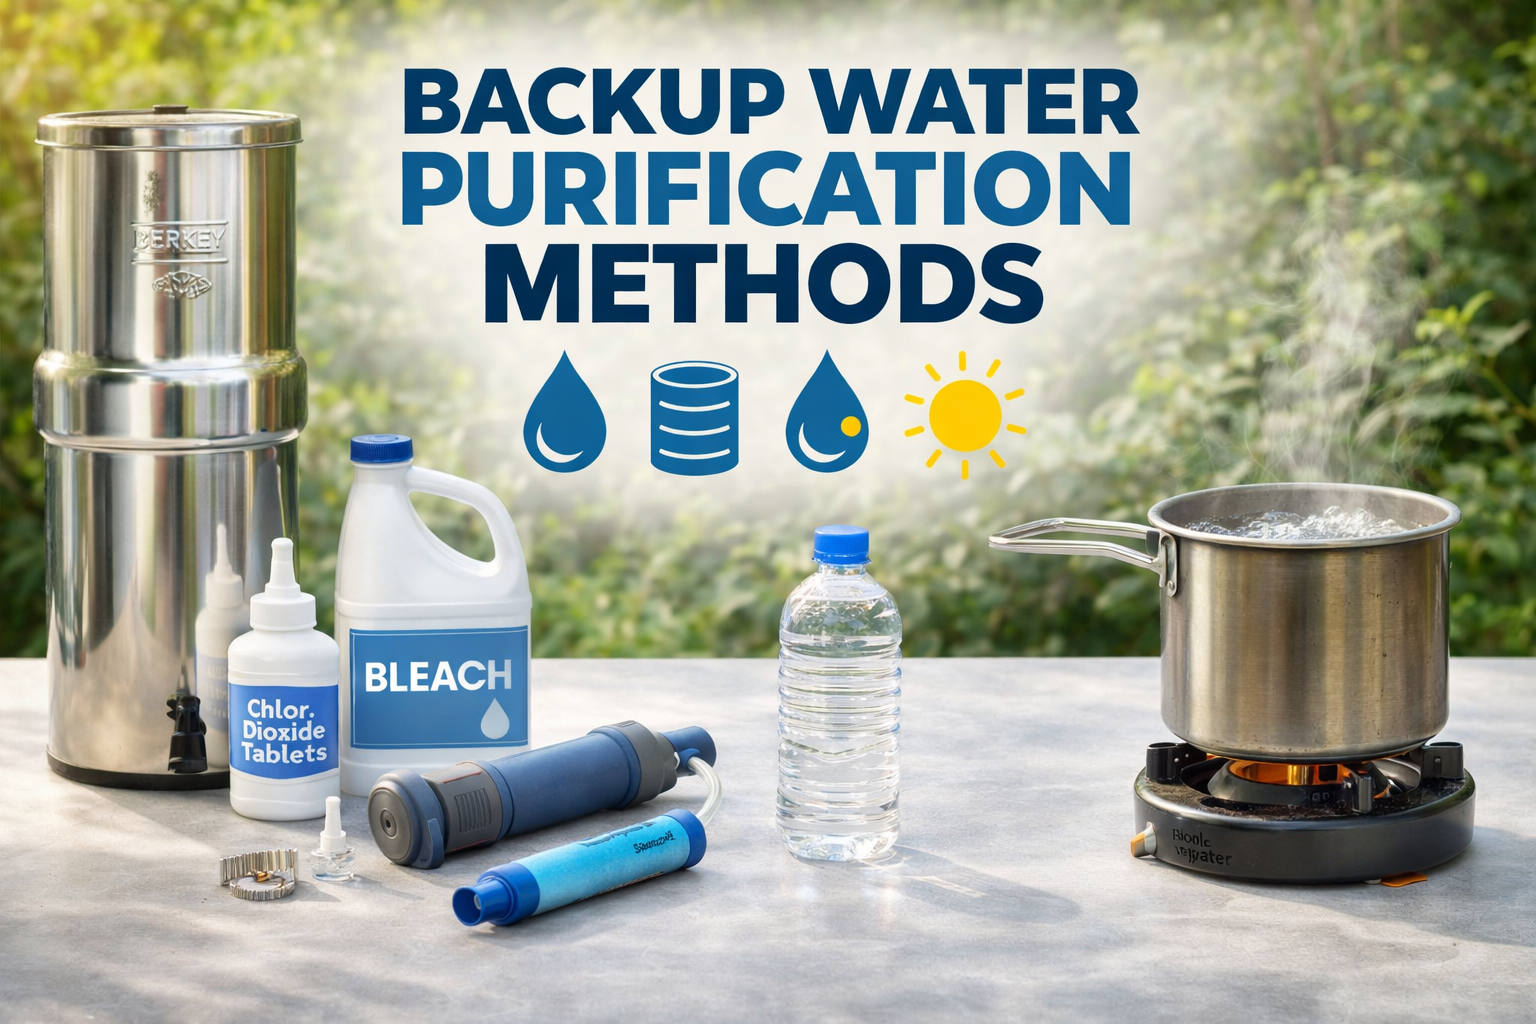
Method 1: Boiling (Most Reliable)
What it does:
Kills bacteria, viruses, and parasites
How to use:
Bring water to a rolling boil for 1 minute
At higher elevations: 3 minutes
Pros:
Extremely effective
No special equipment needed
Cons:
Requires fuel
Doesn’t remove chemicals or sediment
Method 2: Filtration (Everyday Workhorse)
Common Systems:
Gravity filters (Berkey, Katadyn)
Pump filters
Straw filters
What it does:
Removes bacteria, parasites, sediment
Some remove heavy metals and chemicals
Pros:
Fast and reusable
Improves taste
Cons:
Not all filters remove viruses
Requires maintenance
Method 3: Chemical Treatment
Options:
Bleach (Sodium Hypochlorite)
Chlorine dioxide tablets
What it does:
Kills bacteria and viruses
Basic Bleach Guide:
~1/8 tsp per gallon (varies by strength)
Let sit 30 minutes
Pros:
Lightweight and long-lasting
Great for backup
Cons:
Taste
Less effective in dirty water
Degrades over time
Method 4: Solar Disinfection (SODIS)
What it does:
Uses UV from sunlight to kill pathogens
How to use:
Clear plastic bottle
Leave in direct sunlight for 6+ hours
Pros:
No fuel or chemicals needed
Cons:
Slow
Requires sunlight
Less reliable in cloudy conditions
Method 5: Distillation (Advanced)
What it does:
Removes: Bacteria
Viruses
Heavy metals
Chemicals
Pros:
Produces very clean water
Cons:
Energy intensive
Slow process
Improving Water After Treatment
Even safe water can taste bad.
To improve taste:
Aerate (shake or pour between containers)
Add electrolytes or drink mix
Filter after treatment
Let it sit uncovered briefly
Real-World Water Plan (Example)
Step 1: Storage
100–300+ gallons stored
Step 2: Primary Use
Use stored water first
Step 3: If questionable
Filter → boil
Step 4: If sourcing new water
Collect → filter → boil or treat
Step 5: Always
Improve taste if needed (aerate/filter)
Common Mistakes to Avoid
Relying on only one method
Not testing your system ahead of time
Using untreated natural water
Forgetting fuel for boiling
Not maintaining filters
The Big Takeaway
Water storage is temporary.
Water purification is long-term survival.
The goal isn’t just to store water…
It’s to make sure you can keep producing safe water no matter what happens.
Action Steps
Start simple:
Store at least 2 weeks of water
Get a reliable filter
Add chemical treatment backup
Plan for boiling (fuel source)
Practice using your system
If your stored water runs out…
your purification plan becomes everything.